
With everything in our nation being as serious as I have ever known it in my lifetime, here’s a little lighthearted DIY about a simple fence.
I live on a little farm in middle Tennessee. 8 acres, with a pond, a couple of barns, pastures, and a huge yard. Lots of room to breathe and roam and spread out. Neighbors just near enough and far enough away. Hard to believe that as much as I love it that I intend to put it on the market for sale this spring. Moving to the PNW to be nearer to my 4 adult children, but that’s a blog for another day.
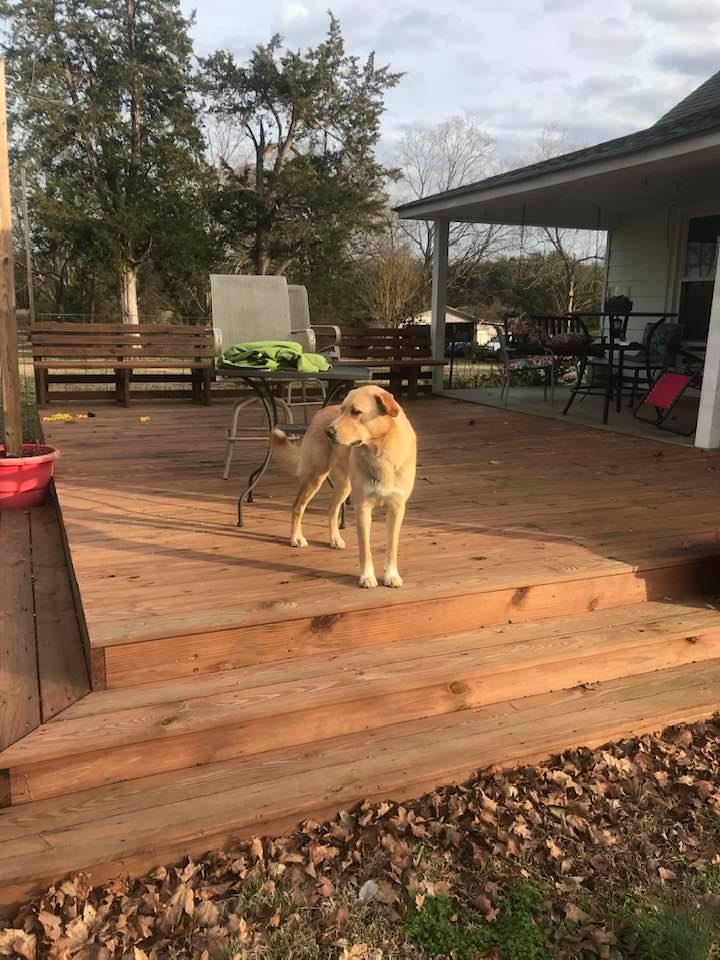
Anyway, with all of that space, wouldn’t you just know that my favorite place to have coffee or a sunset cocktail backs up to precisely where my nearest neighbors like to have THEIR coffee and sunset cocktail.

I’ve needed for a long time to put up a little semi-private barrier between our yards. It’s not so bad in summer, when all the leaves on the trees fill in and create a visual and noise filter. But in winter. Yikes. No cover at all. Hidee-ho, neighbor.

My partner is off on a consult in Washington DC for a few months, so I’m left to my own devices. I’d love to have this ready for when he gets home and we can have our coffee on the deck in our jammies on a warm spring morning.
Phase I: the planning. The 40′ stretch actually has a fence, an old deteriorated chain link, with wobbly posts, and overgrown with vines and trees. I’ve got to see if I can clear out enough brush and vine to put up a straight length of fence.

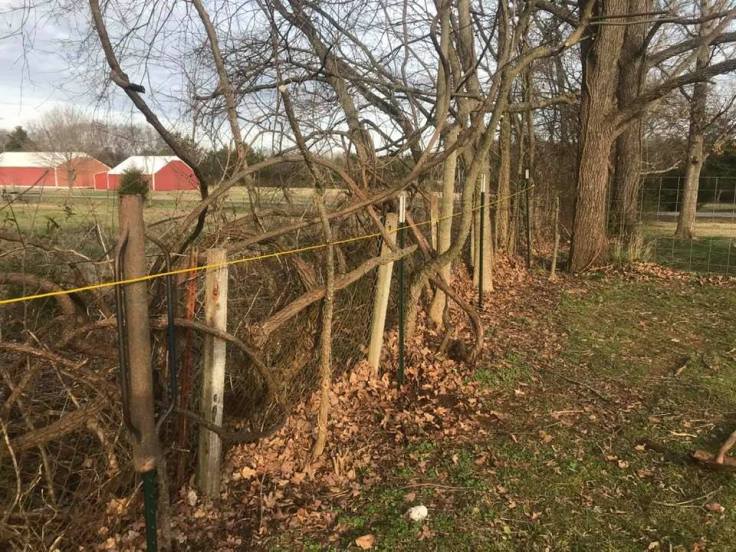

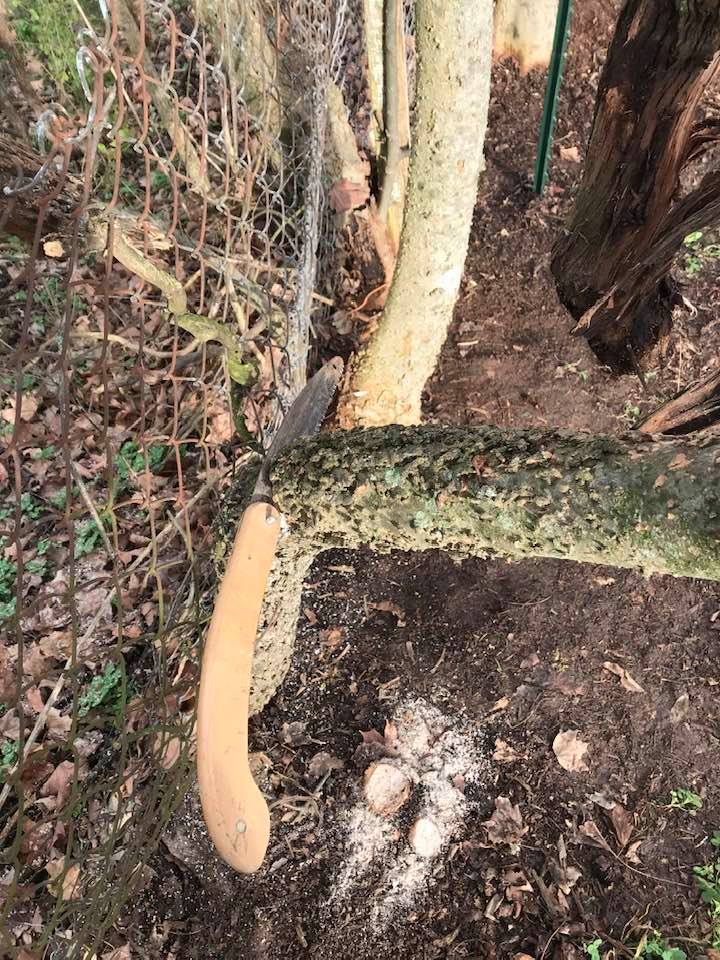
Phase II: The clearing. Clippers. Chain Saw. Hand Saw. Shovel. Rake. Wheelbarrow.


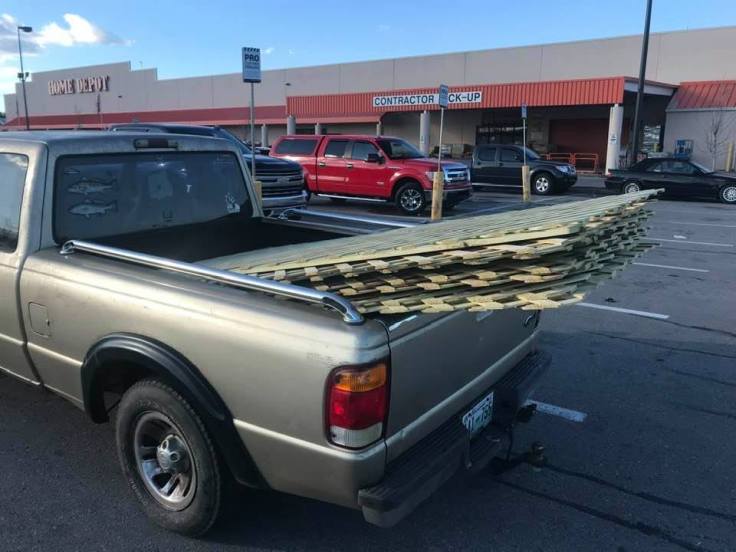
Phase III: Set t-posts. I’ve decided on an unconventional, shortcut version of my fence. I’m going to construct it of t-posts, stock panels, 1″x4″x8′ uprights, and 4’x8′ lattice panels. Semi-private, but not rude or anti-social. Privacy lite.
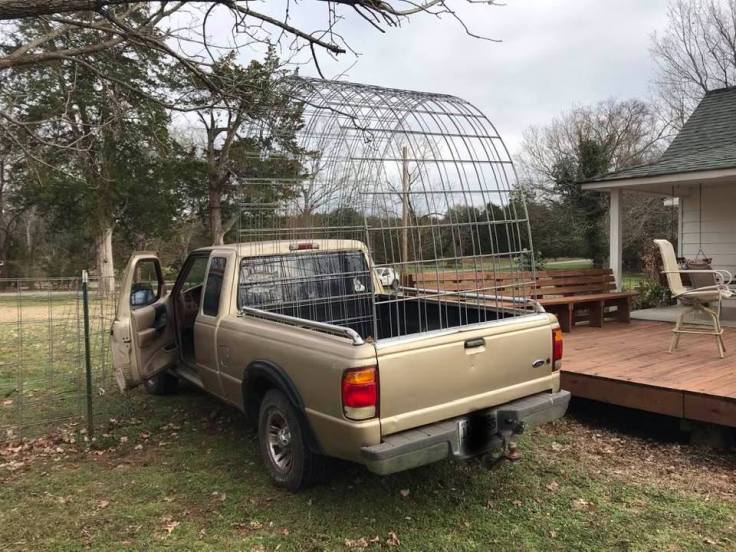
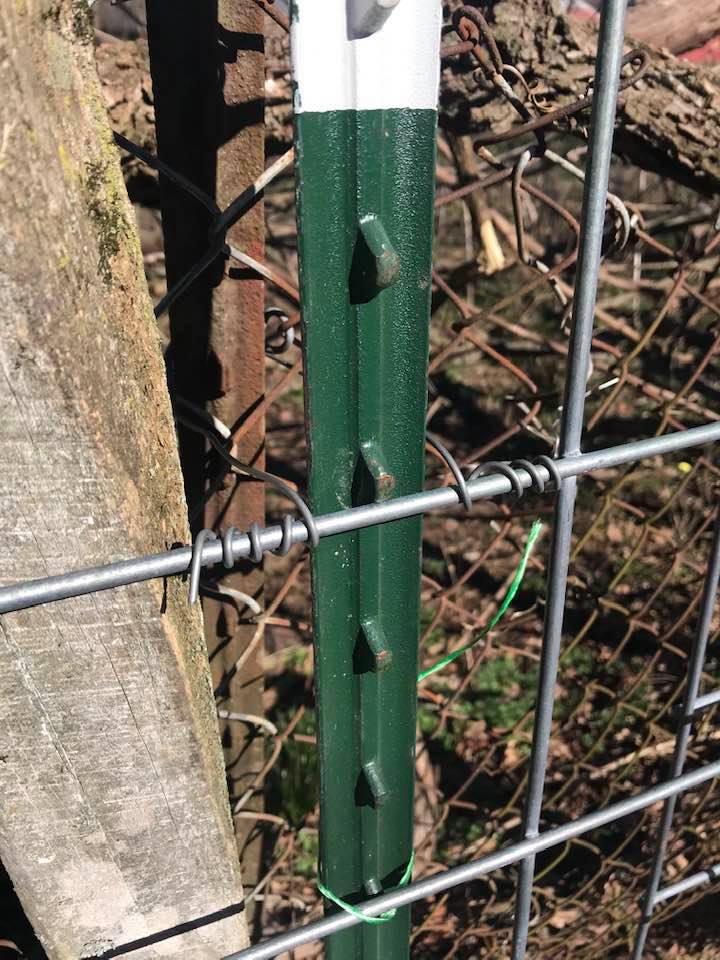
Phase IV: Run the stock panels. This will serve as the framework for the uprights and the lattice panels. Attach to the t-posts with a little clippy, easy peasy quick and squeezy.

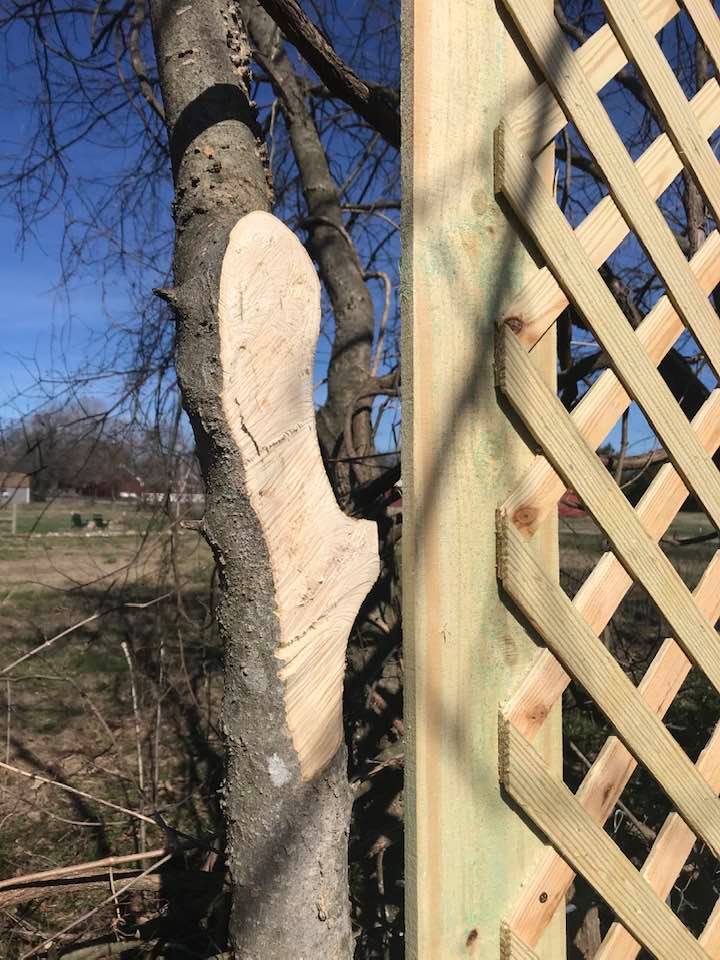
Phase V: Attach the uprights. This ended up being the trickiest of all the tasks, because I’m attaching the uprights to the stock panels with poultry-netting staples, small u-shaped nails which have to be hammered into the back, reaching over the top of the stock panel, and with only inches to hammer between the panel and the old chain link.

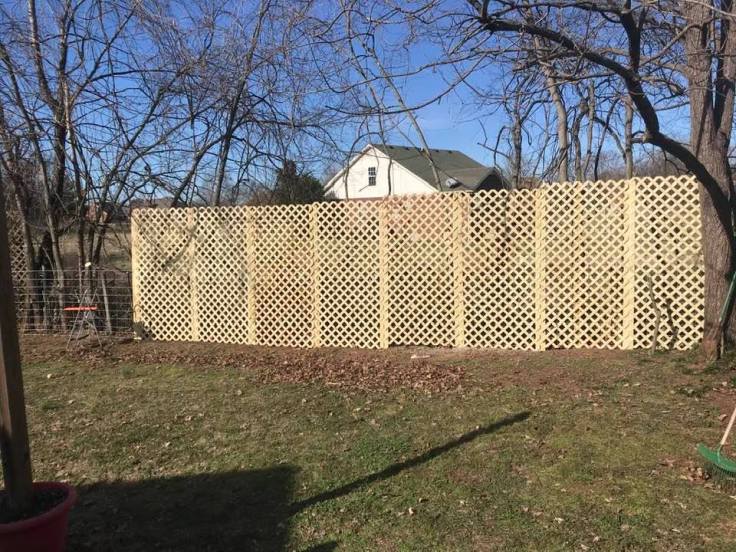
Final Phase: Set the panels, and watch it grow! This was the most dramatic of the phases, and also the fastest and easiest! Sometimes I joke that Freethought Farm has a second nickname: ZipTie Acres. Those little suckers are handy! I’ll admit if you come see my fence, if you look closely, you’ll see a ziptie or two.


Now for an icy mule as I sit and enjoy my deck, now with extra solitude.
I’ll come back and post photos of the mandevilla or jasmine I’ll plant after it vines and blooms.
Thanks for reading!
