In the last post I wrote about getting out here, but I don’t think I wrote enough about what Sam is doing.
He’s had an internship since September with the Maui Bird Recovery Project, which I linked to in the last post. Here’s their Facebook page – give them a like, and a donation if you’re so inclined. Sam has spent a lot of time in the field planting trees that support the bird recovery. He and his crew are helicoptered in to remote areas and plant seedlings of the trees. His internship is almost at an end, and in late January he’ll go to Crested Butte Colorado where he’ll work until the spring and he goes back to Salida, CO, as a river ranger.
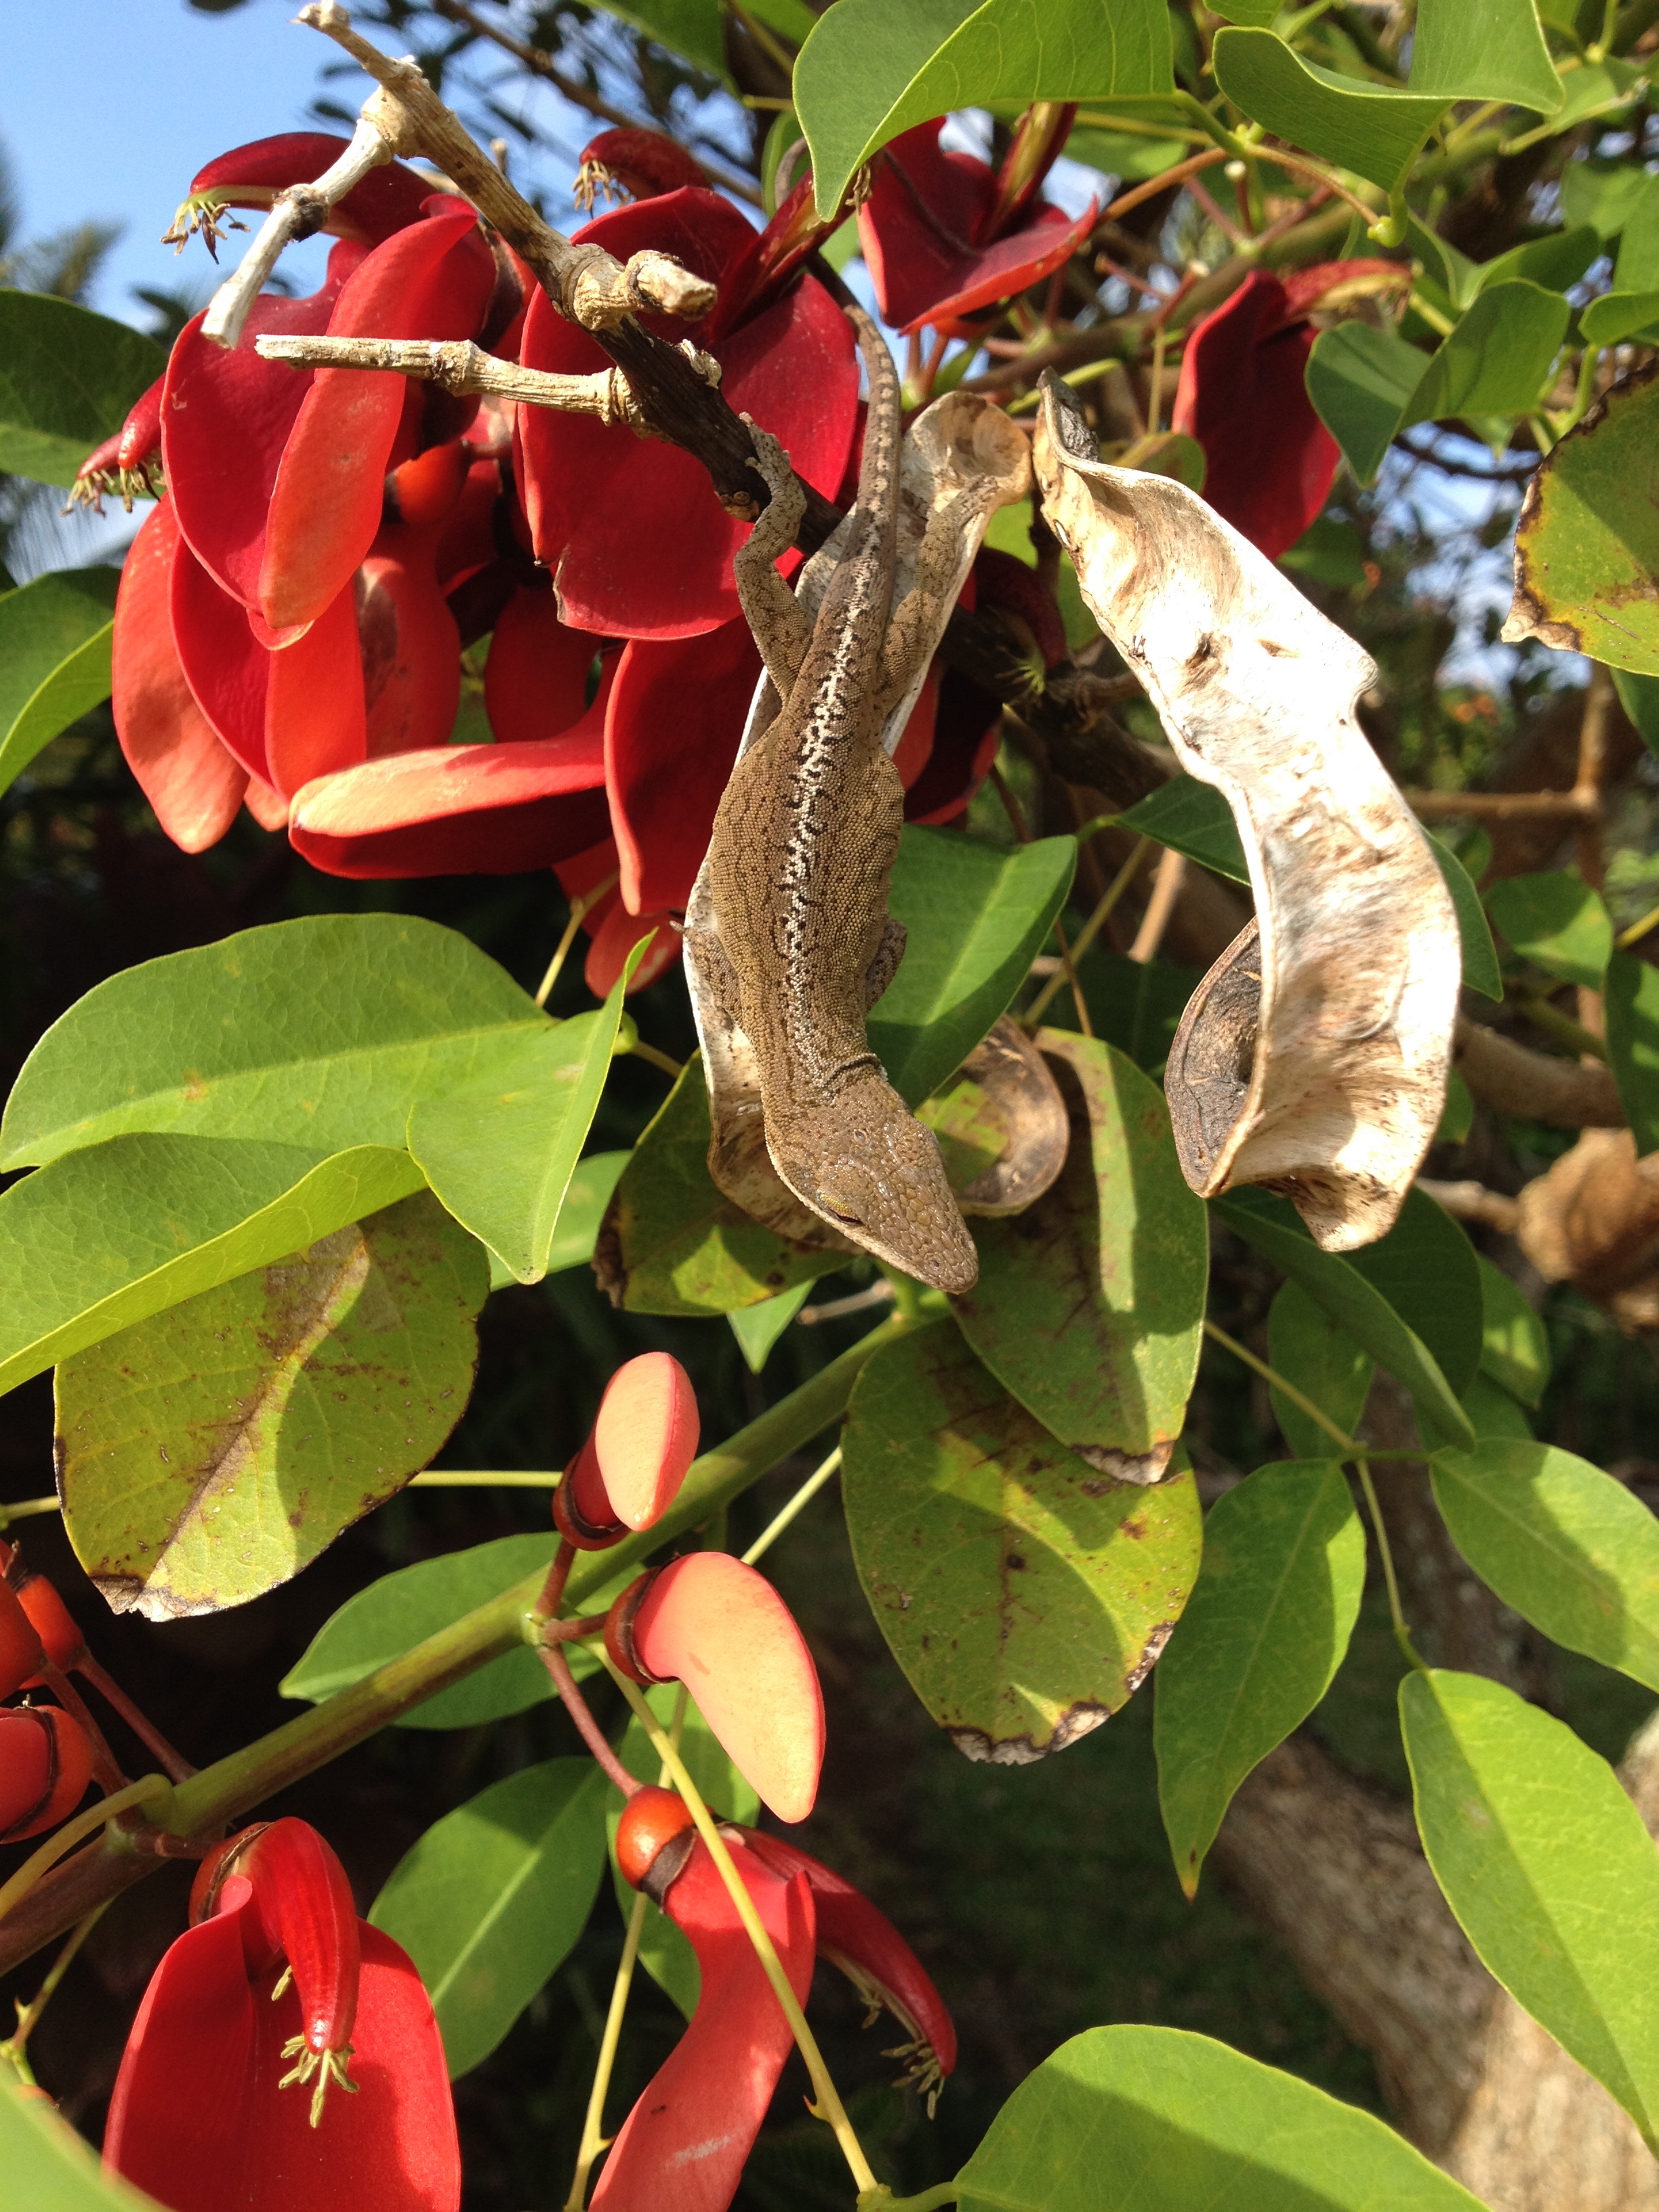
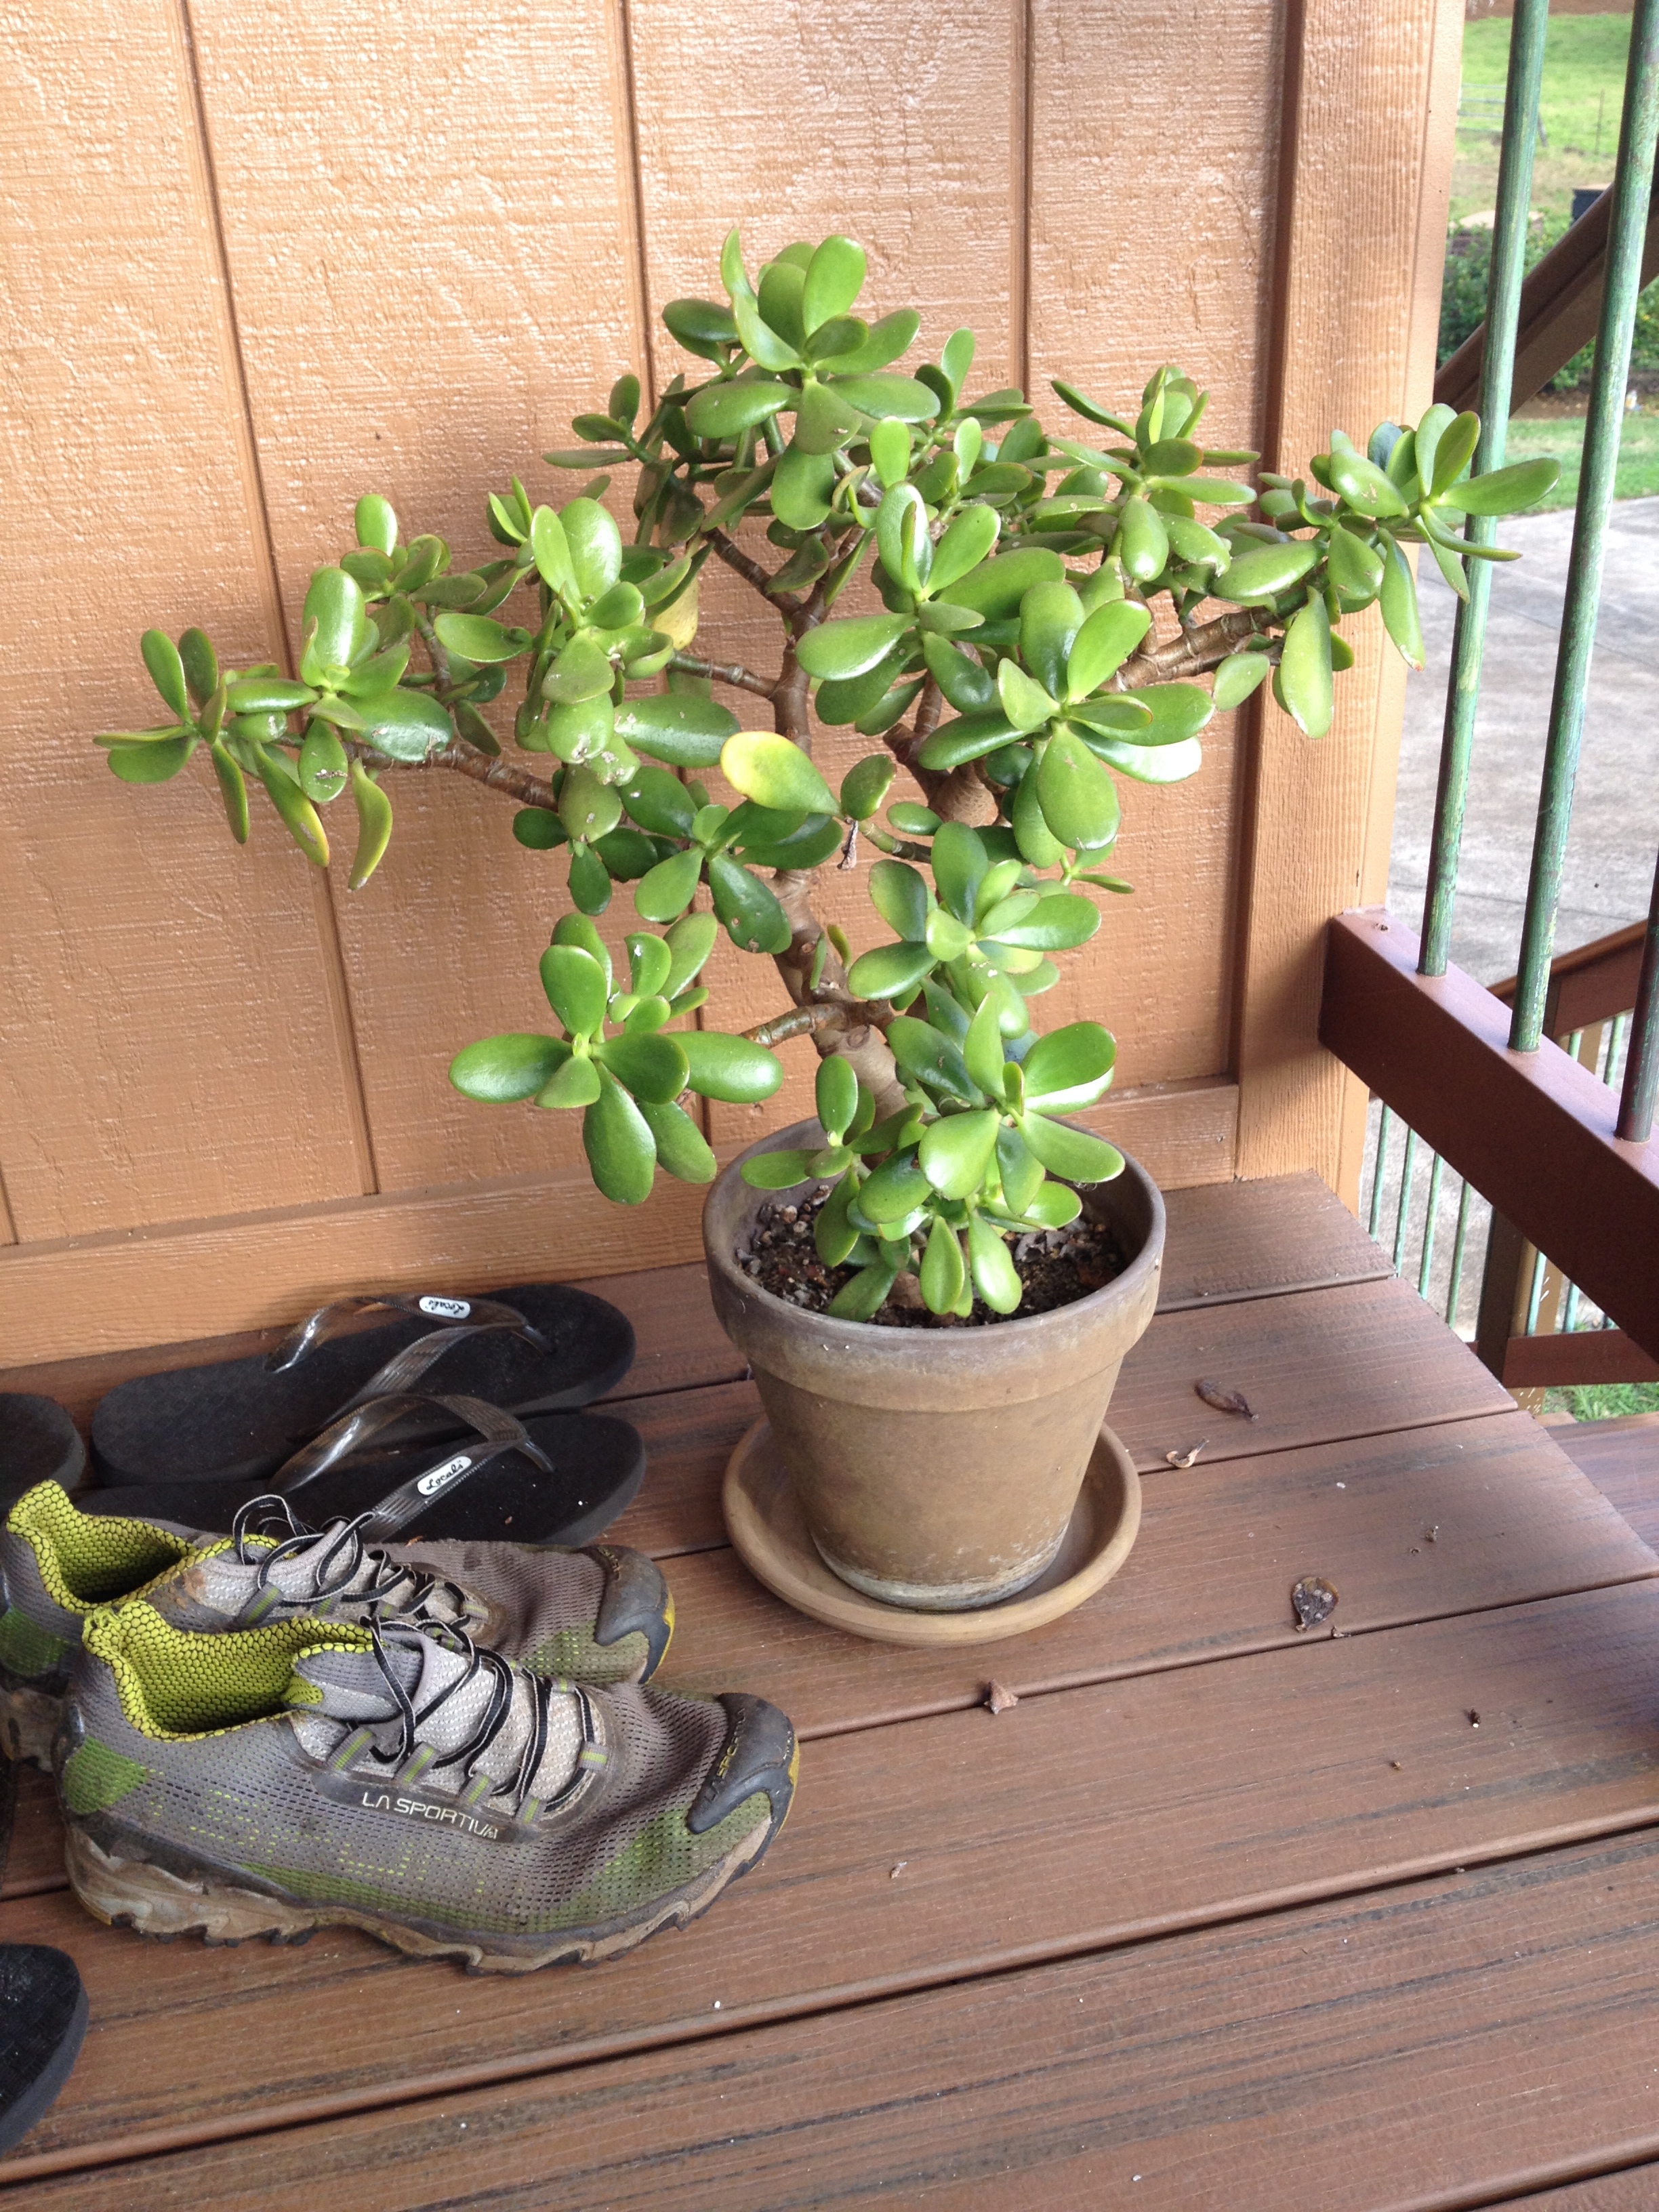
He’s had housing as a part of his internship, but for the 2 weeks of Christmas and New Years he’s had a housesitting gig in a charming place just outside of Paia, HI, which is near Kahului. It is in a beautiful setting, and today’s post is simply my afternoon walk around the house. If I had the mad camera skills (and the mad camera) of my girl Suzy Q. Steen I could do a better job of capturing all the beauty, but you’ll have to settle for my iPhone wannabes.
The house is situated by this beautiful ravine
See the little guy pretending to be a bean pod??
Don’t think I didn’t want to. They’re the landlord’s.
I’m in Hawaii!! I’ll post about the adventures we’re having in the days to come, but I wanted to get a quick post out about how I got out here. Literally, not philosophically.
One of the employment benefits of working for an airline is what is known as Pass Travel. This little post is about what that stand-by experience can be like. Good and bad.
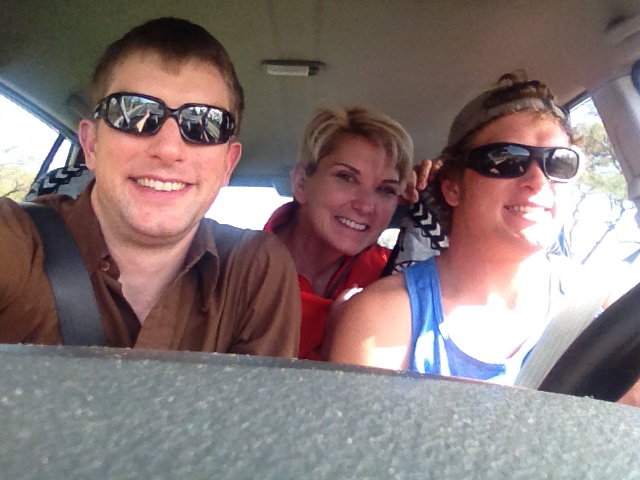
Son #2 is at the conclusion of an internship on the island of Maui. He’s doing a bird recovery/reforestation project. Son #1 and I, both students, found ourselves with a window of opportunity to visit Sam over the holidays. Both girlies are working, Glenda in Vegas and Amy in Utah, so Ben and I are the lucky ones who get to do the trip.
There in an internal employee website that gives information about the “loads” on any particular flight, so that we nonrevs (non-revenue) fliers can make choices about the best time for travel. This site lists the flights, how many seats are on the airplane, how many of those seats have been sold, and how many remain for us freeloaders to use. (Technically, pass travel is not free – there are minimal charges that are attached to each flight, based on mileage.)
The holidays are never a good time to attempt pass travel, but if you are strategic, choose your flights well, and are flexible, sometimes it works.
Ben lives in Denver and it was his plan to fly from Denver to Salt Lake City to LA, and then on to Maui. I would start from Nashville, fly to Atlanta, then LA, then meet up with Ben for the flight into Maui. The flights online looked tight, but doable.
From years of pass travel, we’ve learned to check your main bag (with items you won’t grieve losing), put some overnight stuff in your small carry-on (toothbrush, clean undies), dress comfortably and in layers (Denver in Dec vs Maui in Dec), and prepare your attitude. When the children were little, we developed a family motto specifically around pass travel: Life Is An Adventure. If you’ve ever tried to keep 4 preschoolers happy in the Memphis terminal for 36 hours, you will understand.
Off we go. I leave my home in Murfreesboro at 11am on Saturday, Ben leaves his home in Fort Collins at 3pm. Getting from Nashville to Atlanta didn’t present a problem. It was in Atlanta that the plan began to deteriorate. My honey was at home with the employee website pulled up, guiding me on the phone. LA had become out of the question. The first 3 flights I watched push back were oversold and 35 standbys were left standing at the gate. I began to seek other options (keep in mind it’s December 28th) it was clear that Atlanta (Delta’s main hub) was overwhelmed, and I couldn’t find a way ANYWHERE. Every flight out of Atlanta to any city was overbooked. I saw a sliver of opportunity in a flight to Seattle (by now it’s about 9pm), and sure enough, I got the last standby seat.
Last seat, last row
In the meantime, Ben was having the same experience in Salt Lake City. He hadn’t had a problem leaving Denver, but SLC (another Delta hub) was a clusterf*&k. His squeeze was doing the same as mine, and guided him to grabbing the last seat on the last flight to San Francisco.
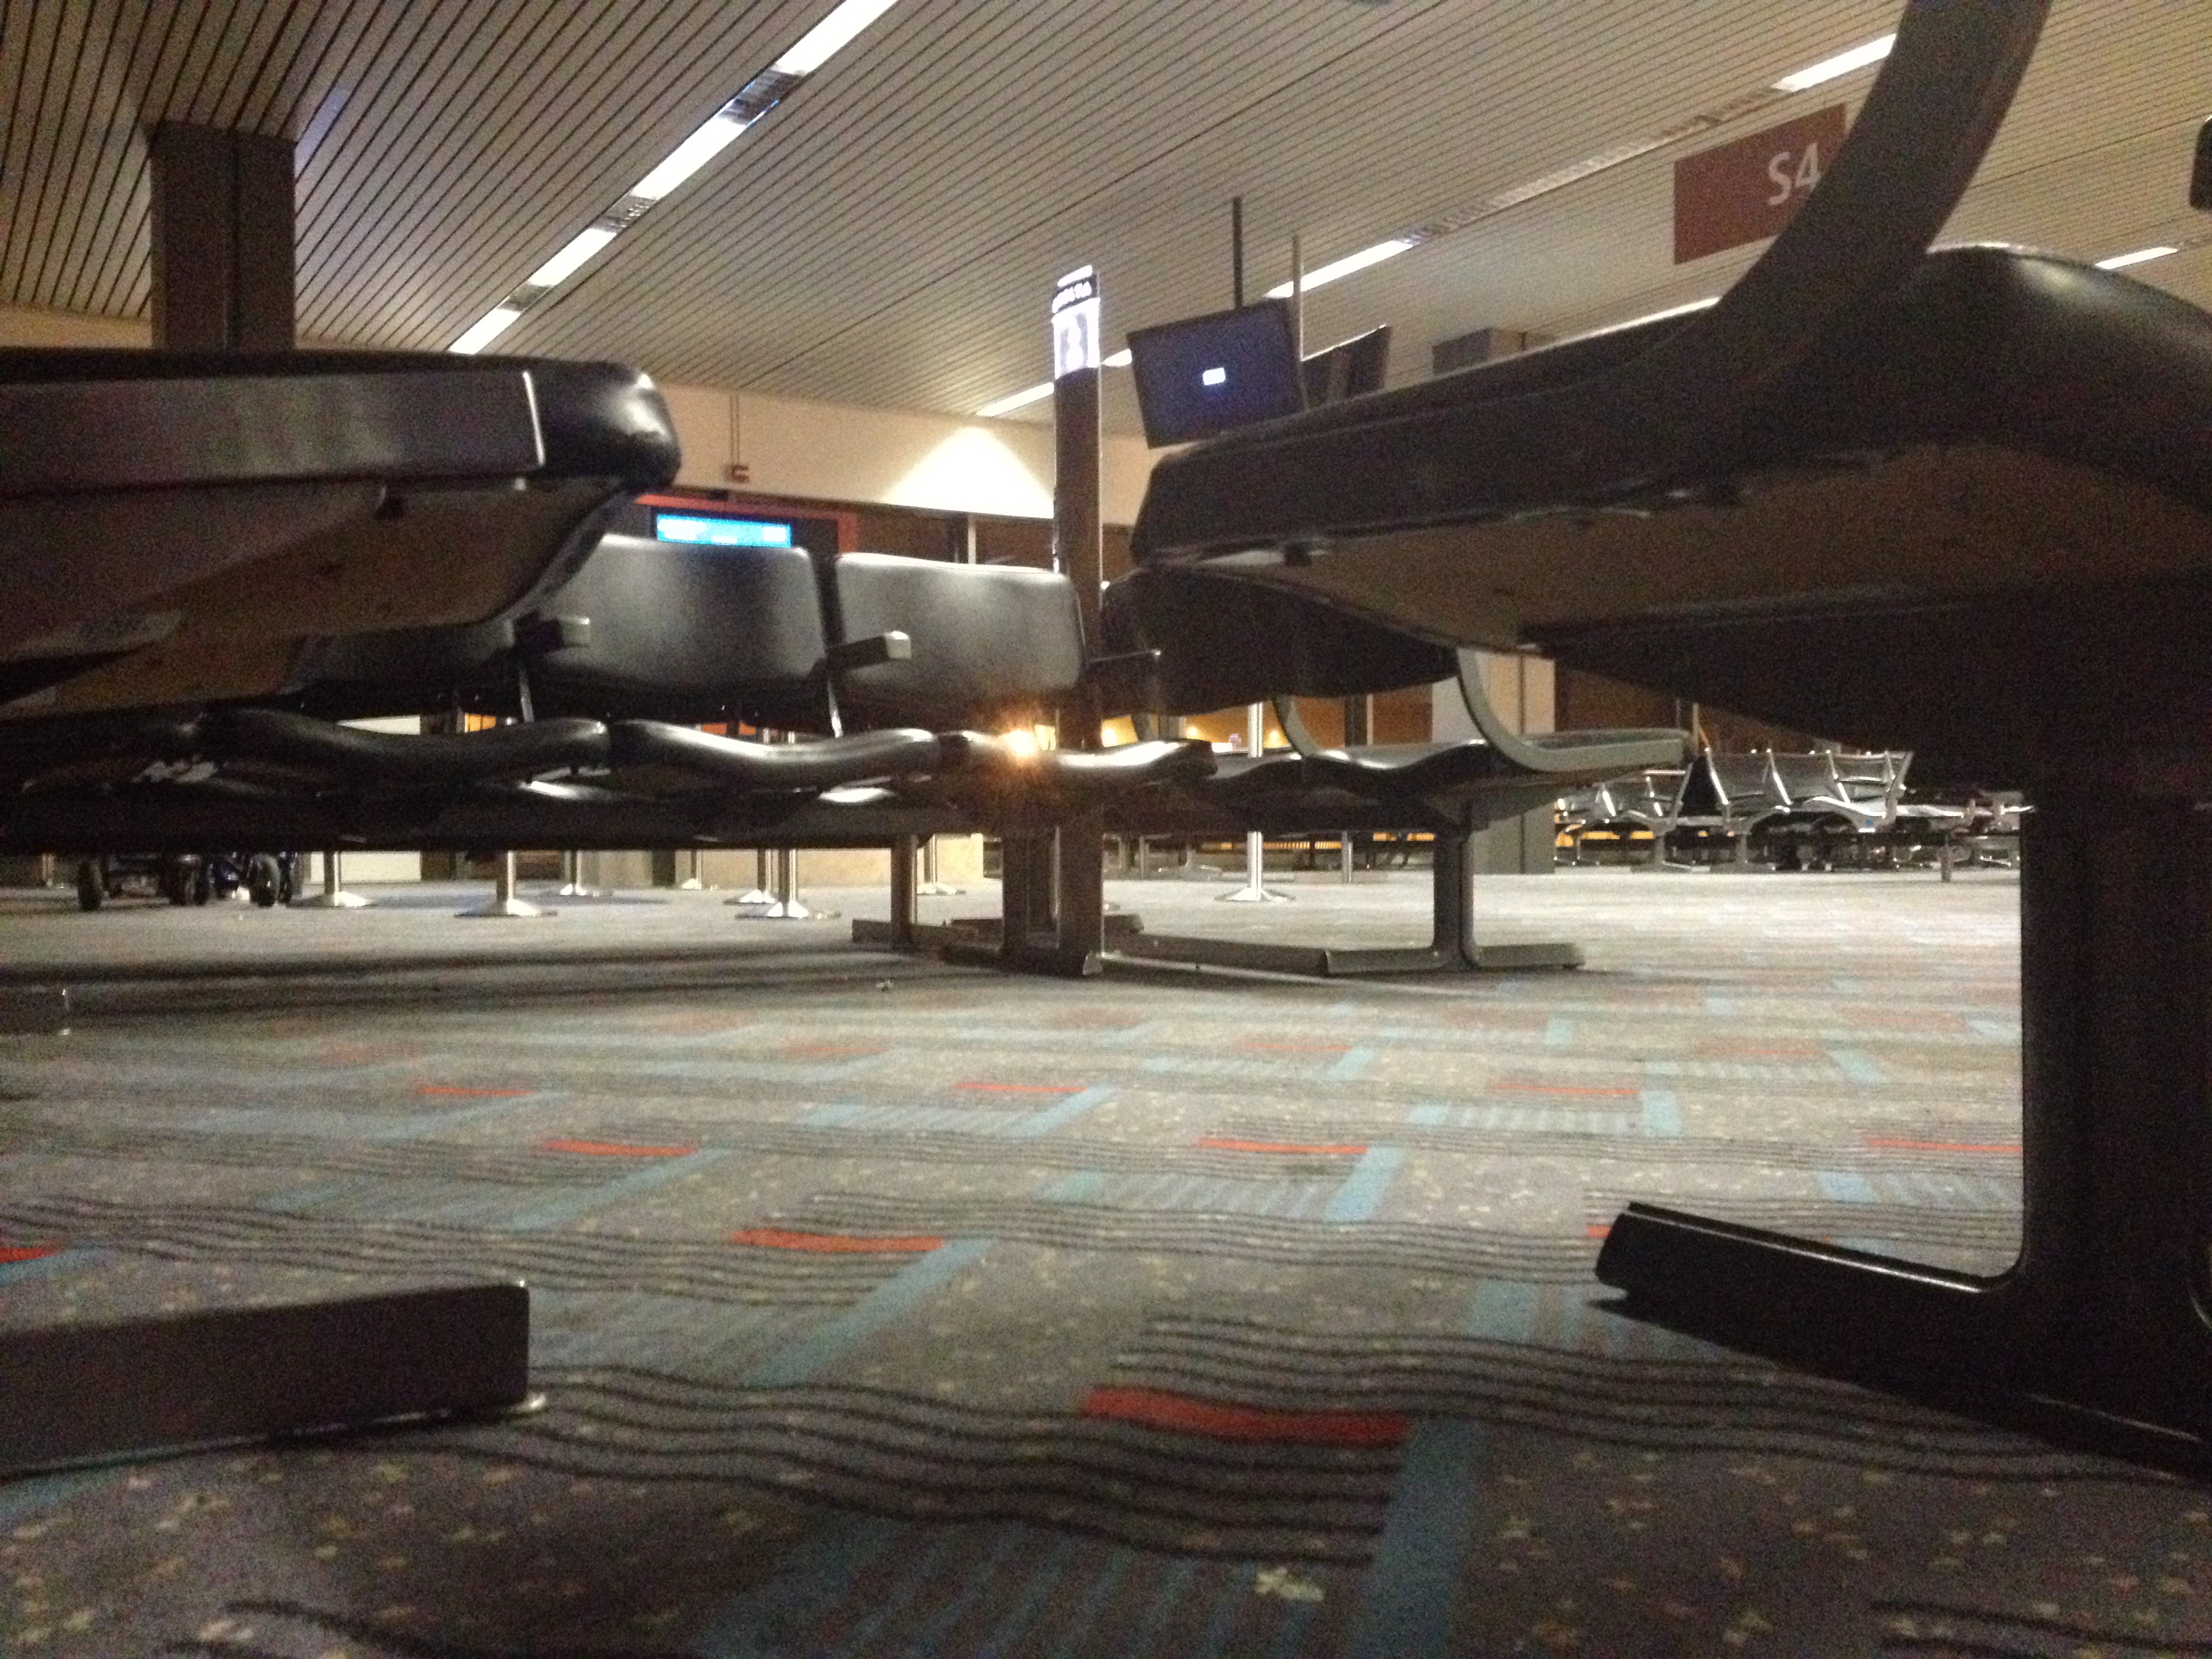
So instead of meeting in LA on Saturday night, I’m in Seattle, and Ben’s in San Fran. We had good chances in the morning for both of us to get to LA, and that was the plan. In true pass travel fashion, we both find a nice, comfy, slice of carpeted floor in our respective terminals. Here’s a pic of mine from my viewpoint:
backpack as a pillow, and scarf as a blanket
And in a turn of fortune typical to pass travel, I got a first-class seat on the early flight from Seattle to LA. This is the breakfast they wanted me to eat:
another post for another time, and I’m an ungrateful brat
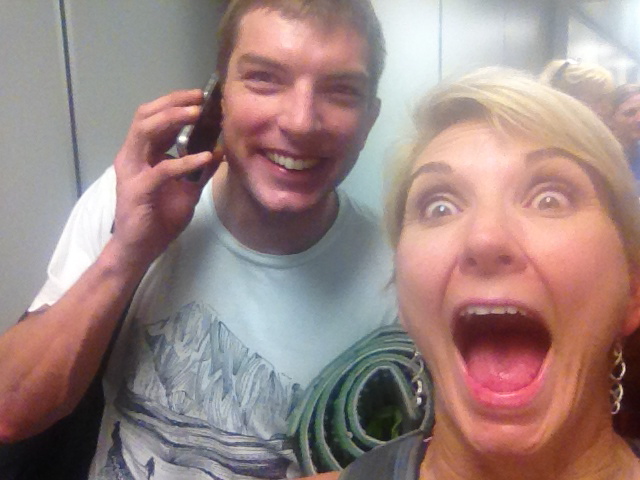
Ben was having the same experience on his flight out of San Francisco to LA, and he got there a few minutes before I did. After our joyful reunion (around 9:30am), we decided to spend the 8 hours waiting for our flight somewhere besides the LA terminal. In true Jordan-adventure fashion, Sam had previously scoped out the terminal-proximity-food-and-shade scene, and he was able to tell us the direction to head out.
I’m never happier than times like this.
We ended up grabbing a six-pack from the grocery, 2 animal-style, protein-style double doubles from In N Out, sitting in a park under the glide path.
One more trip to the grocery for the remaining 2 hours’ entertainment:
If you’re stuck in LA, call me for the down low.
Then, finally, at the gate in LA, waiting for those elusive seats, listening, listening for: “Passengers, Jordan, party of 2” to be called over that loudspeaker.
YESSSSSS!!!!
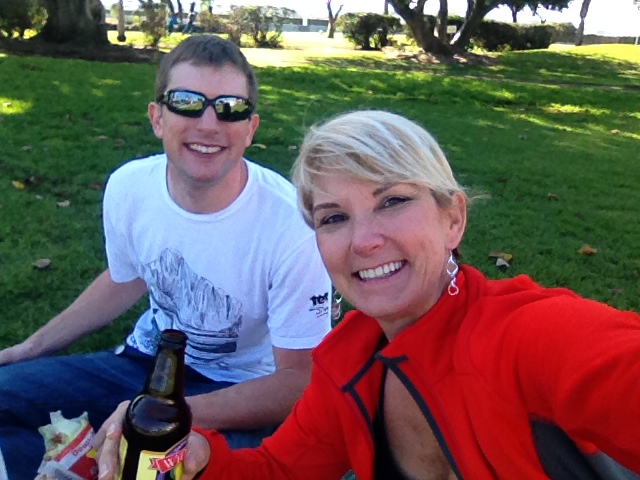
Sweet Sammy met us at the airport with leis, fresh pineapple, chocolate-covered macadamias, and Hawaiian beer. Stay tuned for more blogging about the Maui adventures.
So, pass travel. Is it worth it? Yes, absolutely, 100% no doubt. Among my children’s friends, I often encourage them, if they are unsure of what direction to go in life, to consider working for an airline purely because of the benefit of pass travel. But pass travel requires a mentality, a combination of a sense of adventure, flexibility, patience, a letting go of control, patience and flexibility on the part of your eventual host, and maybe even a little diplomacy thrown in for gate agents and fellow pass riders/passengers.
Do away with the nasty-ass, 1970’s trailer park, ugly, dark brown paneling in my bedroom. The squeeze is out of town, so there’s no one to talk me out of it.
OPTIONS:
a) Tear it out, replace with sheetrock. Good choice, but expensive, and above my pay grade.
b) Wallpaper over it. No bueno, I hate wallpaper almost as much as I hate the paneling.
c) Paint the paneling. Cheap, quick, looks like painted paneling. Perfect.
In a justification of all the time it would take to do this, I listened to law school lectures the entire time (with maybe a little Pandora mixed in). Finals are December 11 and 13. Gah.
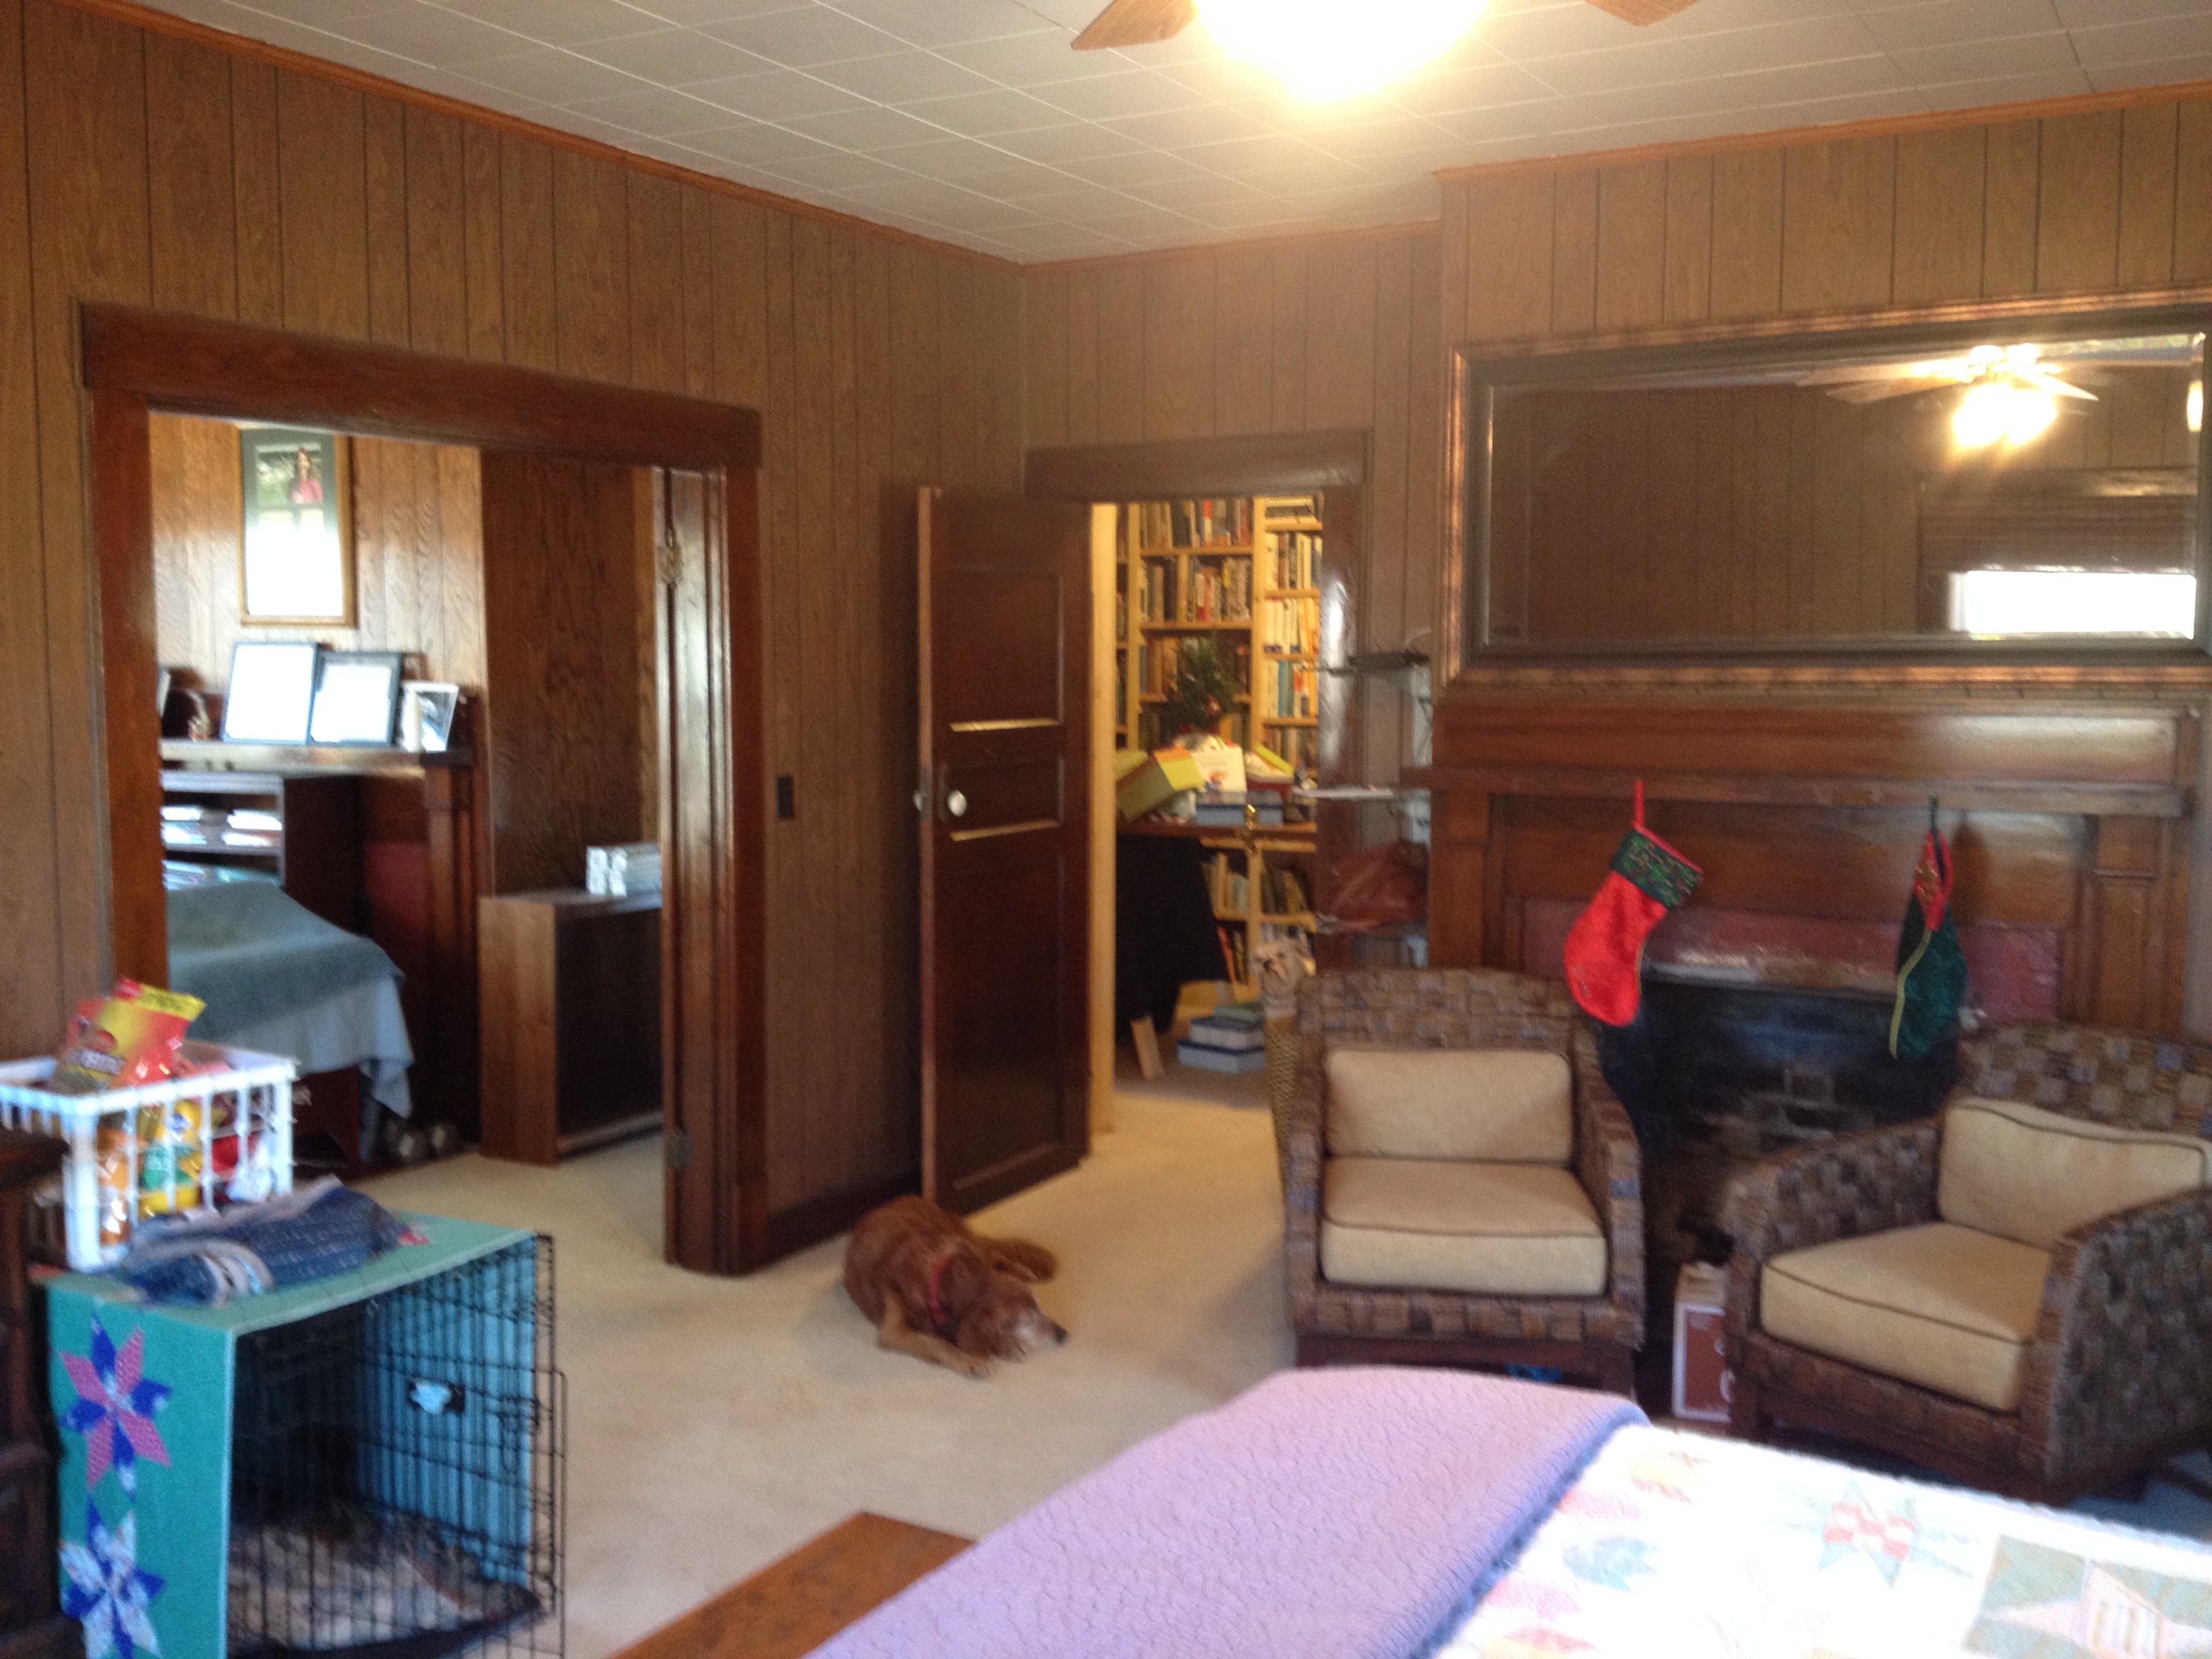
To give a sense of how yukky the paneling is, here are the before pics:
Even midday with 2 big windows it looks darkFrom the other side. Still dark. And you can’t hardly see that there is a fireplace there.
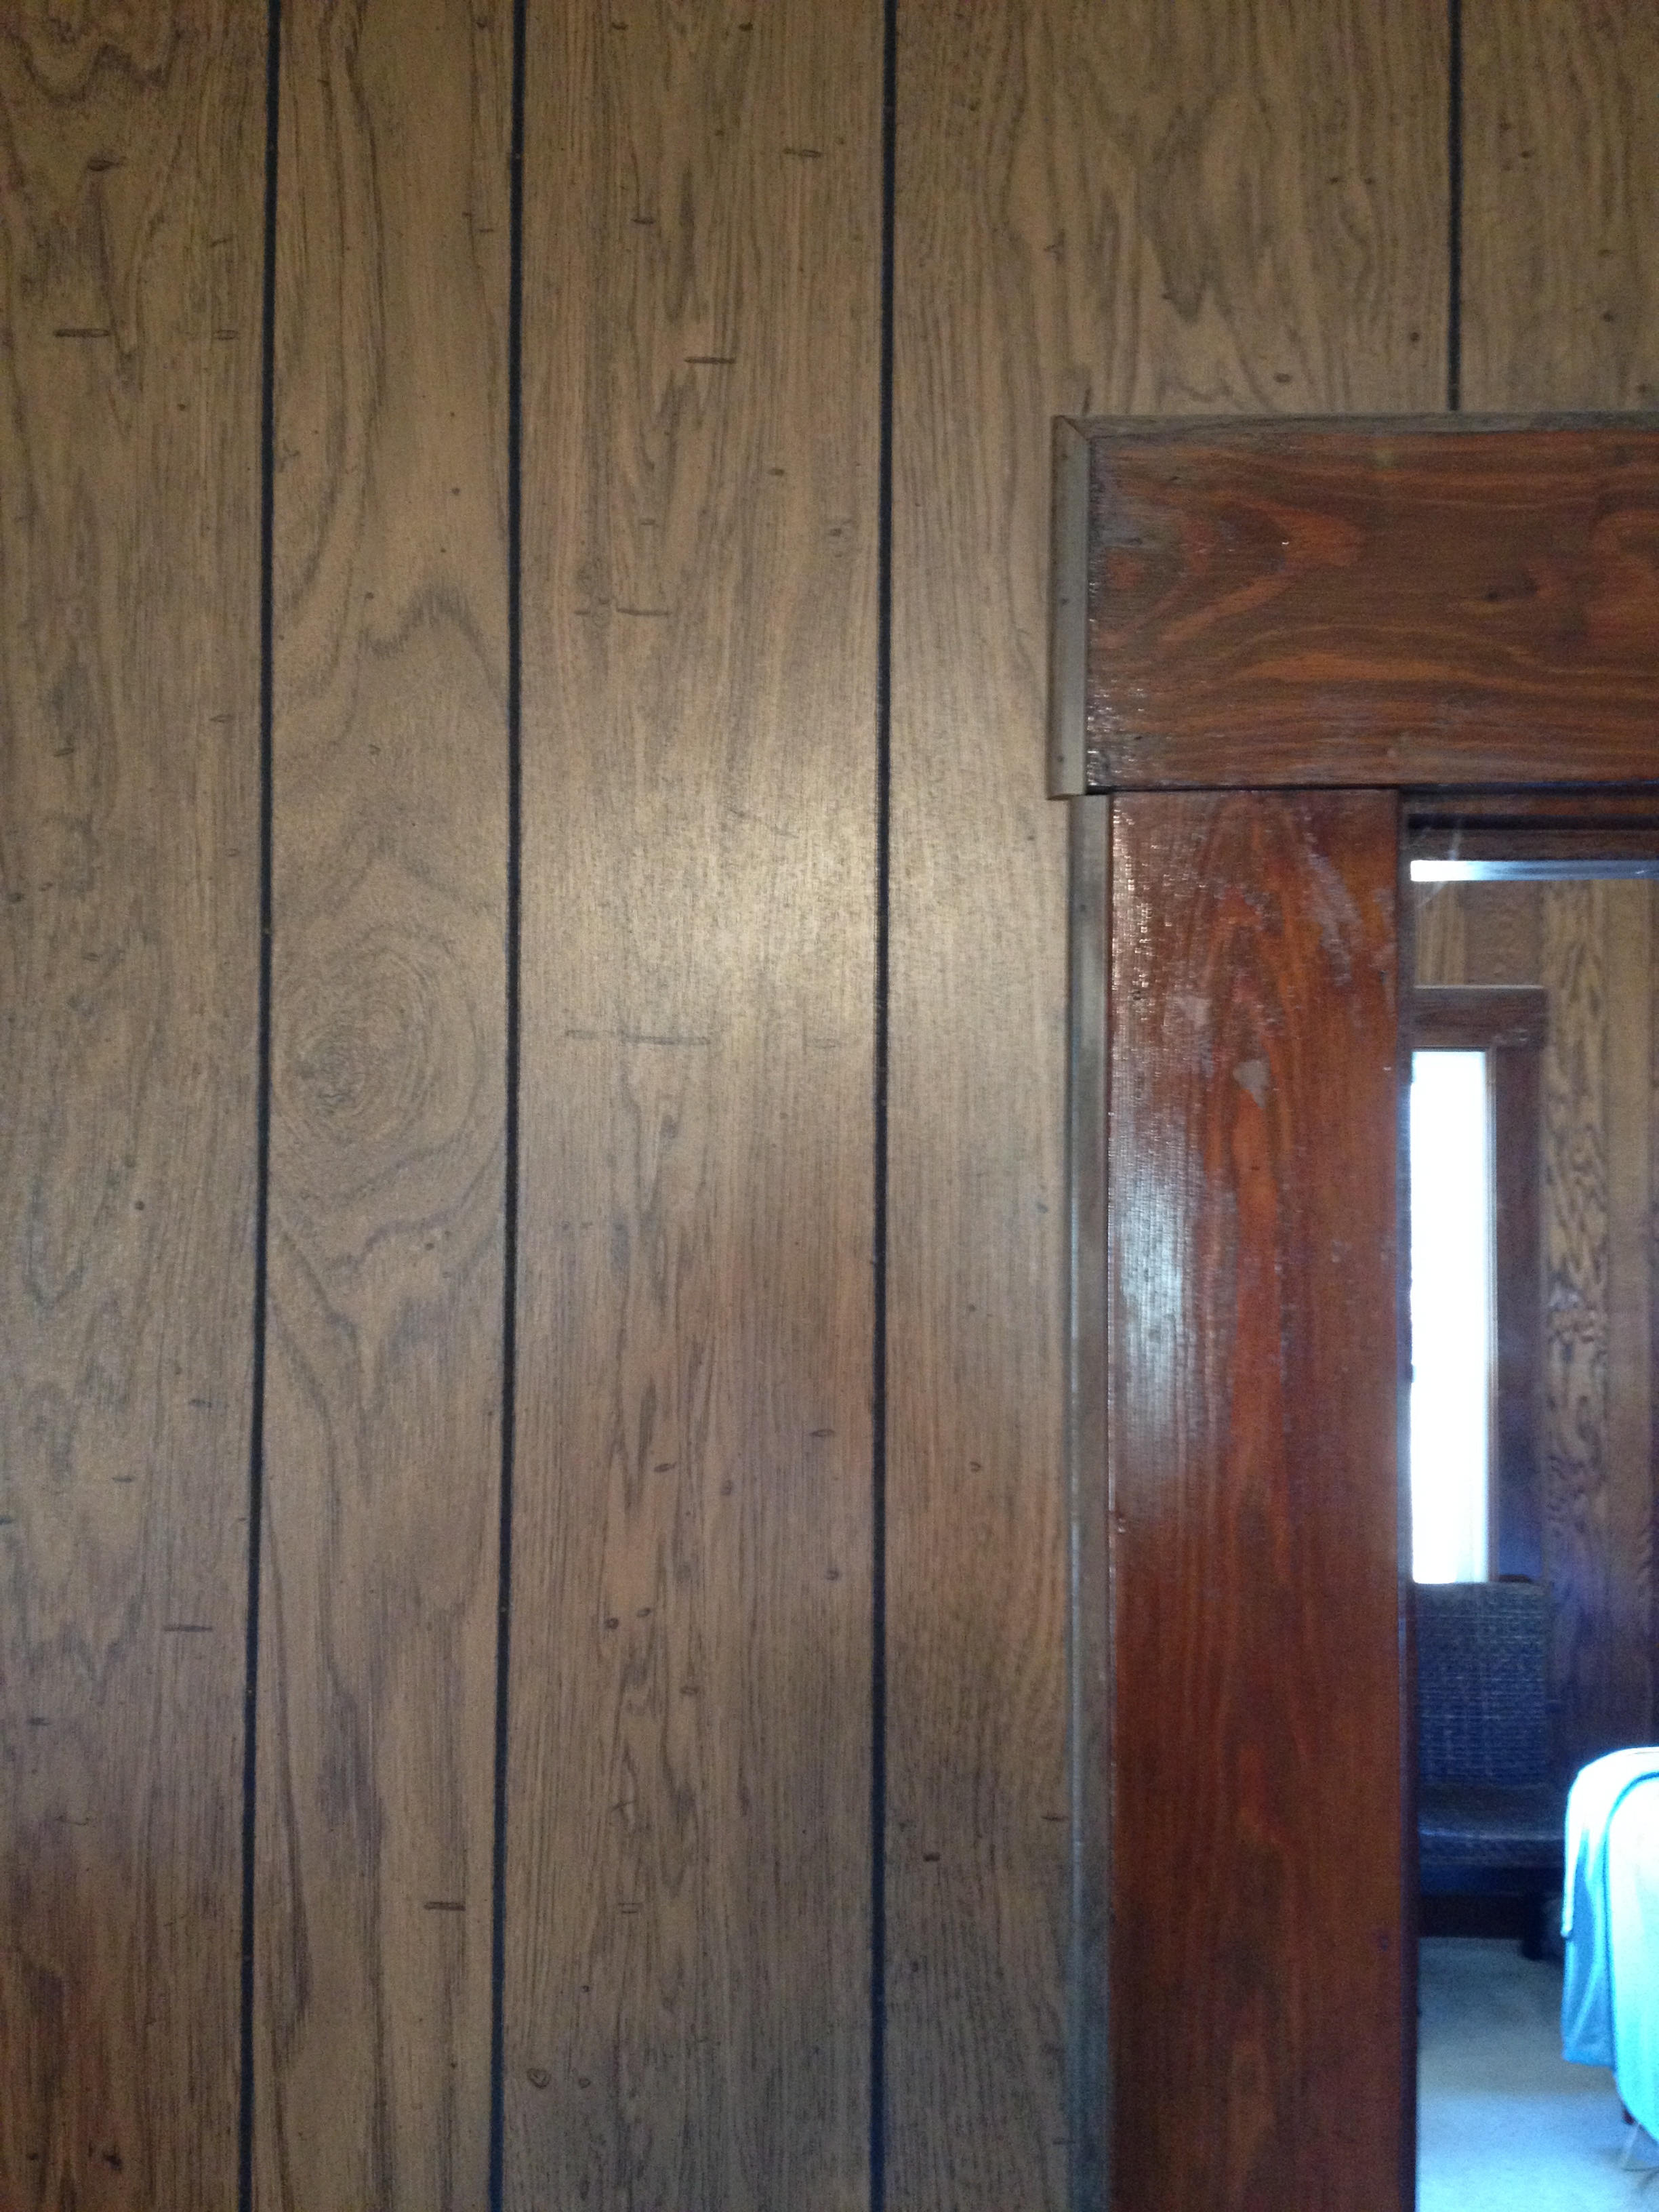
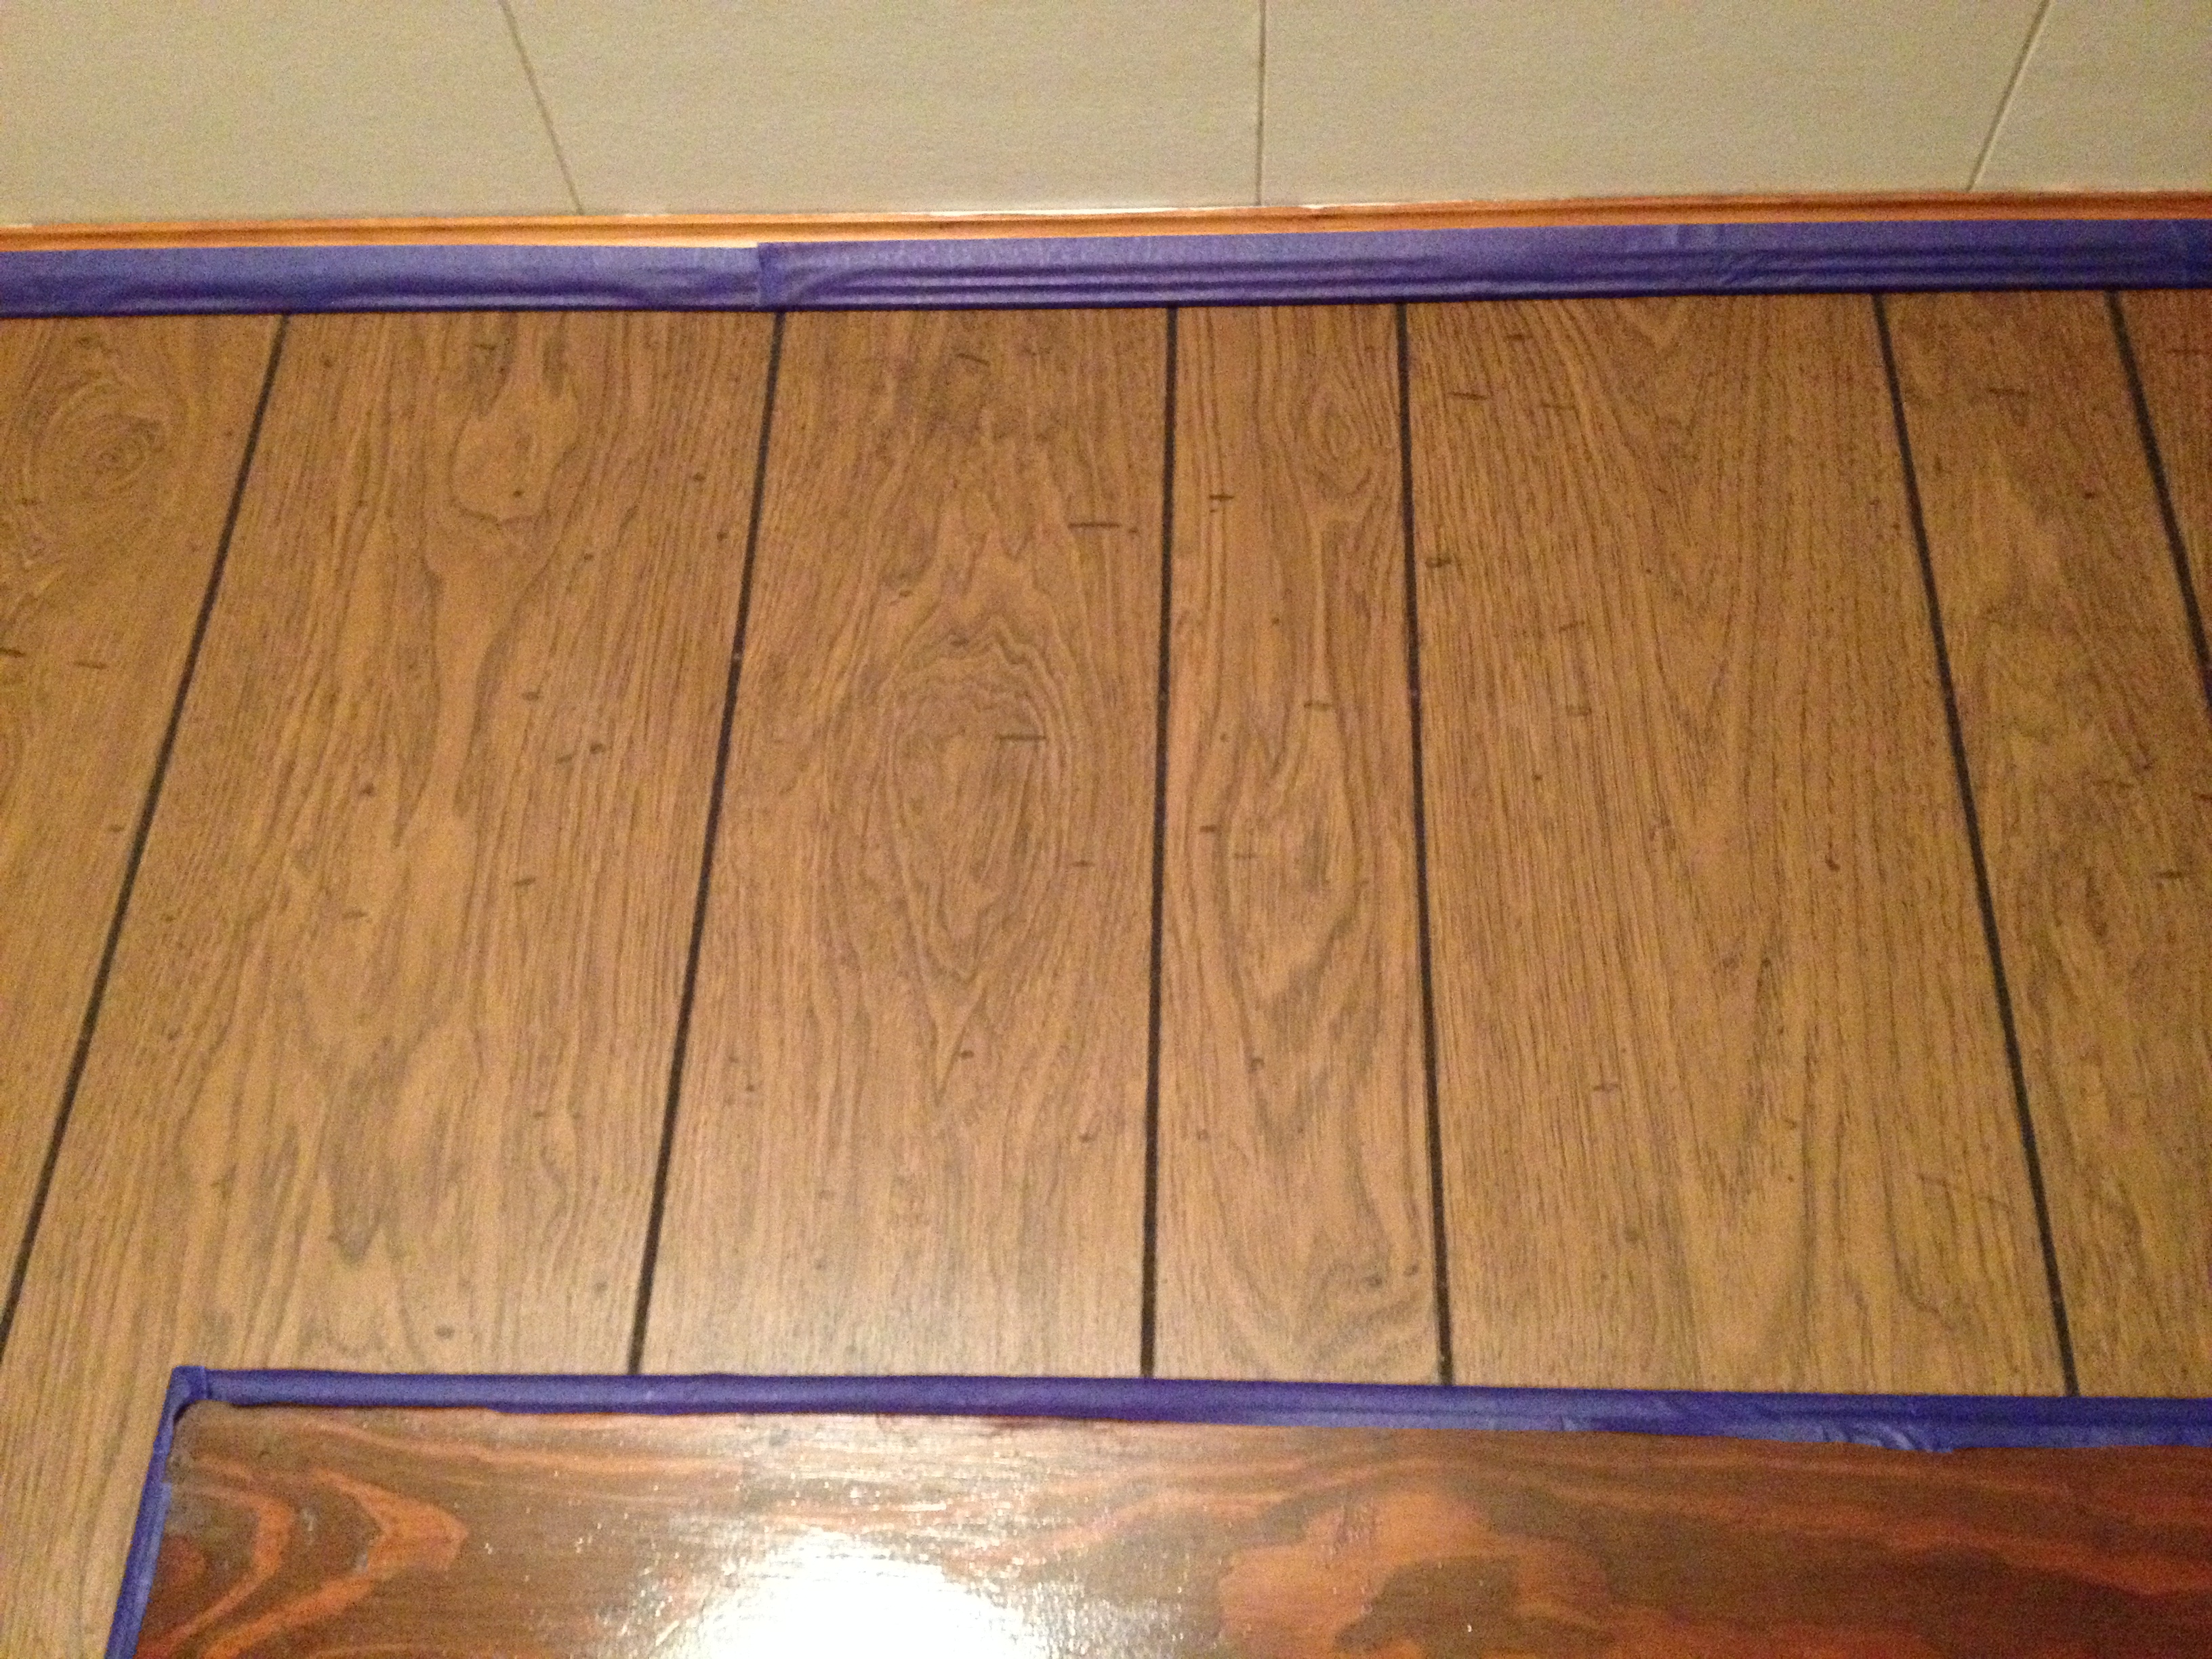
And just for funsies, in case you don’t remember old Aunt Bertha’s house, here it is close-up:
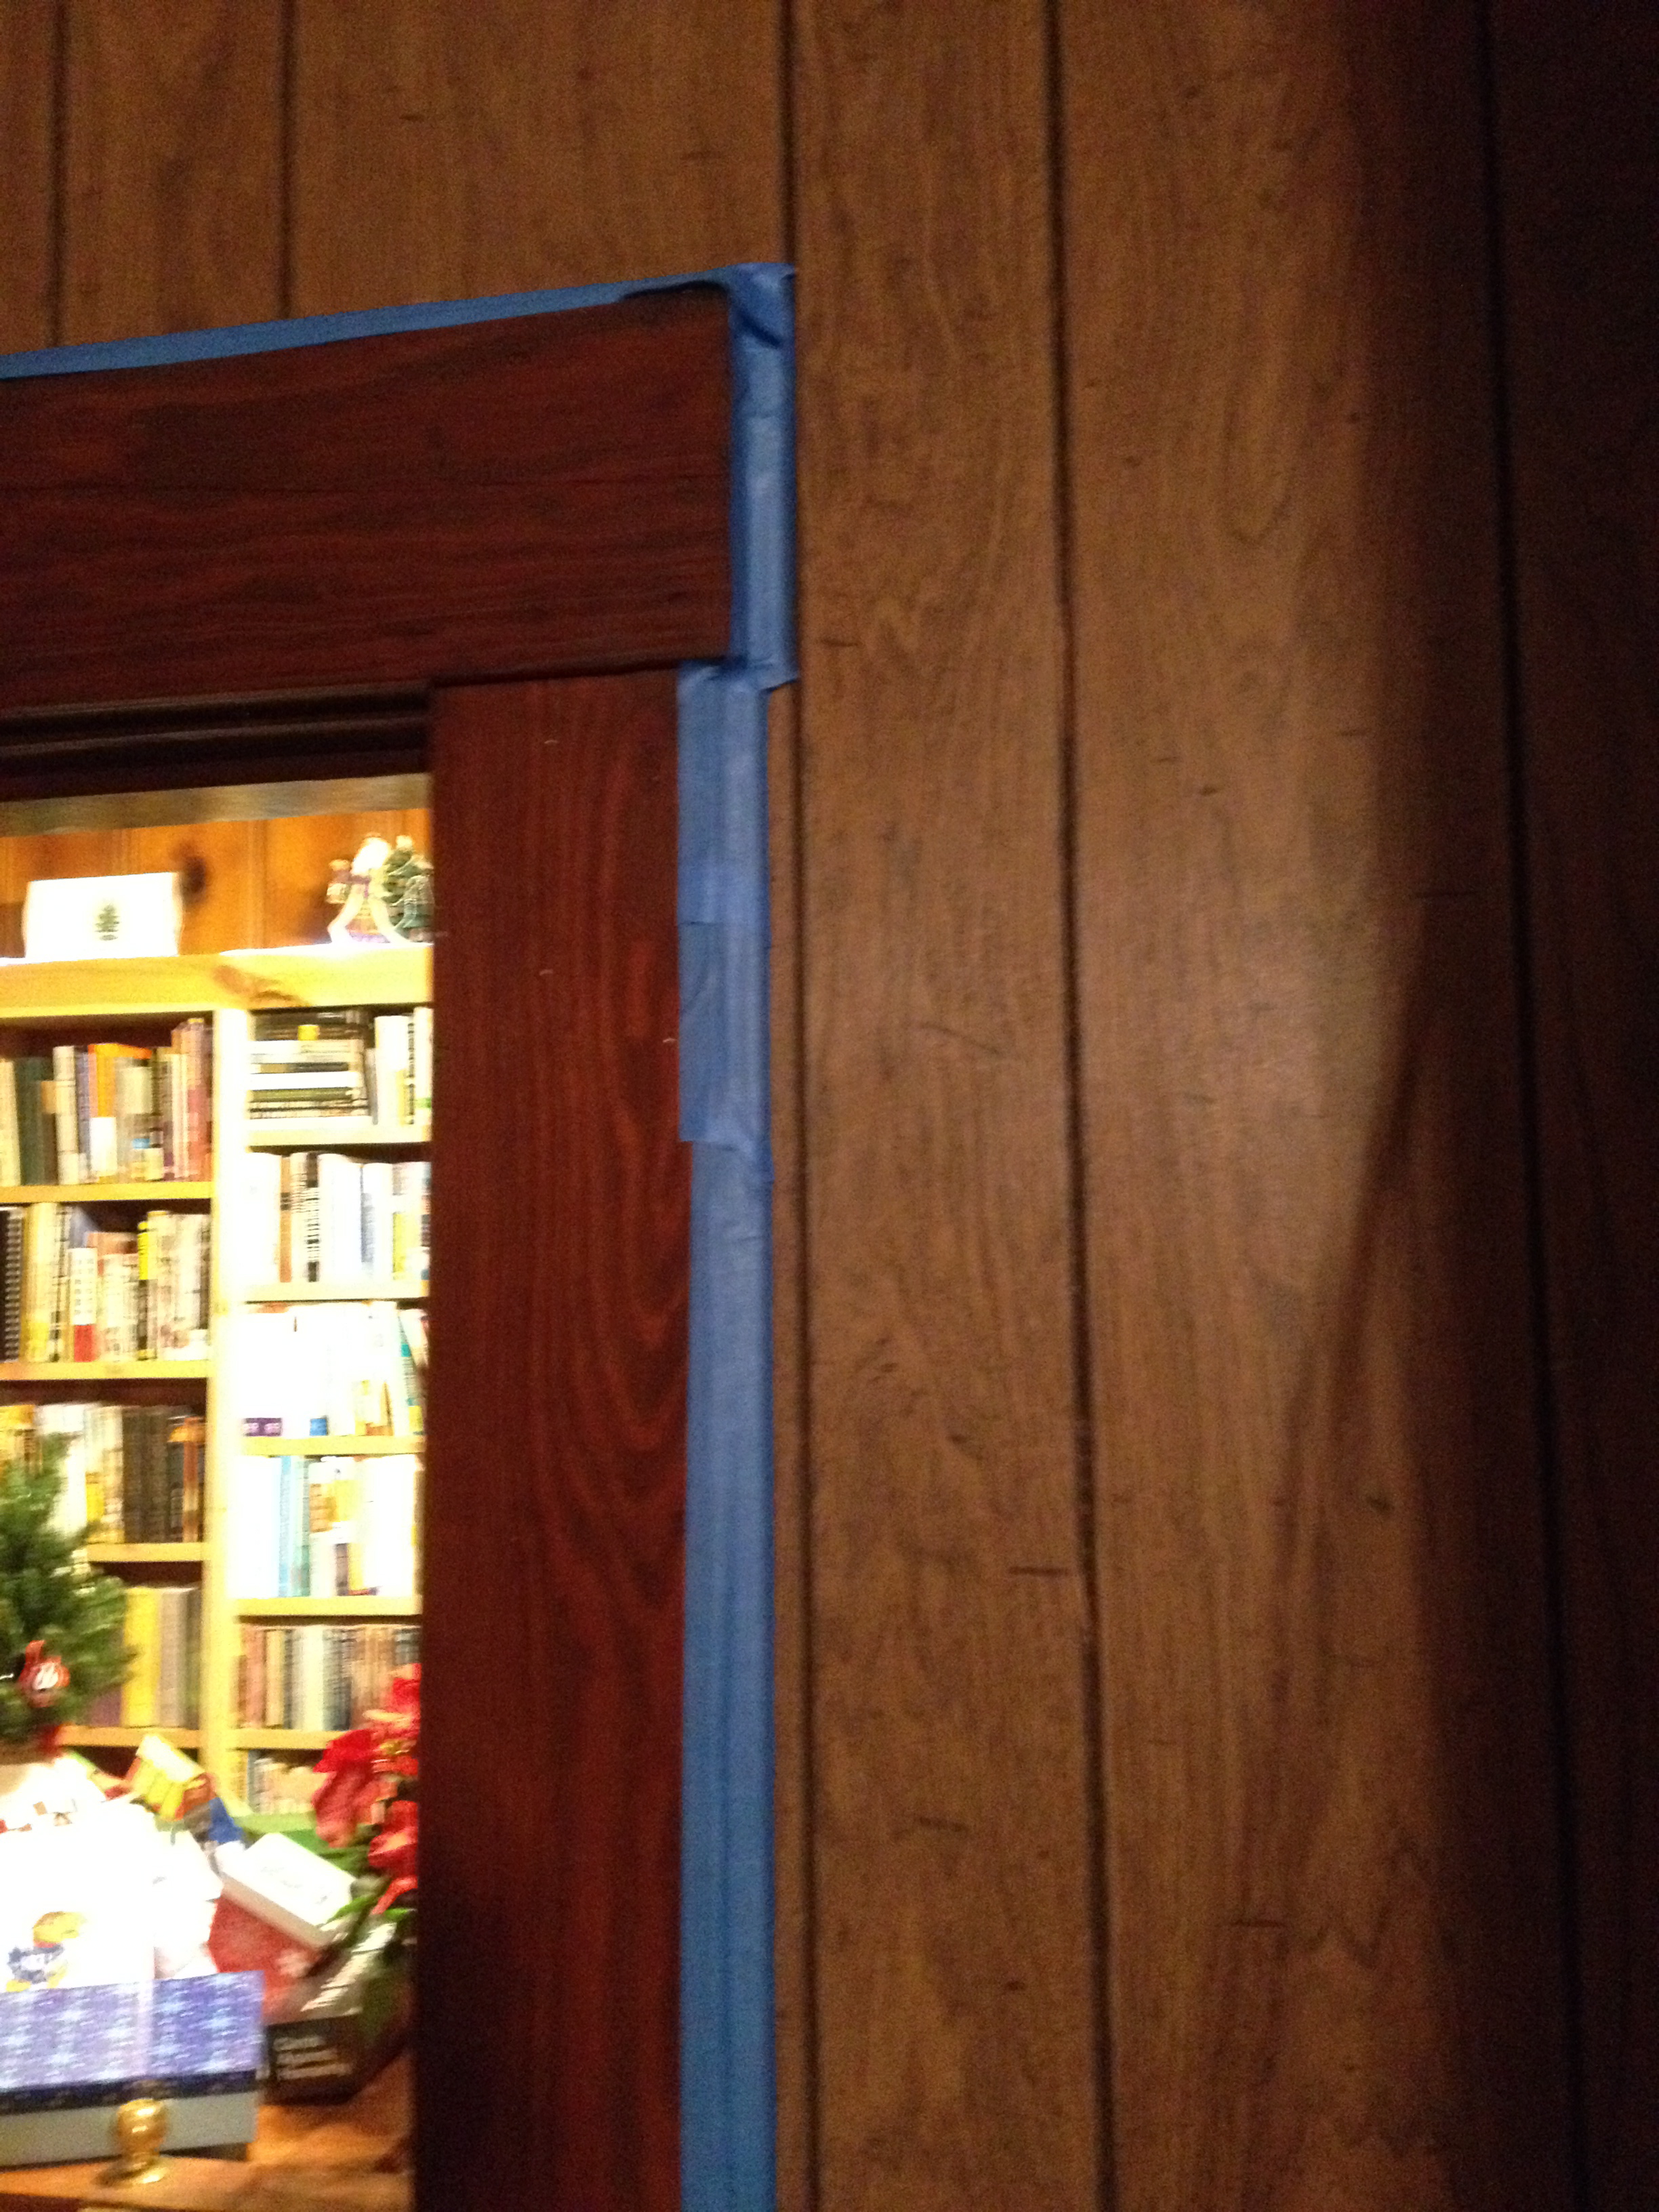
Mmmmm. Beautiful faux-grain.
The door jambs, however, are heavy stained hardwood, and I love them. I want to emphasize them and have them really stand out. I have less-than-zero interior design sensitivity, and I could be doing this all wrong, but as always, that’s how I roll, so full speed ahead on the remodel. Youtube is my friend, so I watched dozens of short videos on painting paneling. I compiled a list of the most consistent supplies and techniques and off to Home Depot I went.
What I most wanted was a sunny yellow room. I had a yellow kitchen a lifetime ago and loved every day in it. But I know that the fastest way you can make yellow ugly is to pair it with brown. So I looked at pale aqua, mint green, light lavender, and barely blue. I found this click-happy Glidden website to play with colors. I live alone, so I get to choose what color I want, but the downside is that there’s no one to turn to when it’s done and passive-aggressively say “Hmmm…wonder what the other color would have looked like?” In the end, I went with my first choice – a warm, pretty yellow that went by the name of Morning Sun.
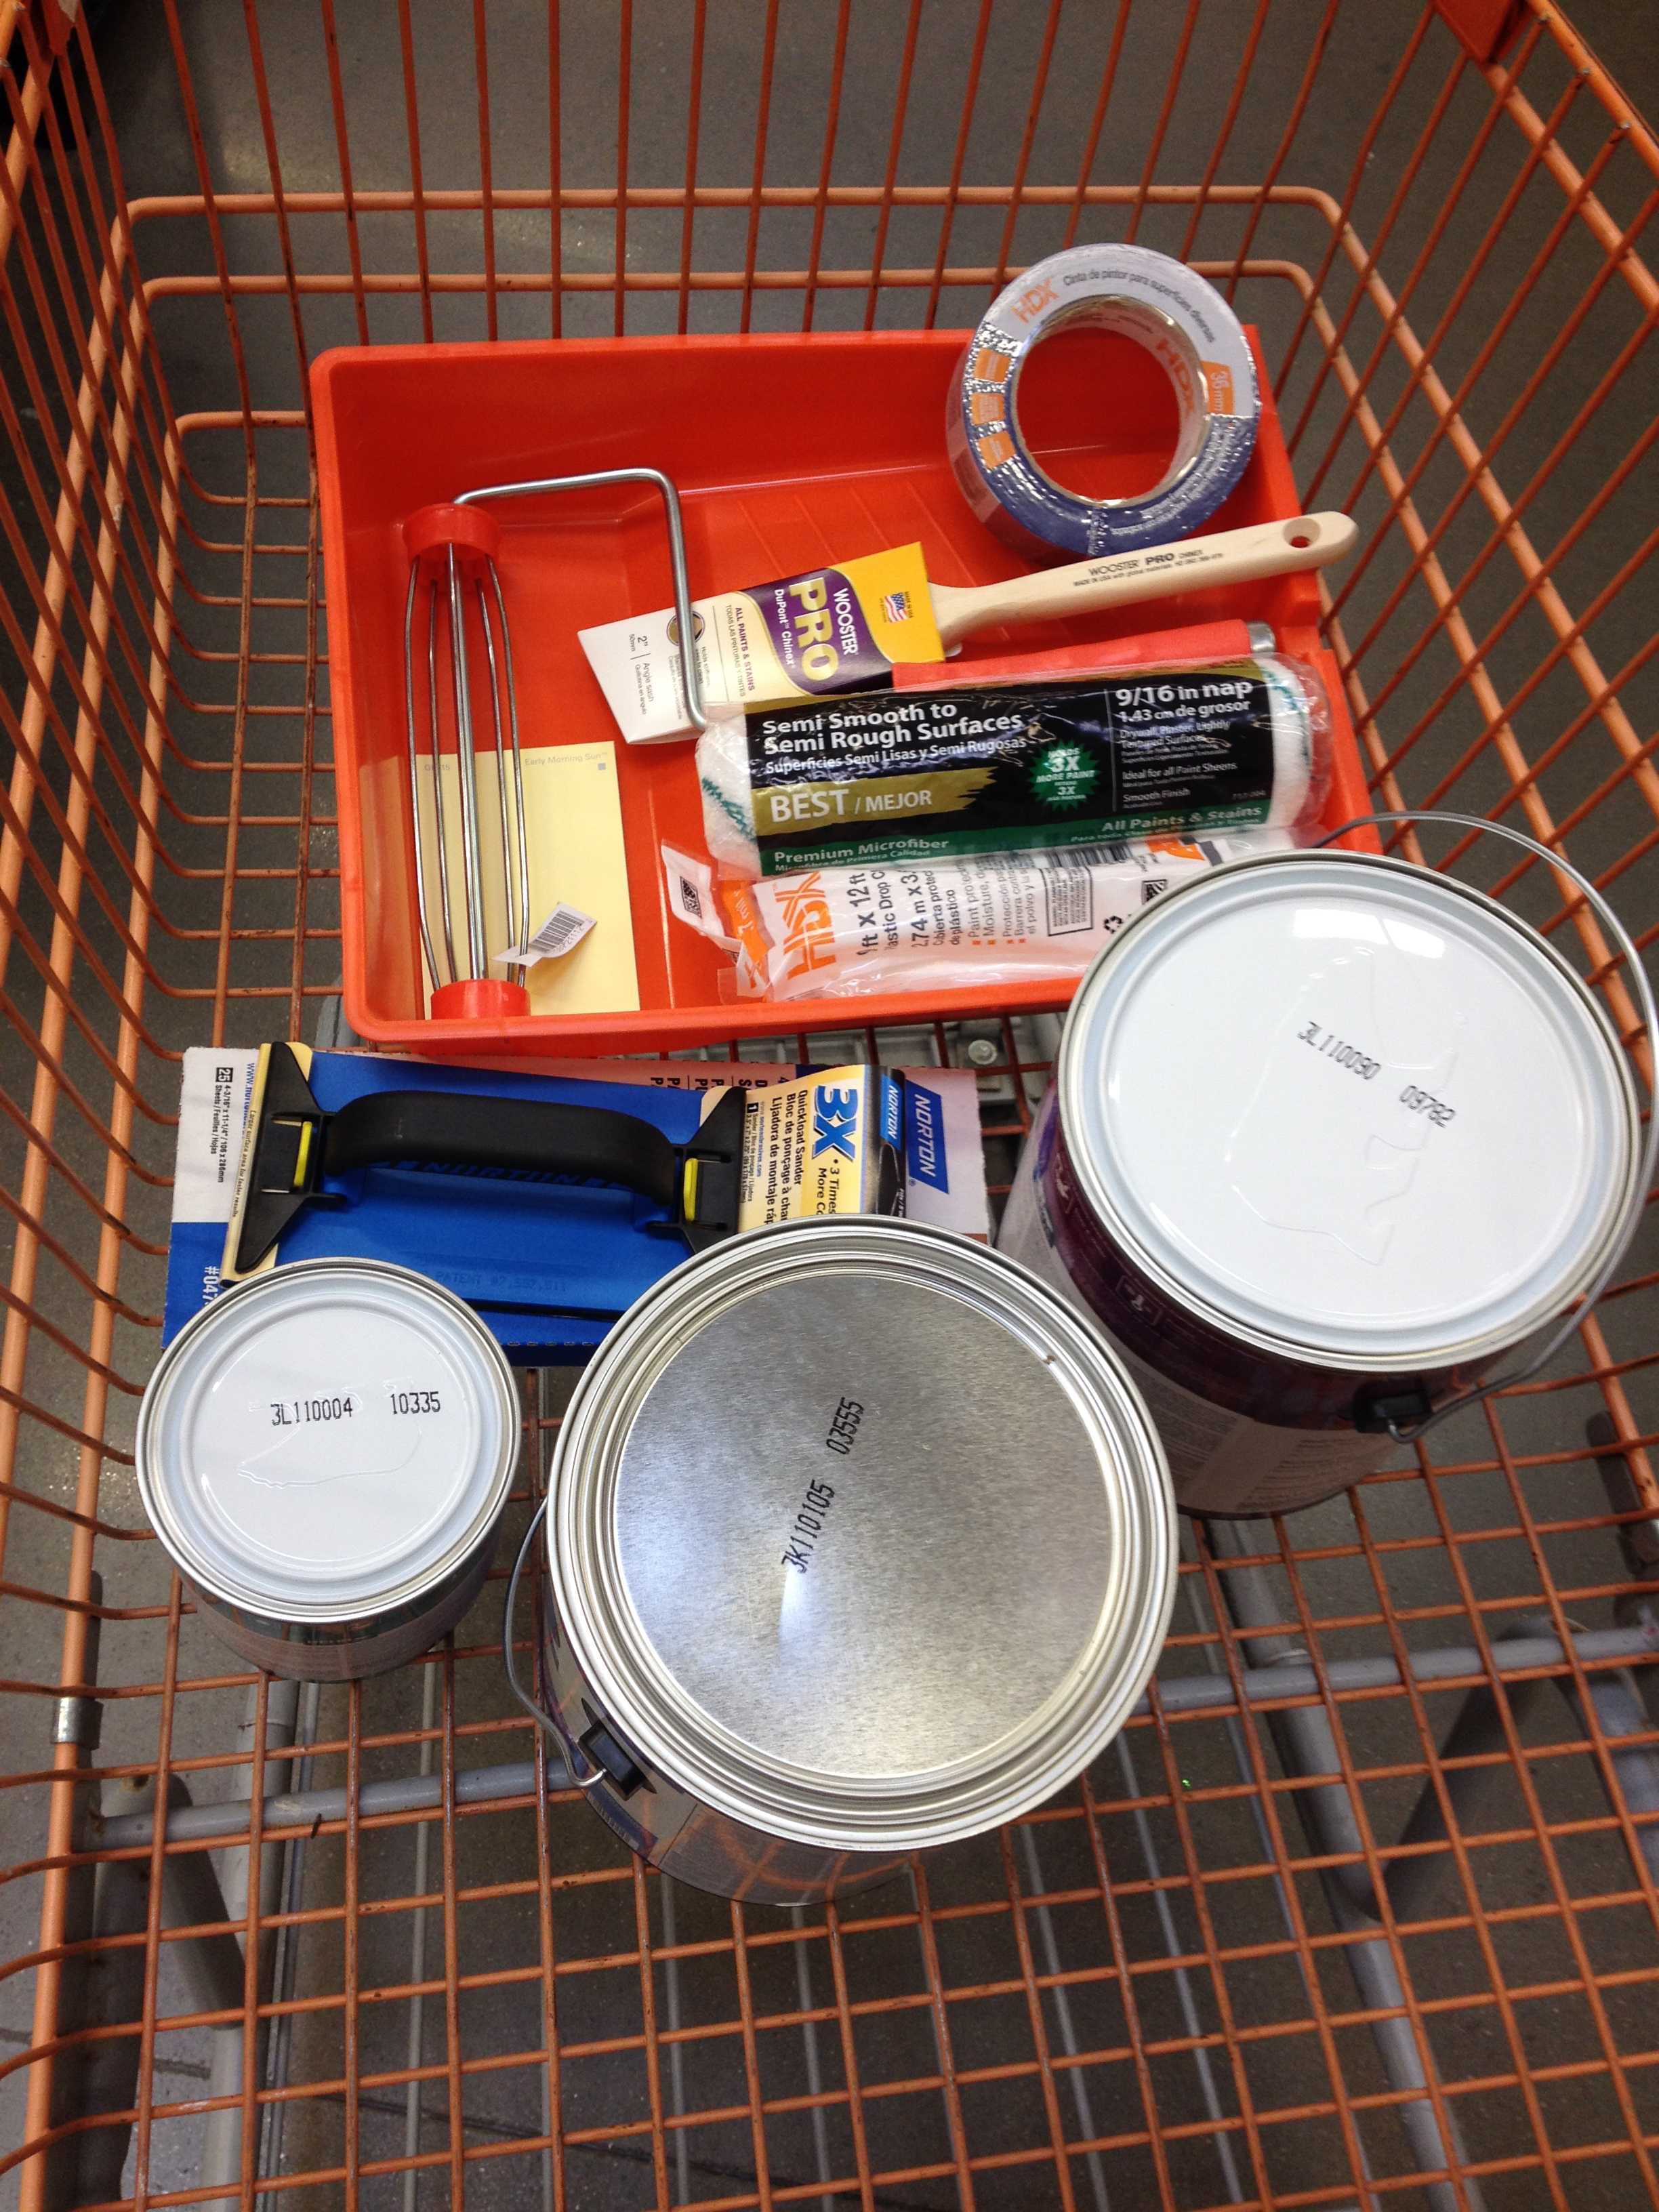
My cart from Home Depot
Here’s my supplies and cost list:
Gallon of primer $17
Gallon of tinted paint $26
Quart of trim paint $12
Sandpaper $8
Sandpaper holder $8
1 roll of painter’s tape $5 (plus one-half a roll I had at home)
Paint roller $5
Roller holder $4
Paint Brush $12 (I know, right?)
Dropcloth $2
Paint Tray $4
Day One, as Day Ones always are, was all about the prep. I keep my house pretty neat, so the room was already clean. I had to Tetris all the furniture to the middle of the room, leaving access to dresser drawers, and make a pathway around the perimeter. Next was removing all the faceplates for the outlets and light switches. Then of course I had to vacuum under where all the furniture had been cuz that too is how I roll.
Then came cleaning the walls, then sanding the walls (to rough up the paneling surface to take the primer better), then washing again to eliminate any sanding dust.
Finally it was the actual prep for the painting – taping all the trim with the painter’s tape. That was tedious, but I know that extra work here pays off when the painting begins.
Taping….…taping……taping.
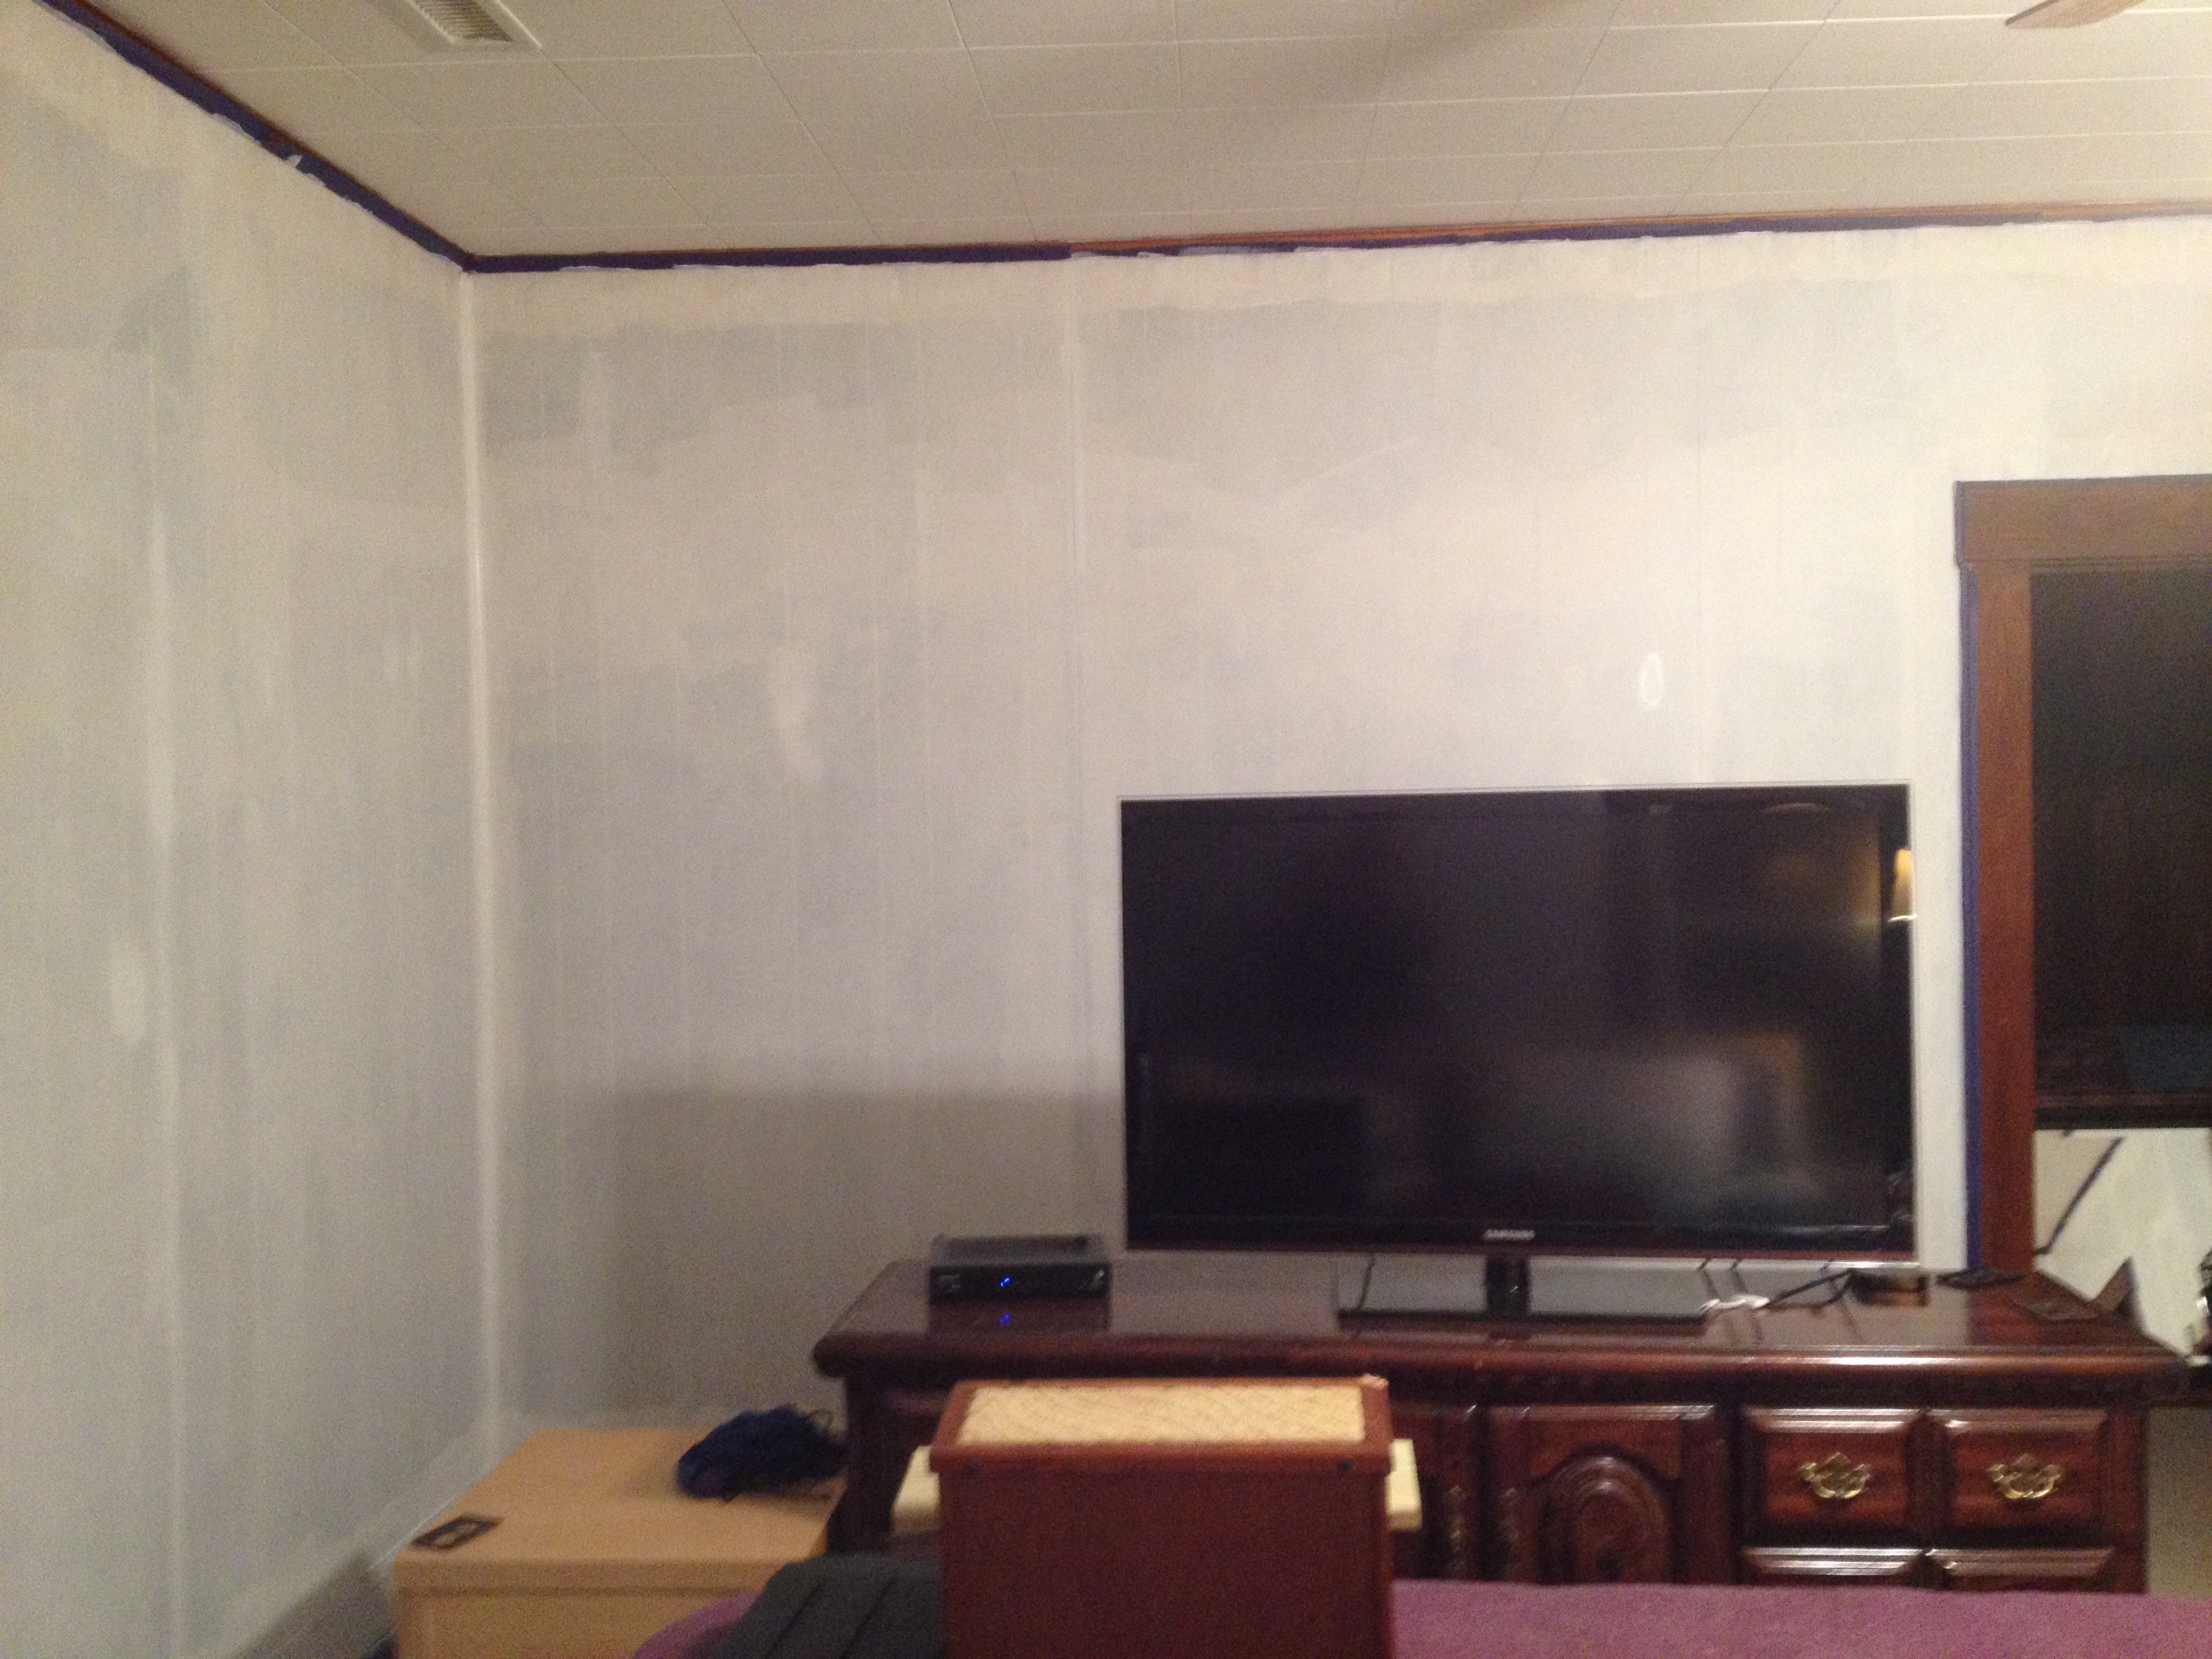
Day Two was Primer Day. First, cutting in all the edges:
It all looks like this, so I’ll just post this one picture.
This took a long time, and as I was working, I realized that I would have to repeat all of these steps the next day, with paint instead of primer. After cutting all the edges, it was time for the roller work.
My bathtub served as my staging area for cans and brushes.
I call the next phase the panic stage. This is after I’ve rolled the primer, so any hope of the old paneling is gone, but I have no idea how the painting is going to turn out. Count in another hour or so to rinse and wash the tools.
I went to sleep looking at this. Scary. No guarantee I haven’t rurnd my bedroom.
Finally, Day Three. Keep in mind I’ve chosen my color because of its name, and how it looked on a little picture online. Here goes nothin…
Moment of truth. Here’s my color. No going back now.
Again, the cutting. All the edges, around the 2 windows and 3 doors, the ceiling and the baseboard. Then back to the roller for the really fun part. One section at a time, my room transformed. I had to keep working at a steady pace because, well, paint, but I couldn’t stop looking at the parts that were finished.
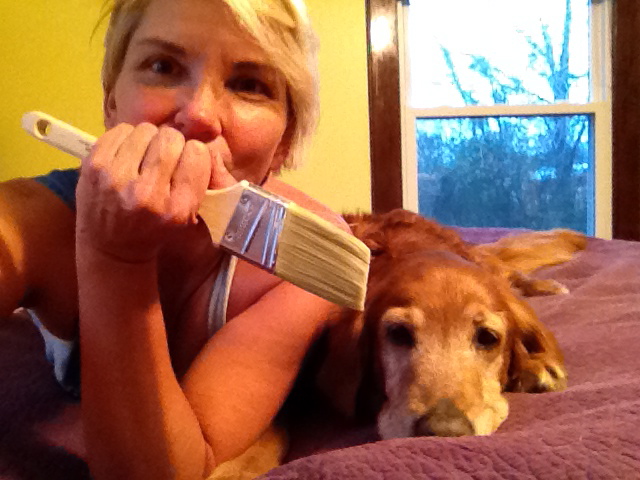
That’s my constant companion there on the bed.And my other constant companion, who doesn’t want me to be lonely, even when relaxing in the tub after a long day of painting.
The final half-day started with assessing whether I needed another coat. I had used the gallon of paint I bought to the last drop, scraping the sides of the bucket with my brush and painting it onto the roller to get the last few inches. No, don’t need another coat, but now I have zero yellow for touch-ups, so I’ll probably still have to buy another quart.
Then came Tape Removal. I’m going to say it’s not so much Removal as it is Convincing the Tape It Wants to Come Off. I know nothing about physics (gotta C in Physics 101 in college, and I remember one thing – the Doppler Effect), but I do know that when you put tension on the tape, there is a point that the adhesive will release, and a point where the tape will tear, and that amount of tension is a magical mystery. And it’s measured in microstretches or something. Me, tweezers, and an exacto blade. Just sayin.
Anyhoo, after that most gratifying of experiences, I had a moment of indecision. There is a narrow piece of crown molding, that when the room was paneled was almost unnoticeable, but now that the walls are yellow, may need to be painted. If I keep it natural, it kind of ties together the door and window jambs, but kind of stands out. If I paint it white, it blends the white ceiling with the walls, but there is no other white in the room, so it may be too much. I decided to add the next few pics and ask you to help me out!
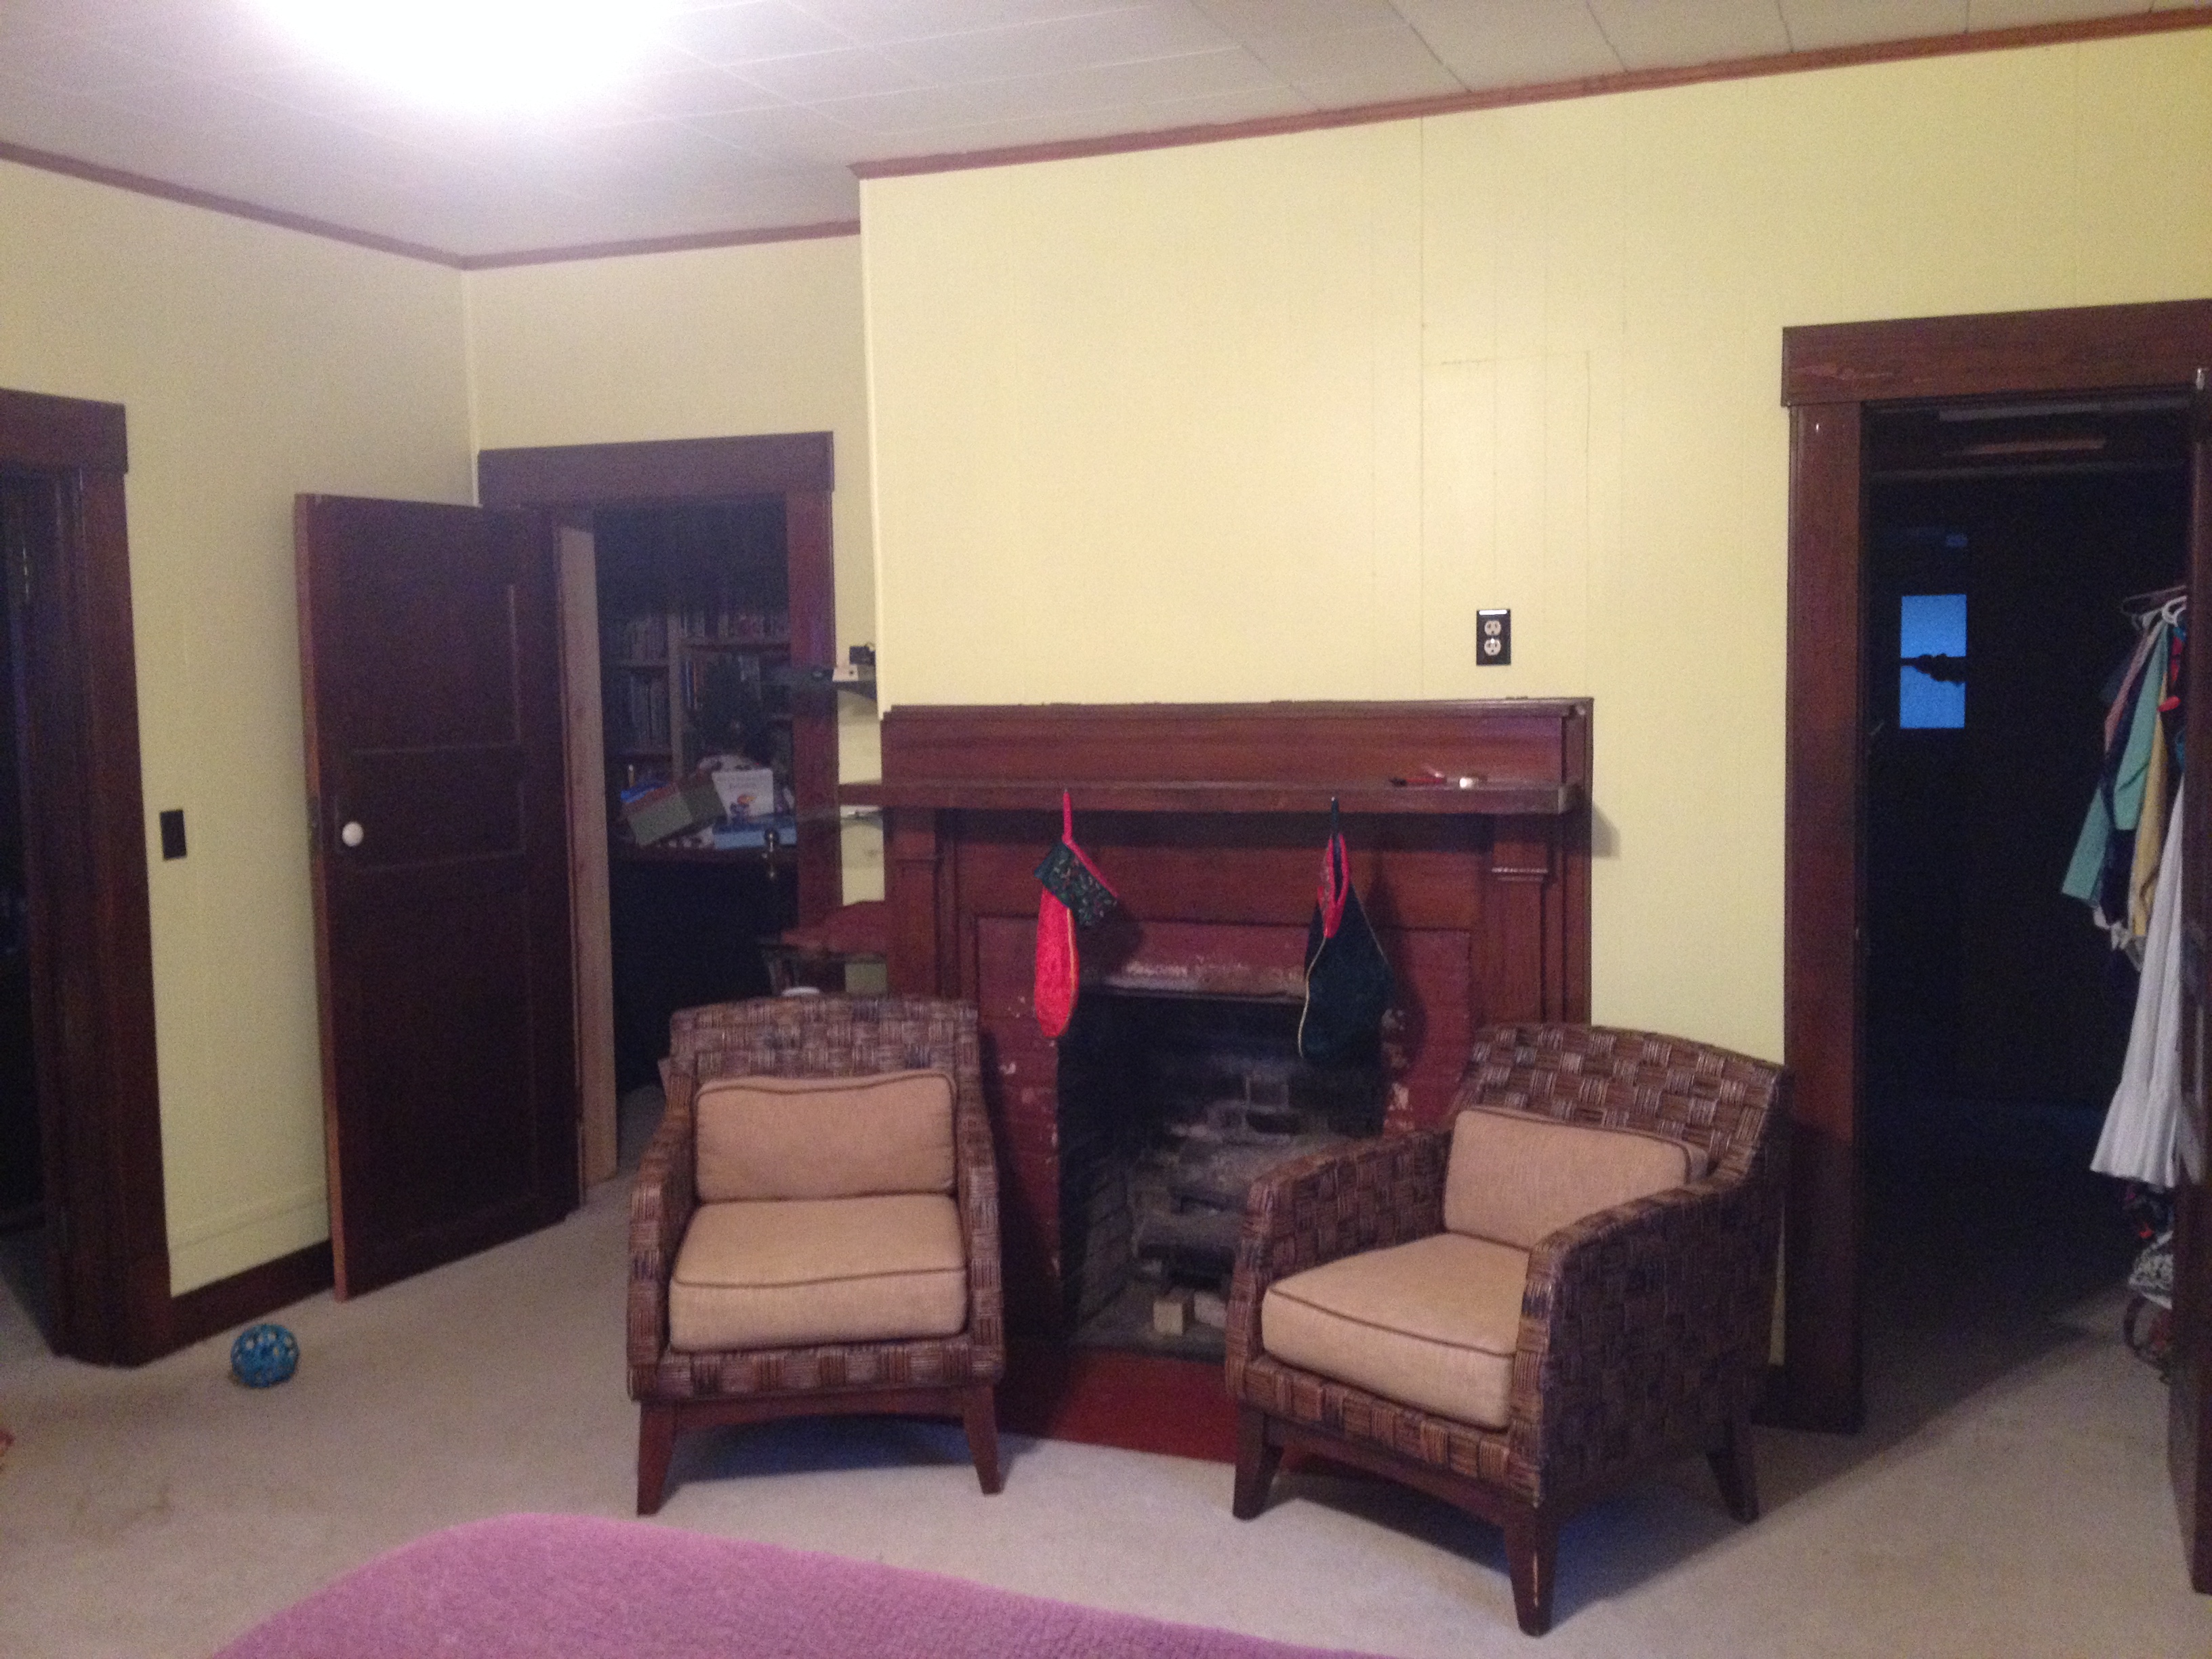
Look at my beautiful sunny room!!!What color do I paint those exposed bricks on the fireplace? They’re kind of Chipped Red right now.One of my painting buddies and me.
I could not be happier with how it turned out. 3.5 days, just over $100 (plus I have the equipment now for the other 2 rooms in my house that have paneling), and my DIY bedroom transformation is done!
I’m an expert now, so let me know if you have any questions.