PROJECT:
Do away with the nasty-ass, 1970’s trailer park, ugly, dark brown paneling in my bedroom. The squeeze is out of town, so there’s no one to talk me out of it.
OPTIONS:
a) Tear it out, replace with sheetrock. Good choice, but expensive, and above my pay grade.
b) Wallpaper over it. No bueno, I hate wallpaper almost as much as I hate the paneling.
c) Paint the paneling. Cheap, quick, looks like painted paneling. Perfect.
In a justification of all the time it would take to do this, I listened to law school lectures the entire time (with maybe a little Pandora mixed in). Finals are December 11 and 13. Gah.
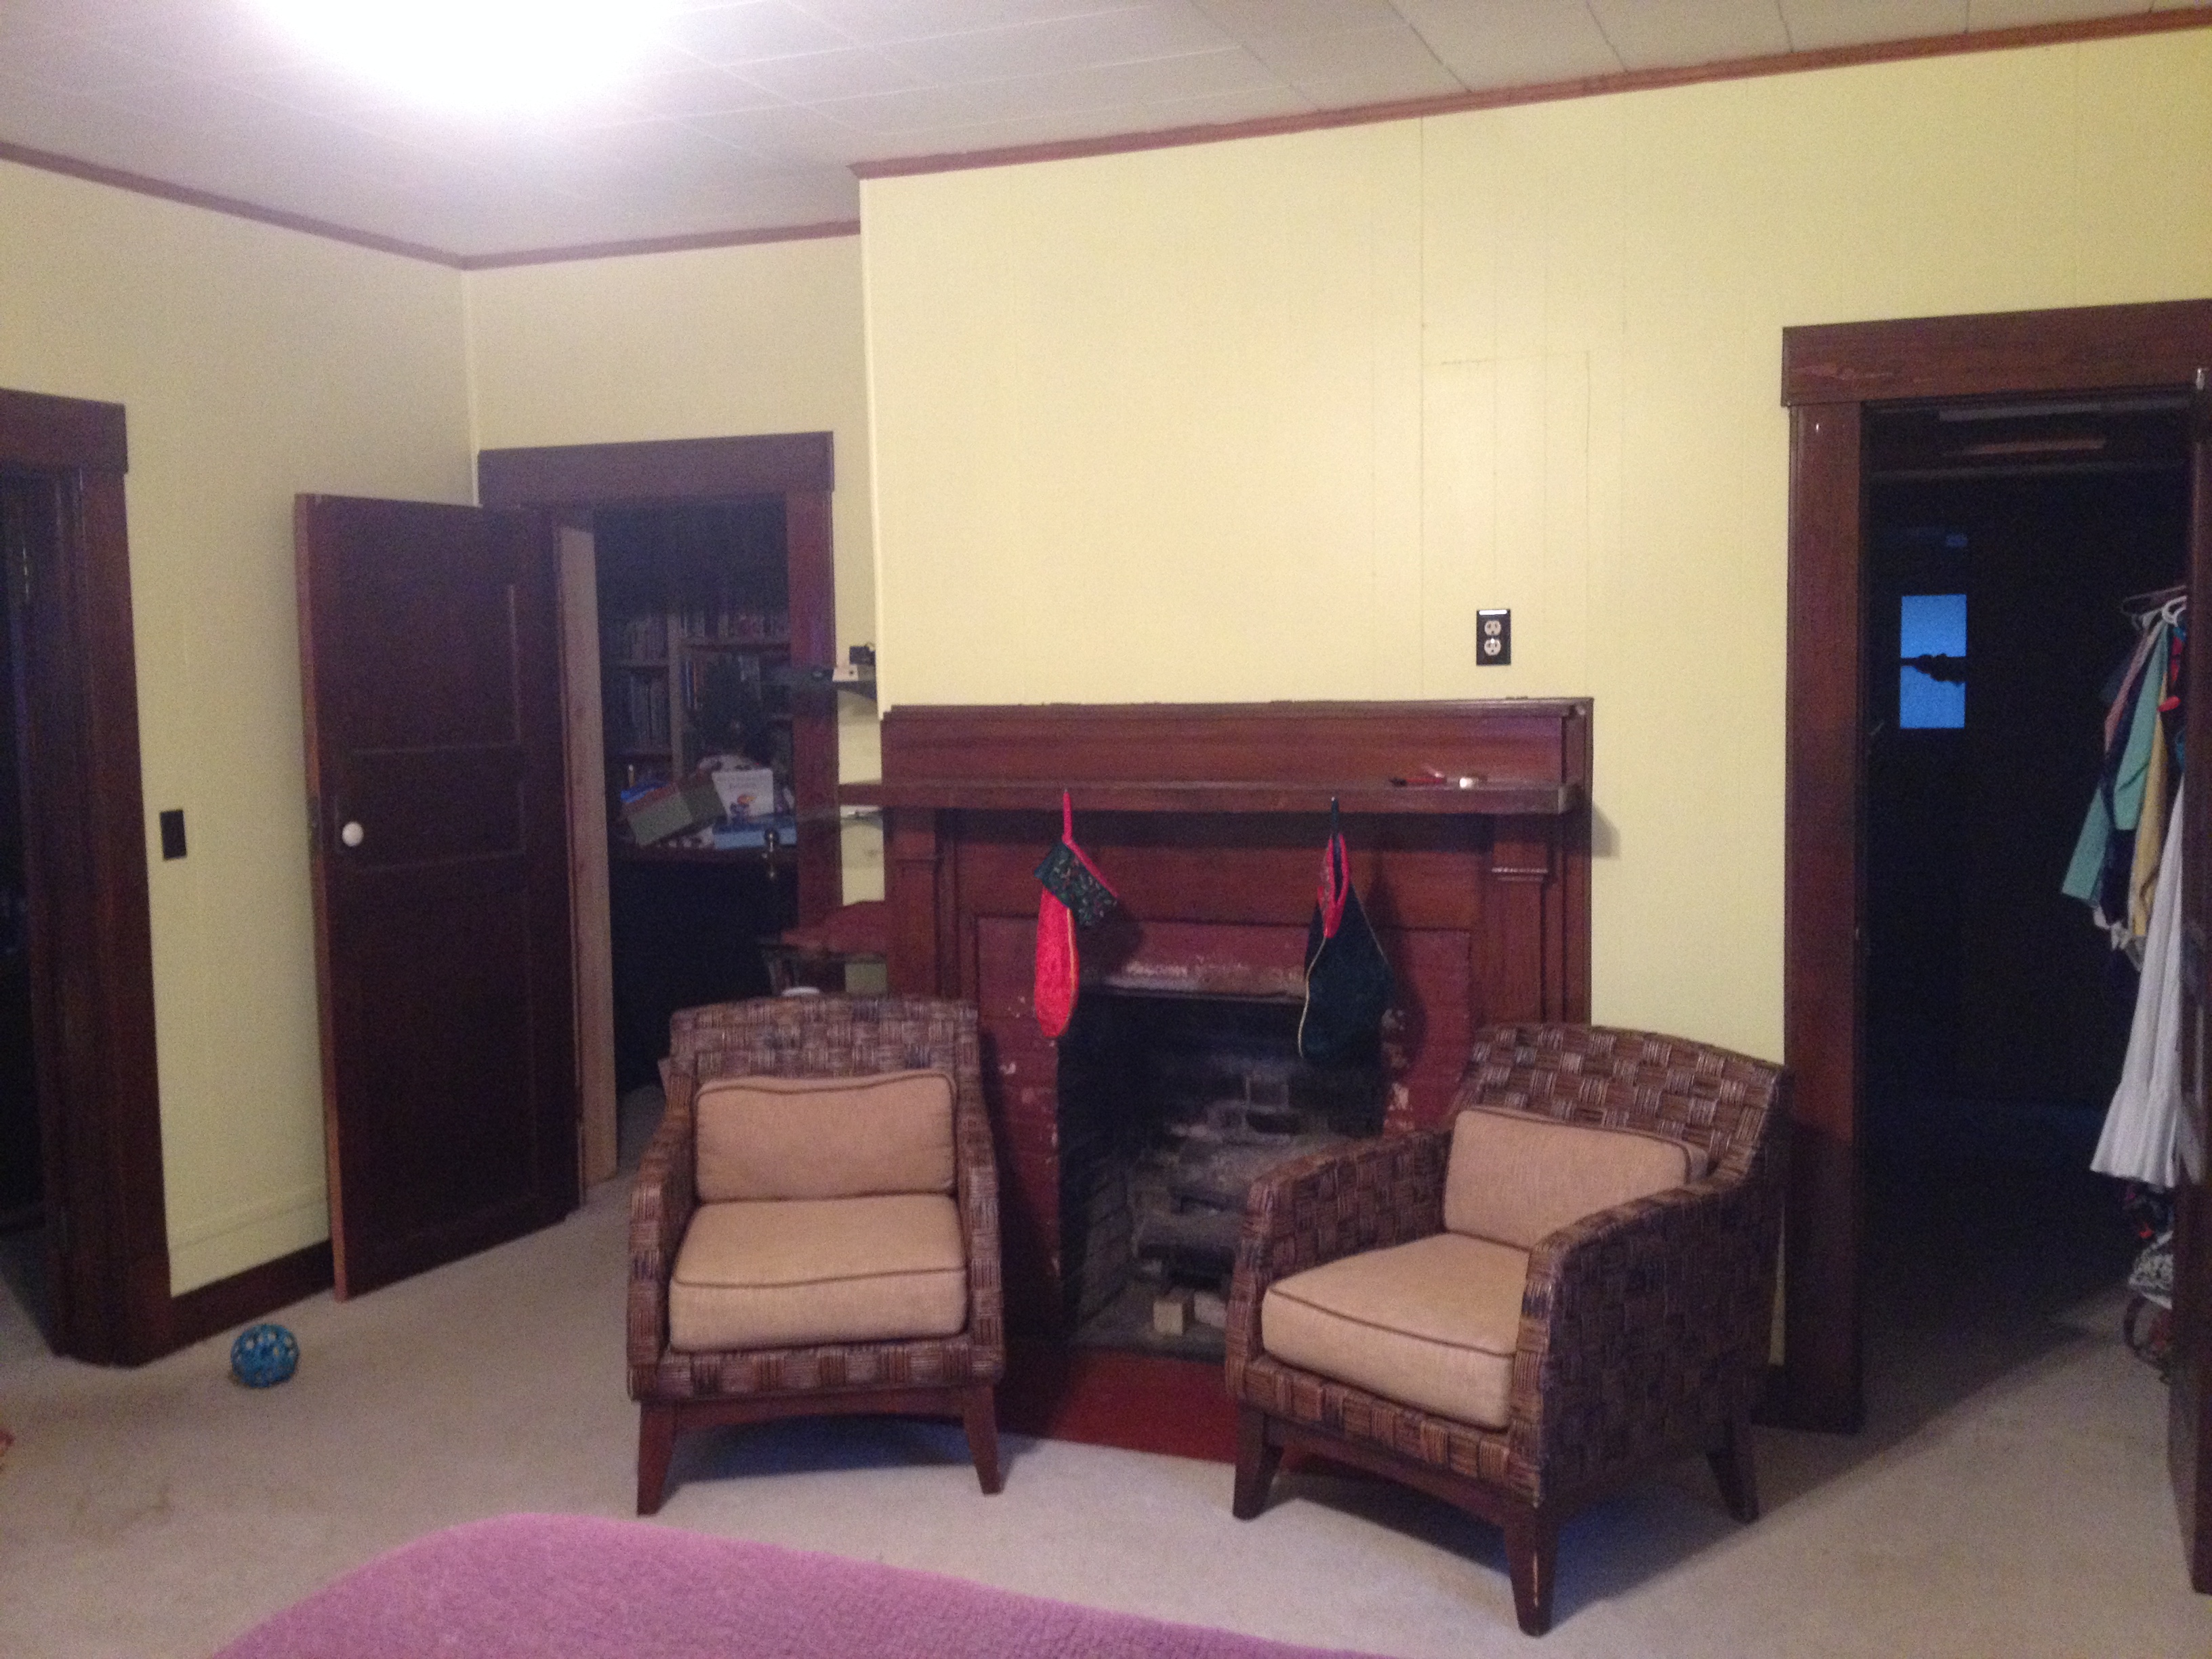
To give a sense of how yukky the paneling is, here are the before pics:

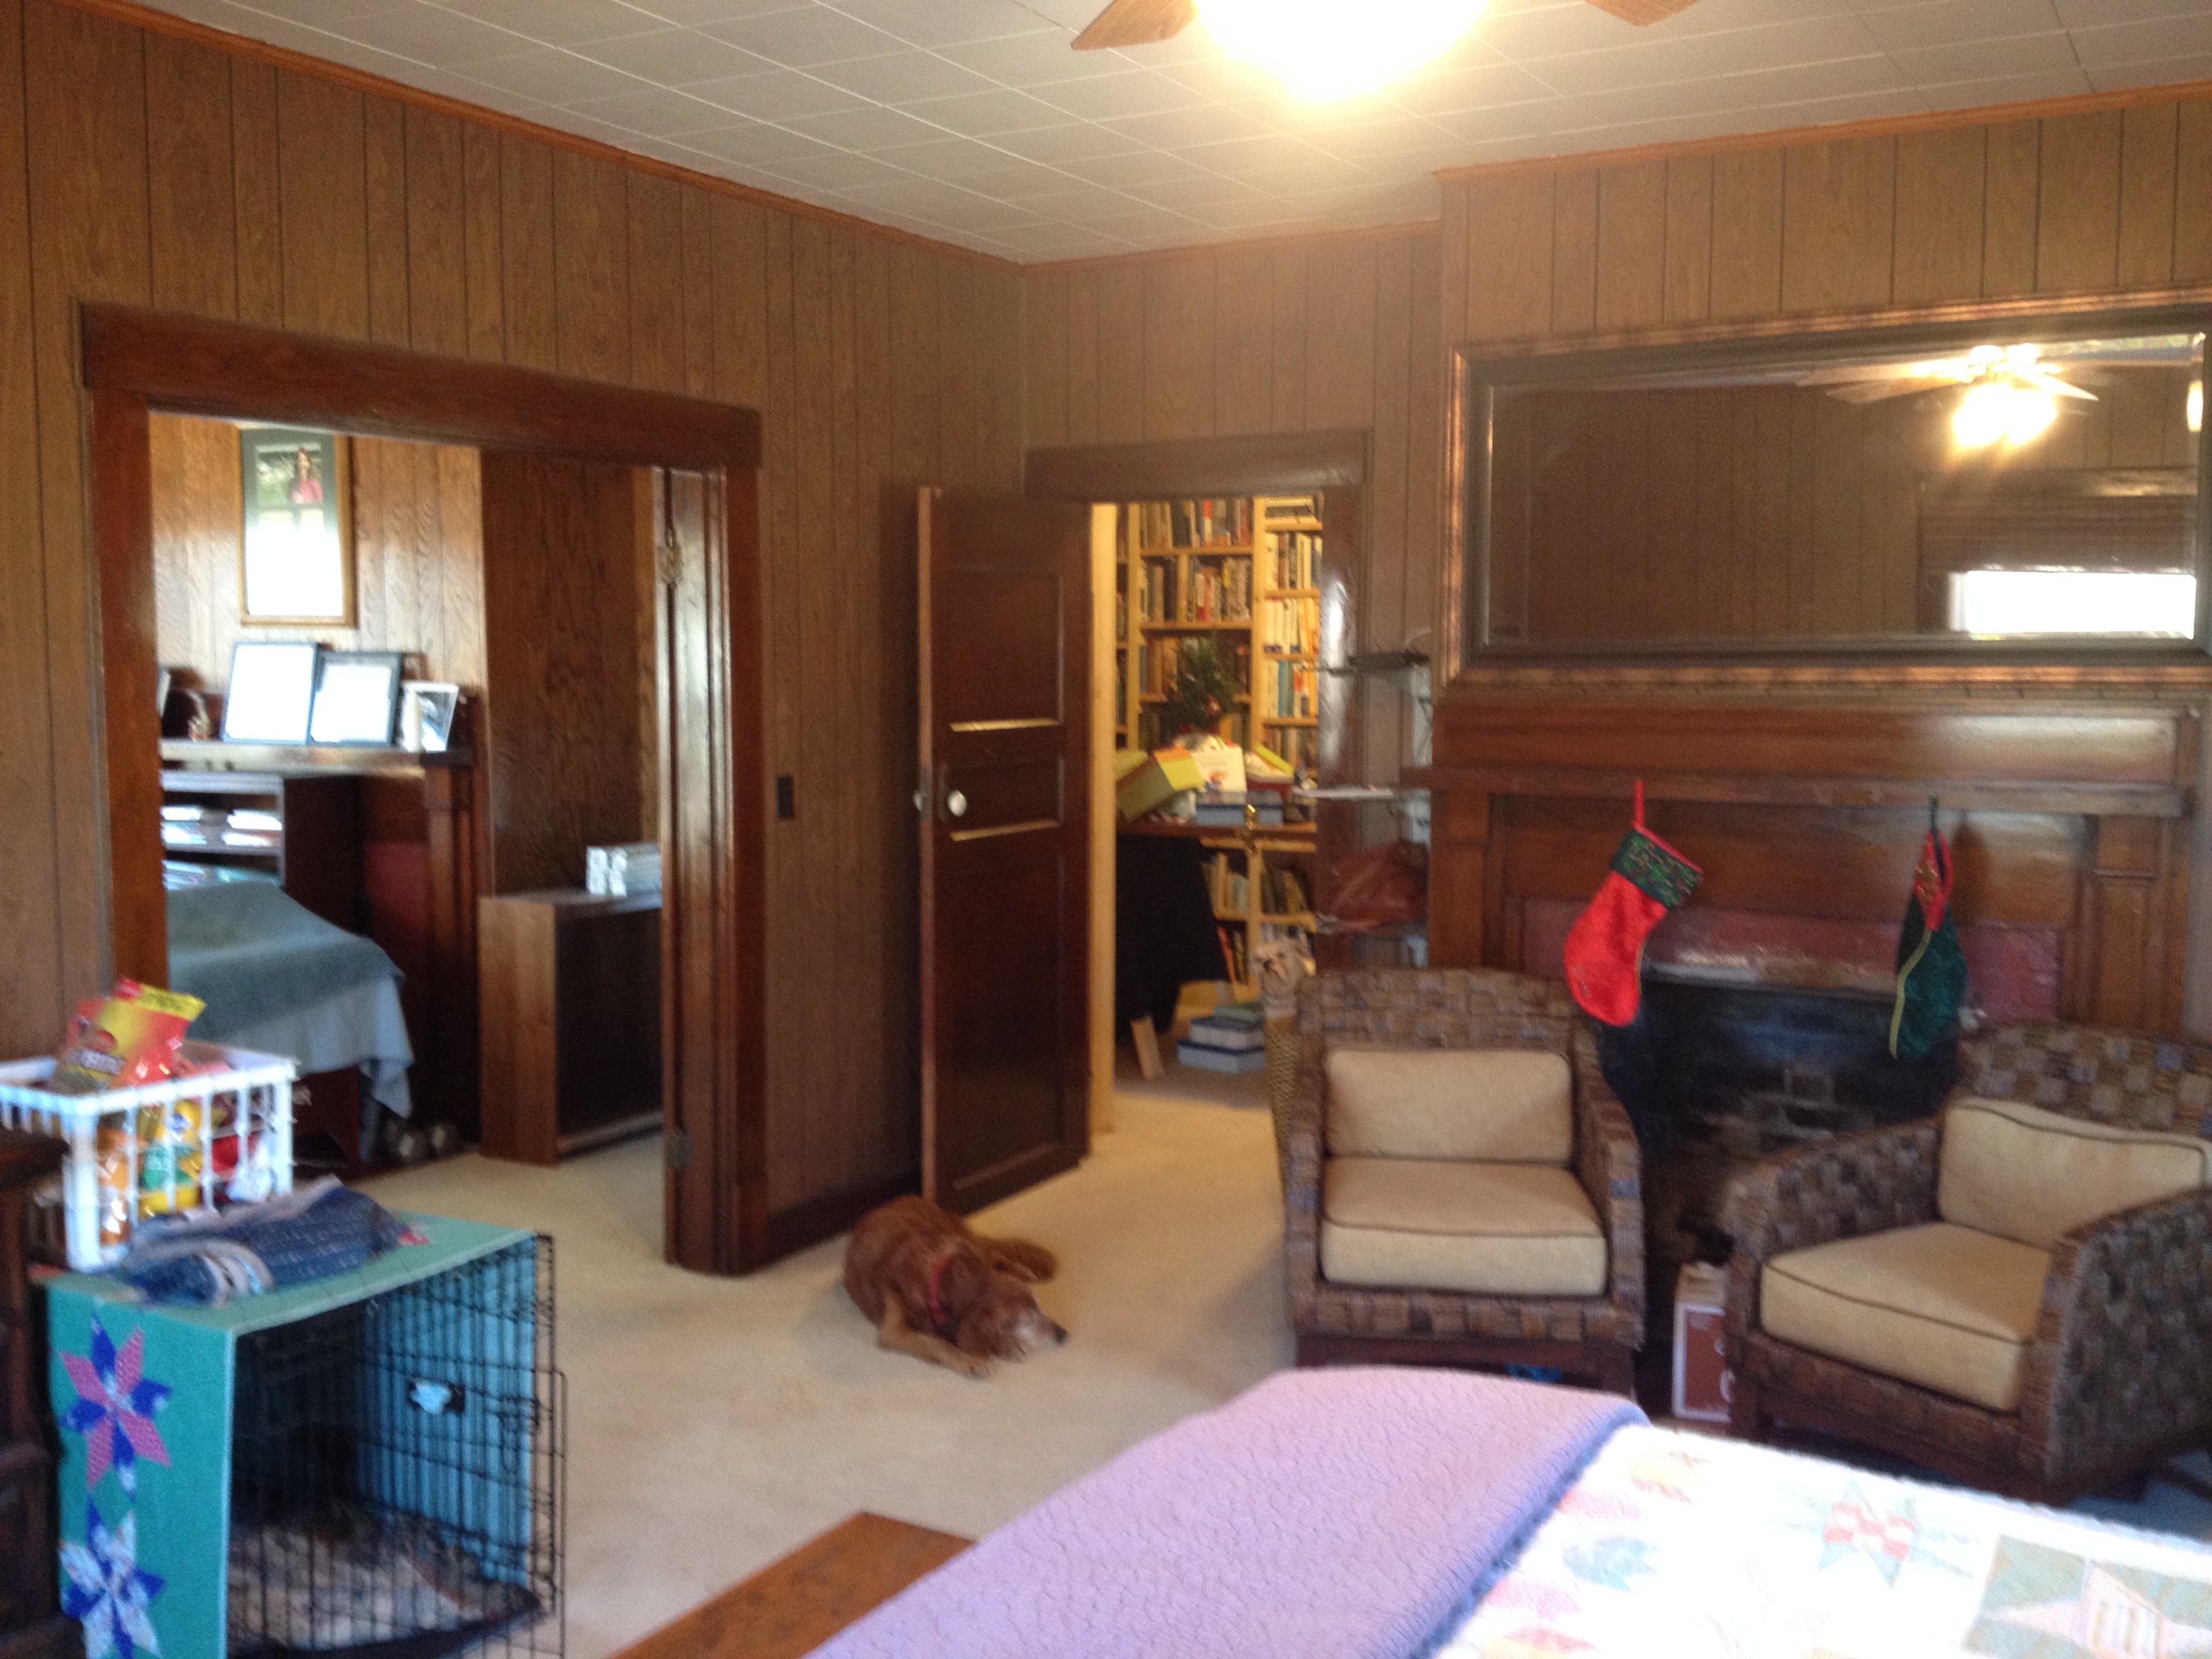
And just for funsies, in case you don’t remember old Aunt Bertha’s house, here it is close-up:
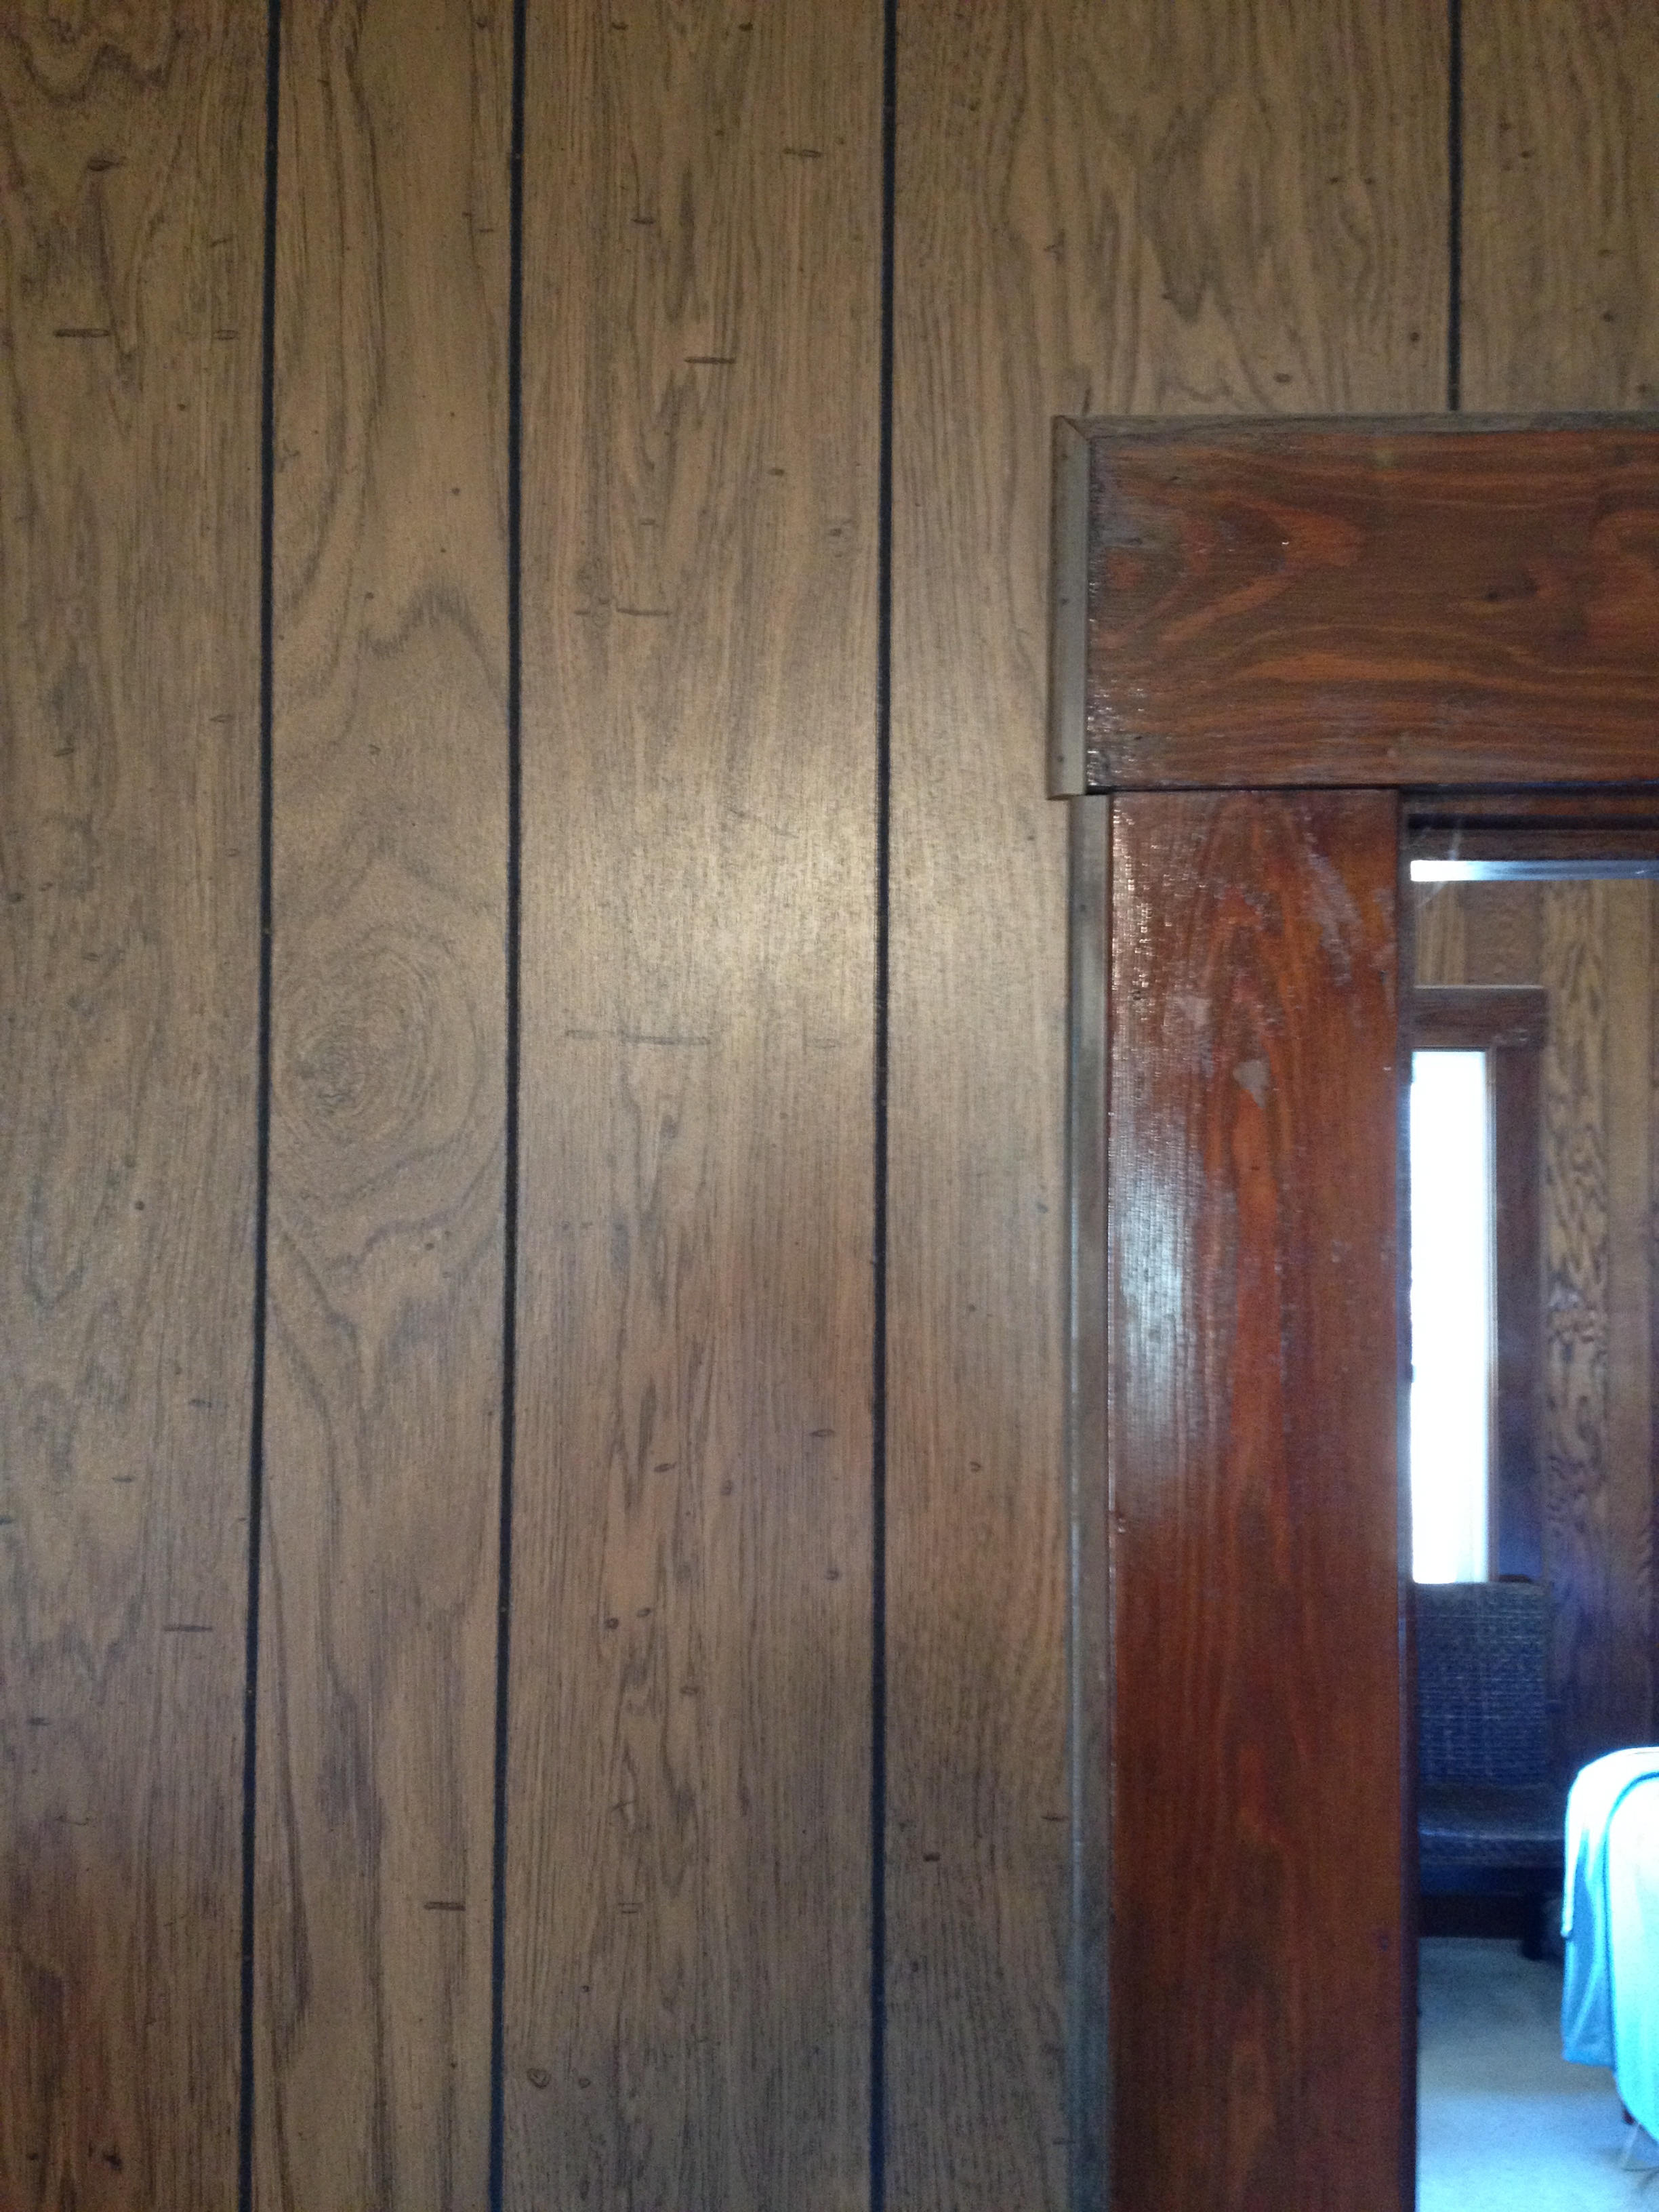
The door jambs, however, are heavy stained hardwood, and I love them. I want to emphasize them and have them really stand out. I have less-than-zero interior design sensitivity, and I could be doing this all wrong, but as always, that’s how I roll, so full speed ahead on the remodel. Youtube is my friend, so I watched dozens of short videos on painting paneling. I compiled a list of the most consistent supplies and techniques and off to Home Depot I went.
What I most wanted was a sunny yellow room. I had a yellow kitchen a lifetime ago and loved every day in it. But I know that the fastest way you can make yellow ugly is to pair it with brown. So I looked at pale aqua, mint green, light lavender, and barely blue. I found this click-happy Glidden website to play with colors. I live alone, so I get to choose what color I want, but the downside is that there’s no one to turn to when it’s done and passive-aggressively say “Hmmm…wonder what the other color would have looked like?” In the end, I went with my first choice – a warm, pretty yellow that went by the name of Morning Sun.
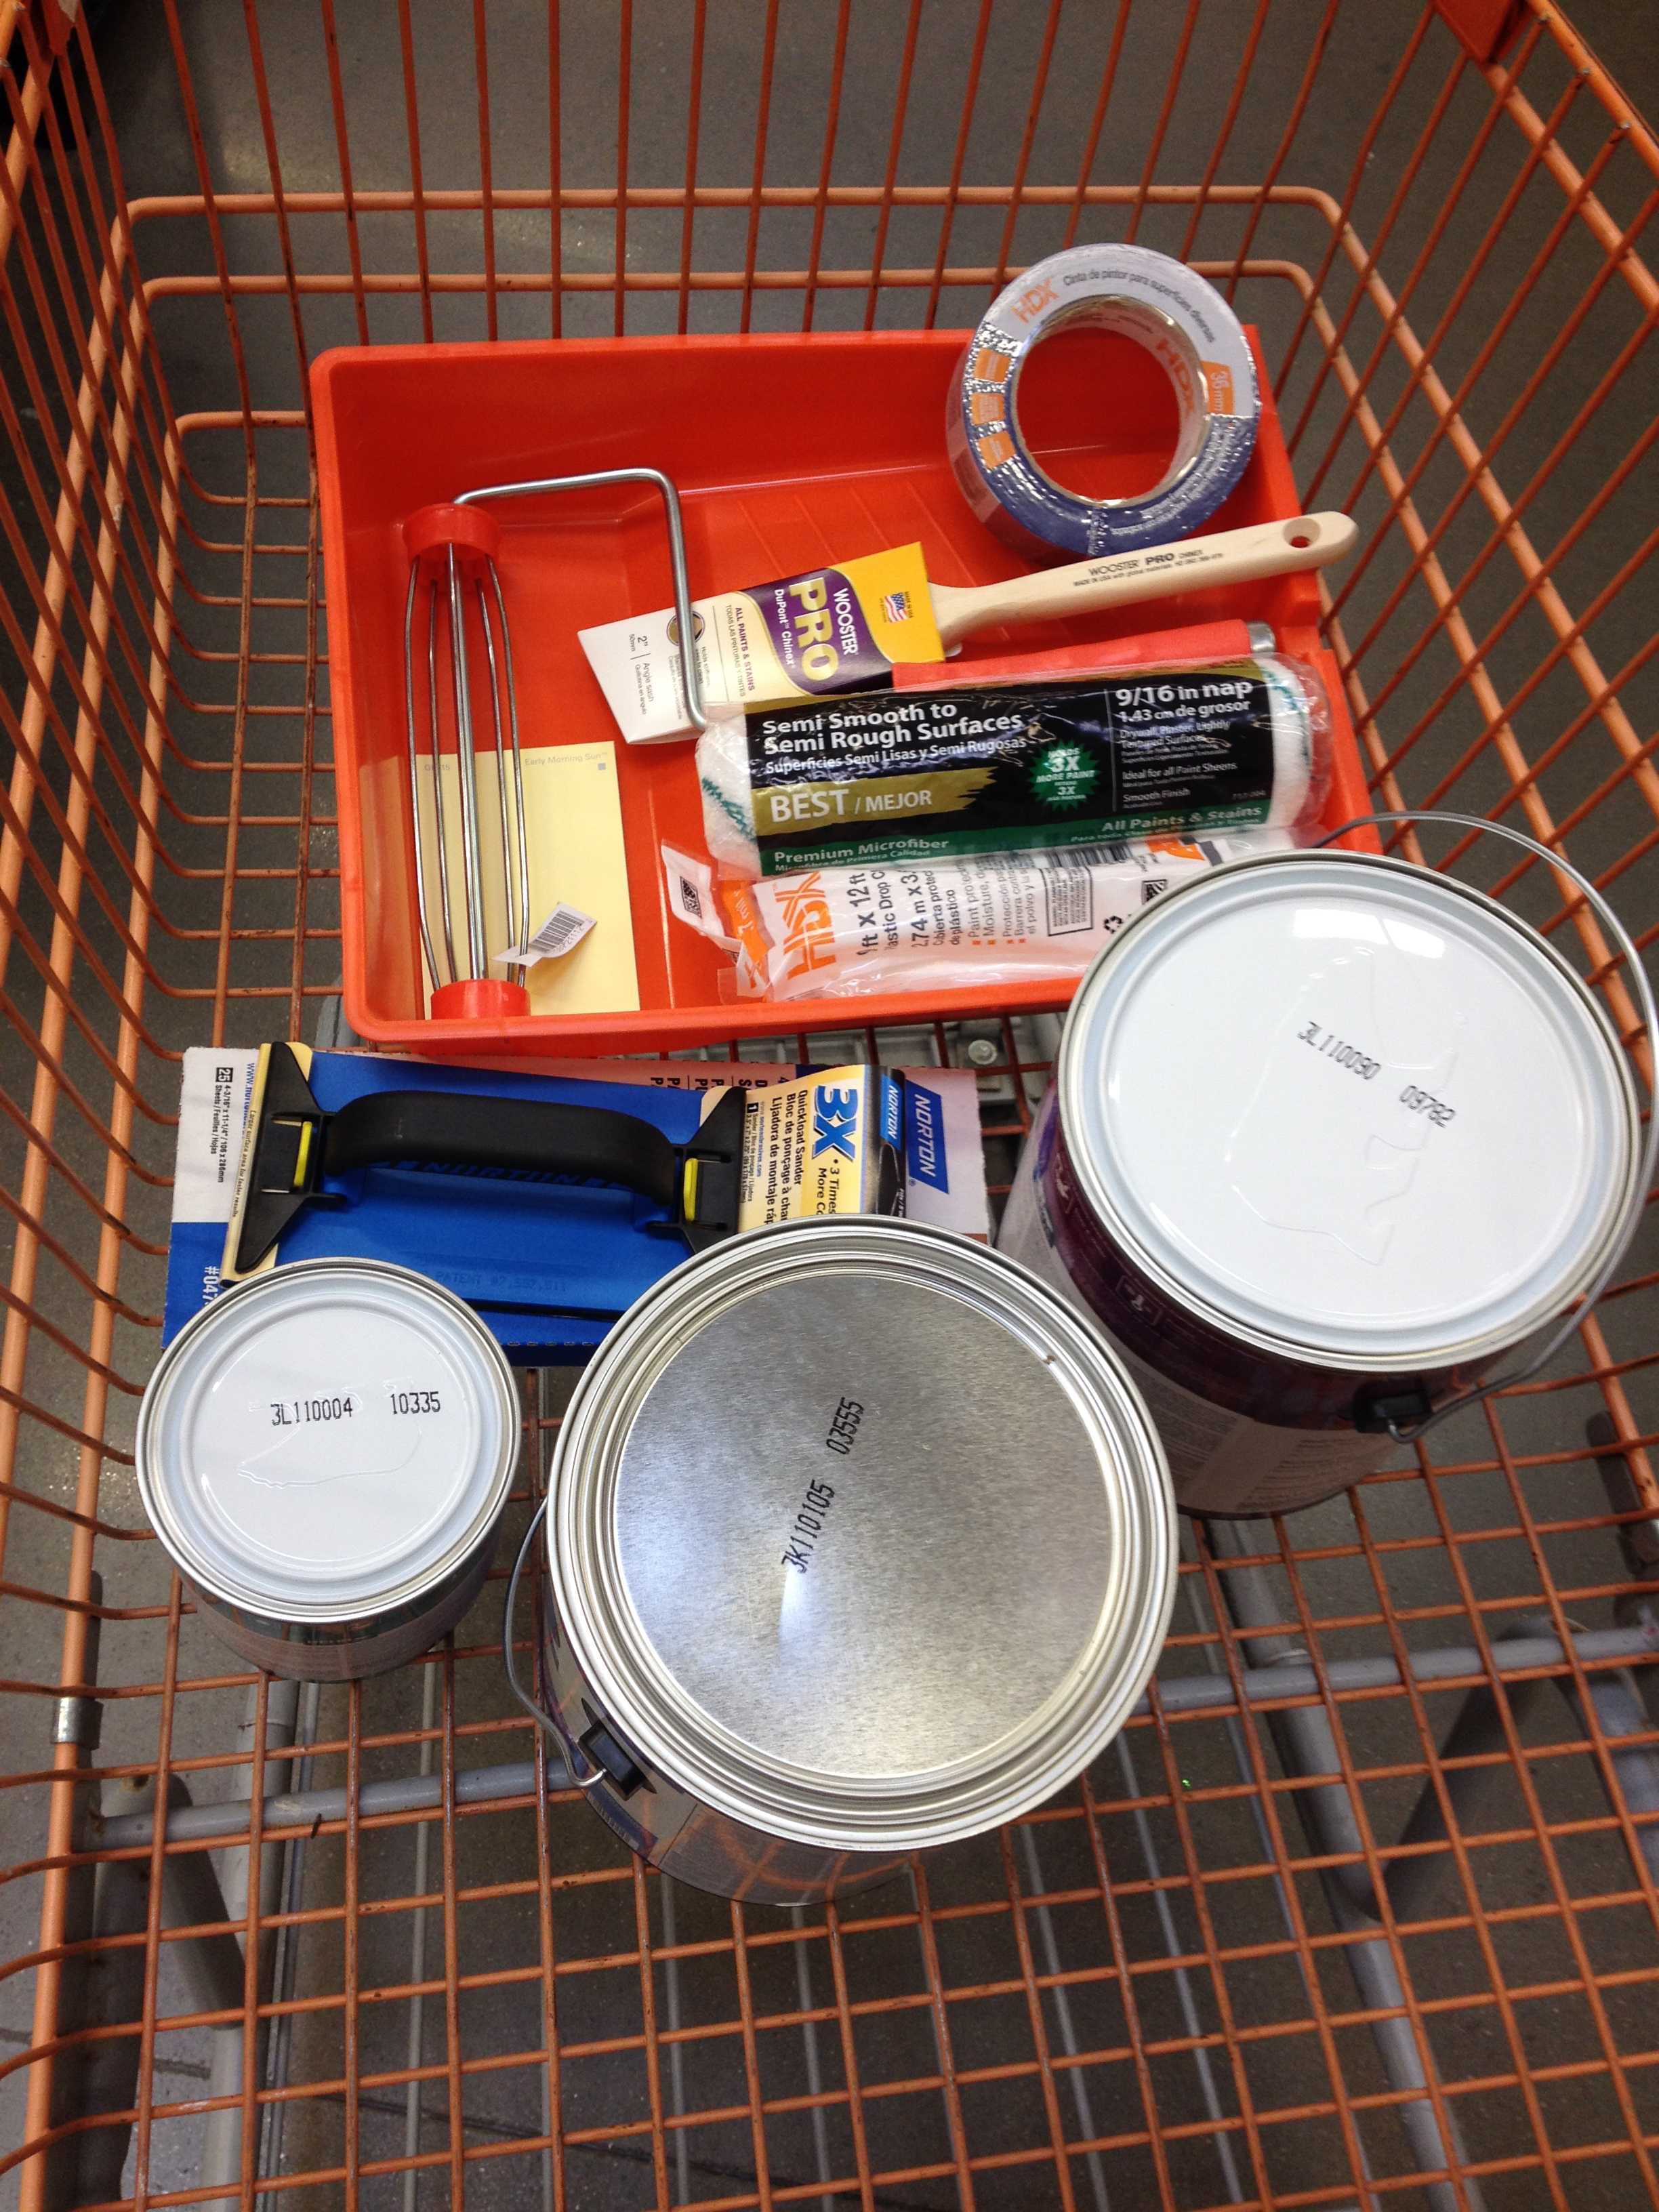
Here’s my supplies and cost list:
Gallon of primer $17
Gallon of tinted paint $26
Quart of trim paint $12
Sandpaper $8
Sandpaper holder $8
1 roll of painter’s tape $5 (plus one-half a roll I had at home)
Paint roller $5
Roller holder $4
Paint Brush $12 (I know, right?)
Dropcloth $2
Paint Tray $4
Day One, as Day Ones always are, was all about the prep. I keep my house pretty neat, so the room was already clean. I had to Tetris all the furniture to the middle of the room, leaving access to dresser drawers, and make a pathway around the perimeter. Next was removing all the faceplates for the outlets and light switches. Then of course I had to vacuum under where all the furniture had been cuz that too is how I roll.
Then came cleaning the walls, then sanding the walls (to rough up the paneling surface to take the primer better), then washing again to eliminate any sanding dust.
Finally it was the actual prep for the painting – taping all the trim with the painter’s tape. That was tedious, but I know that extra work here pays off when the painting begins.
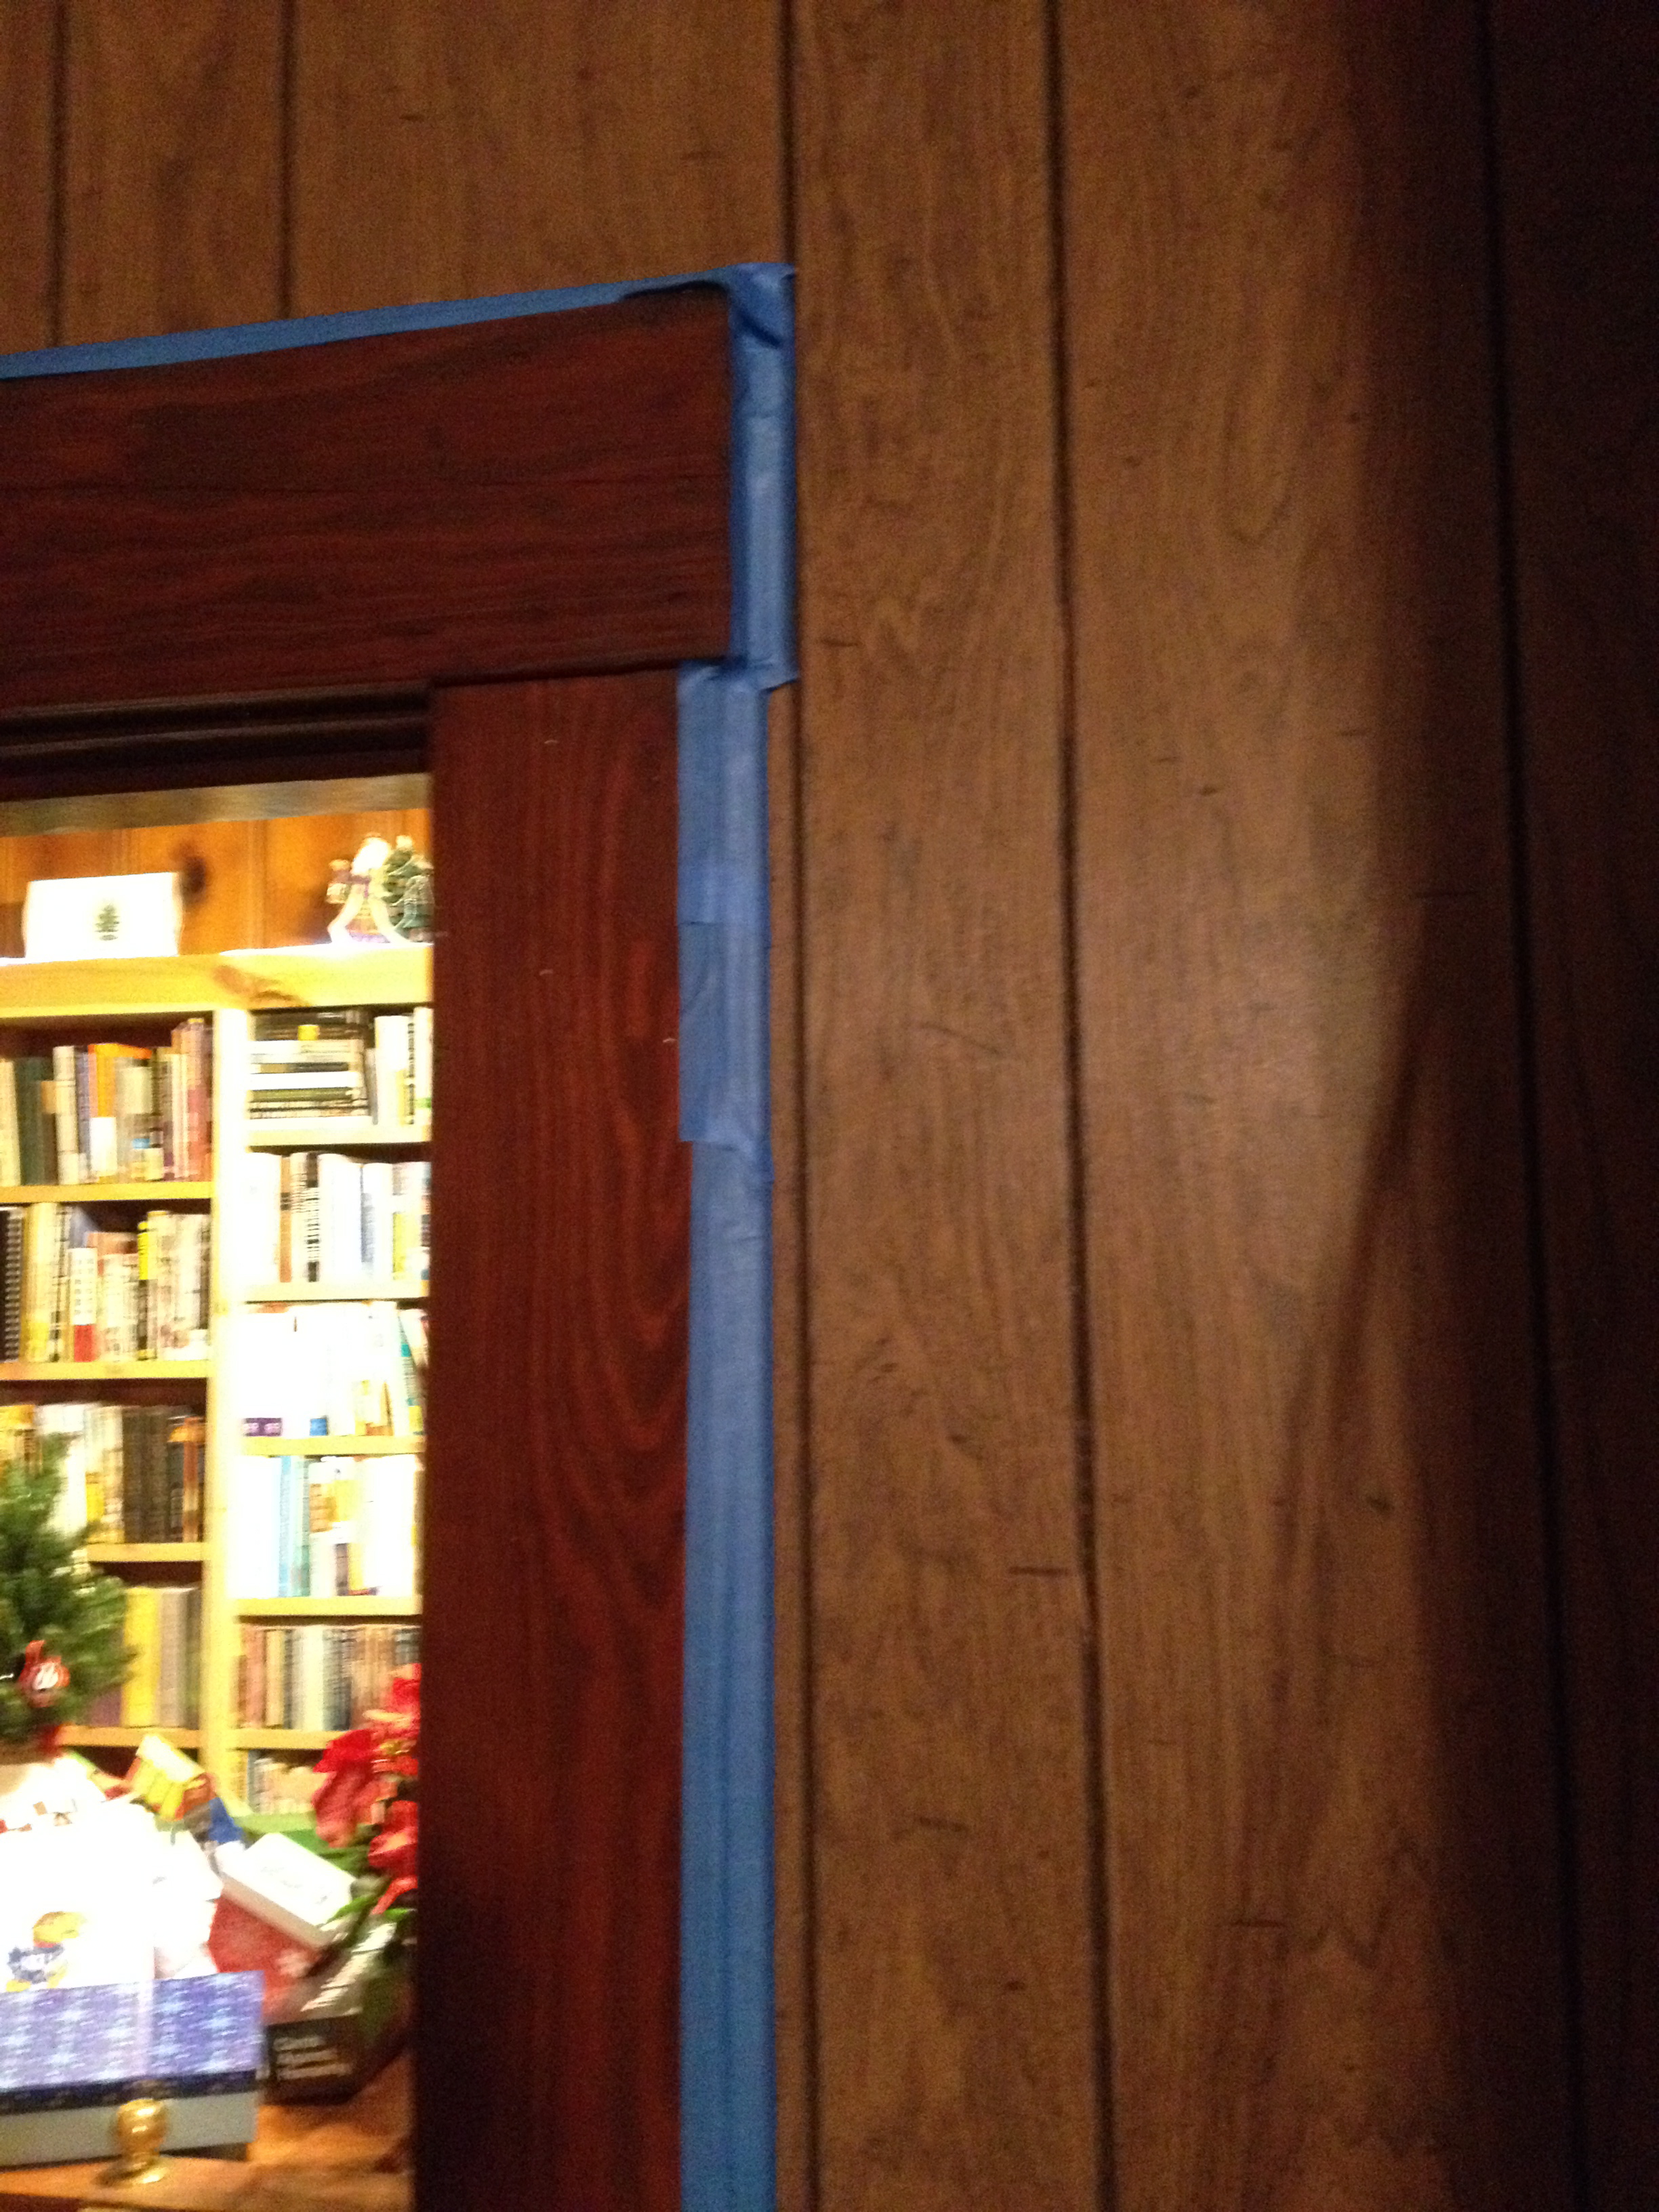

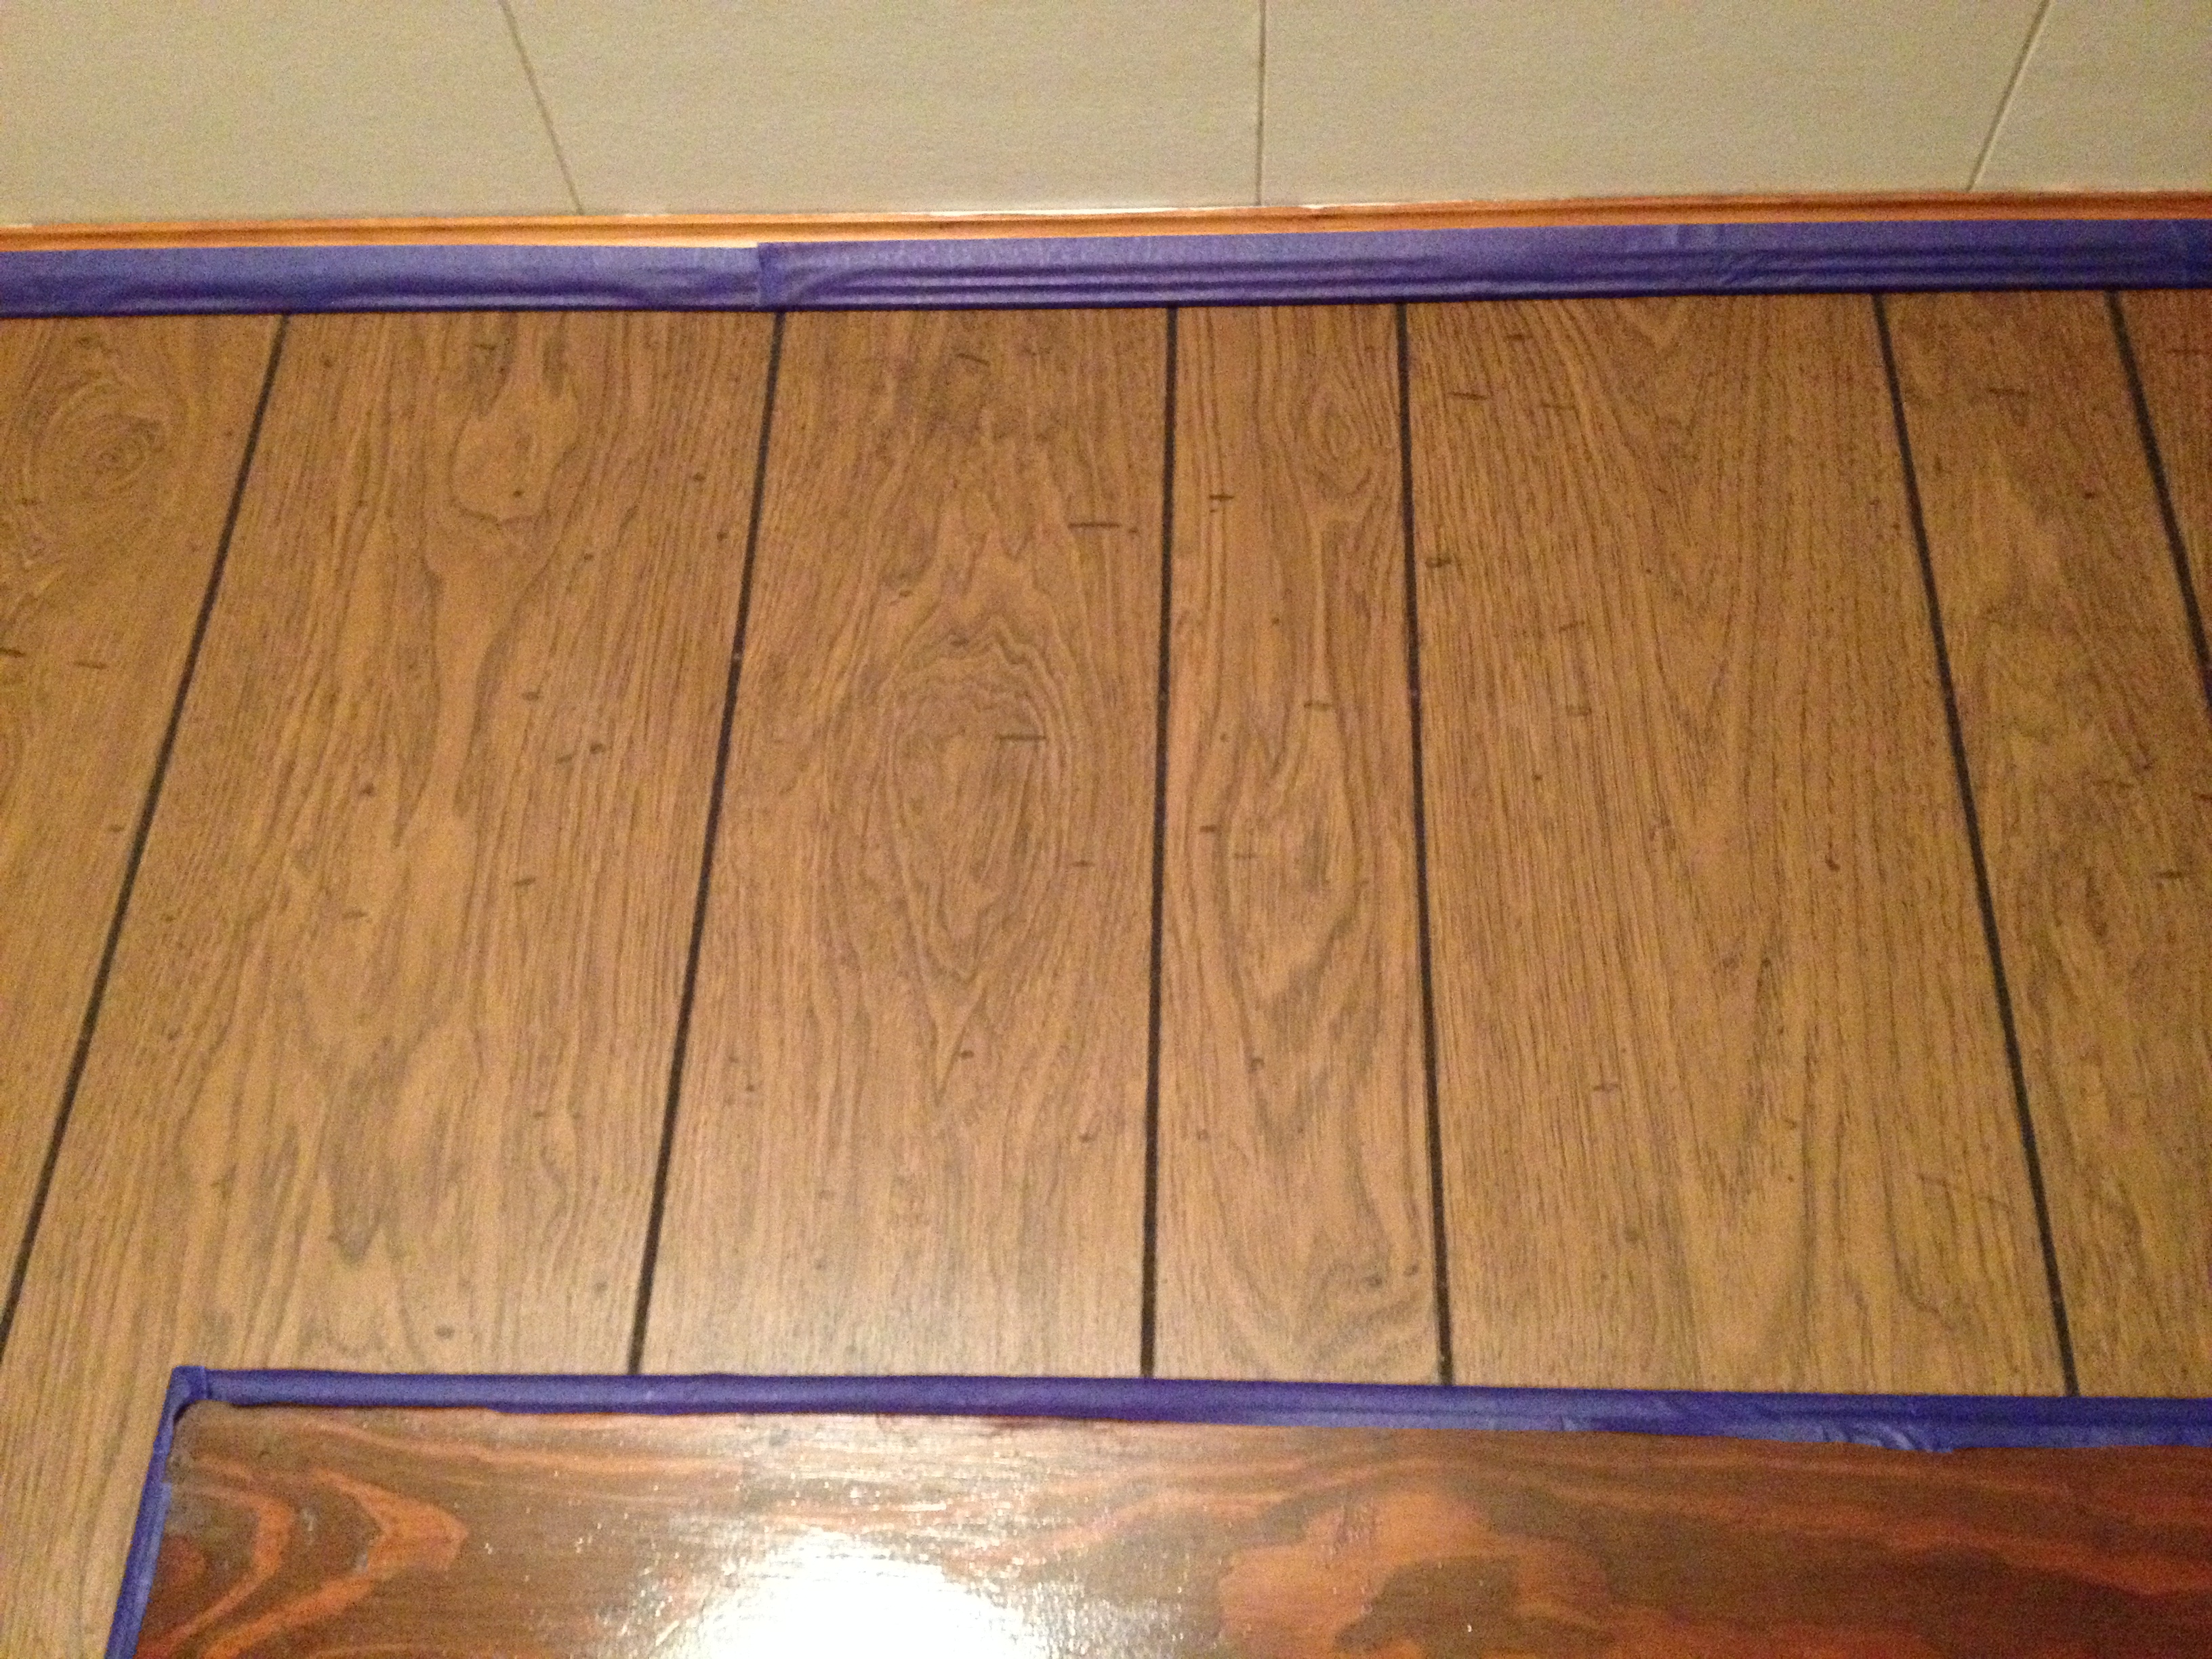
Day Two was Primer Day. First, cutting in all the edges:

This took a long time, and as I was working, I realized that I would have to repeat all of these steps the next day, with paint instead of primer. After cutting all the edges, it was time for the roller work.

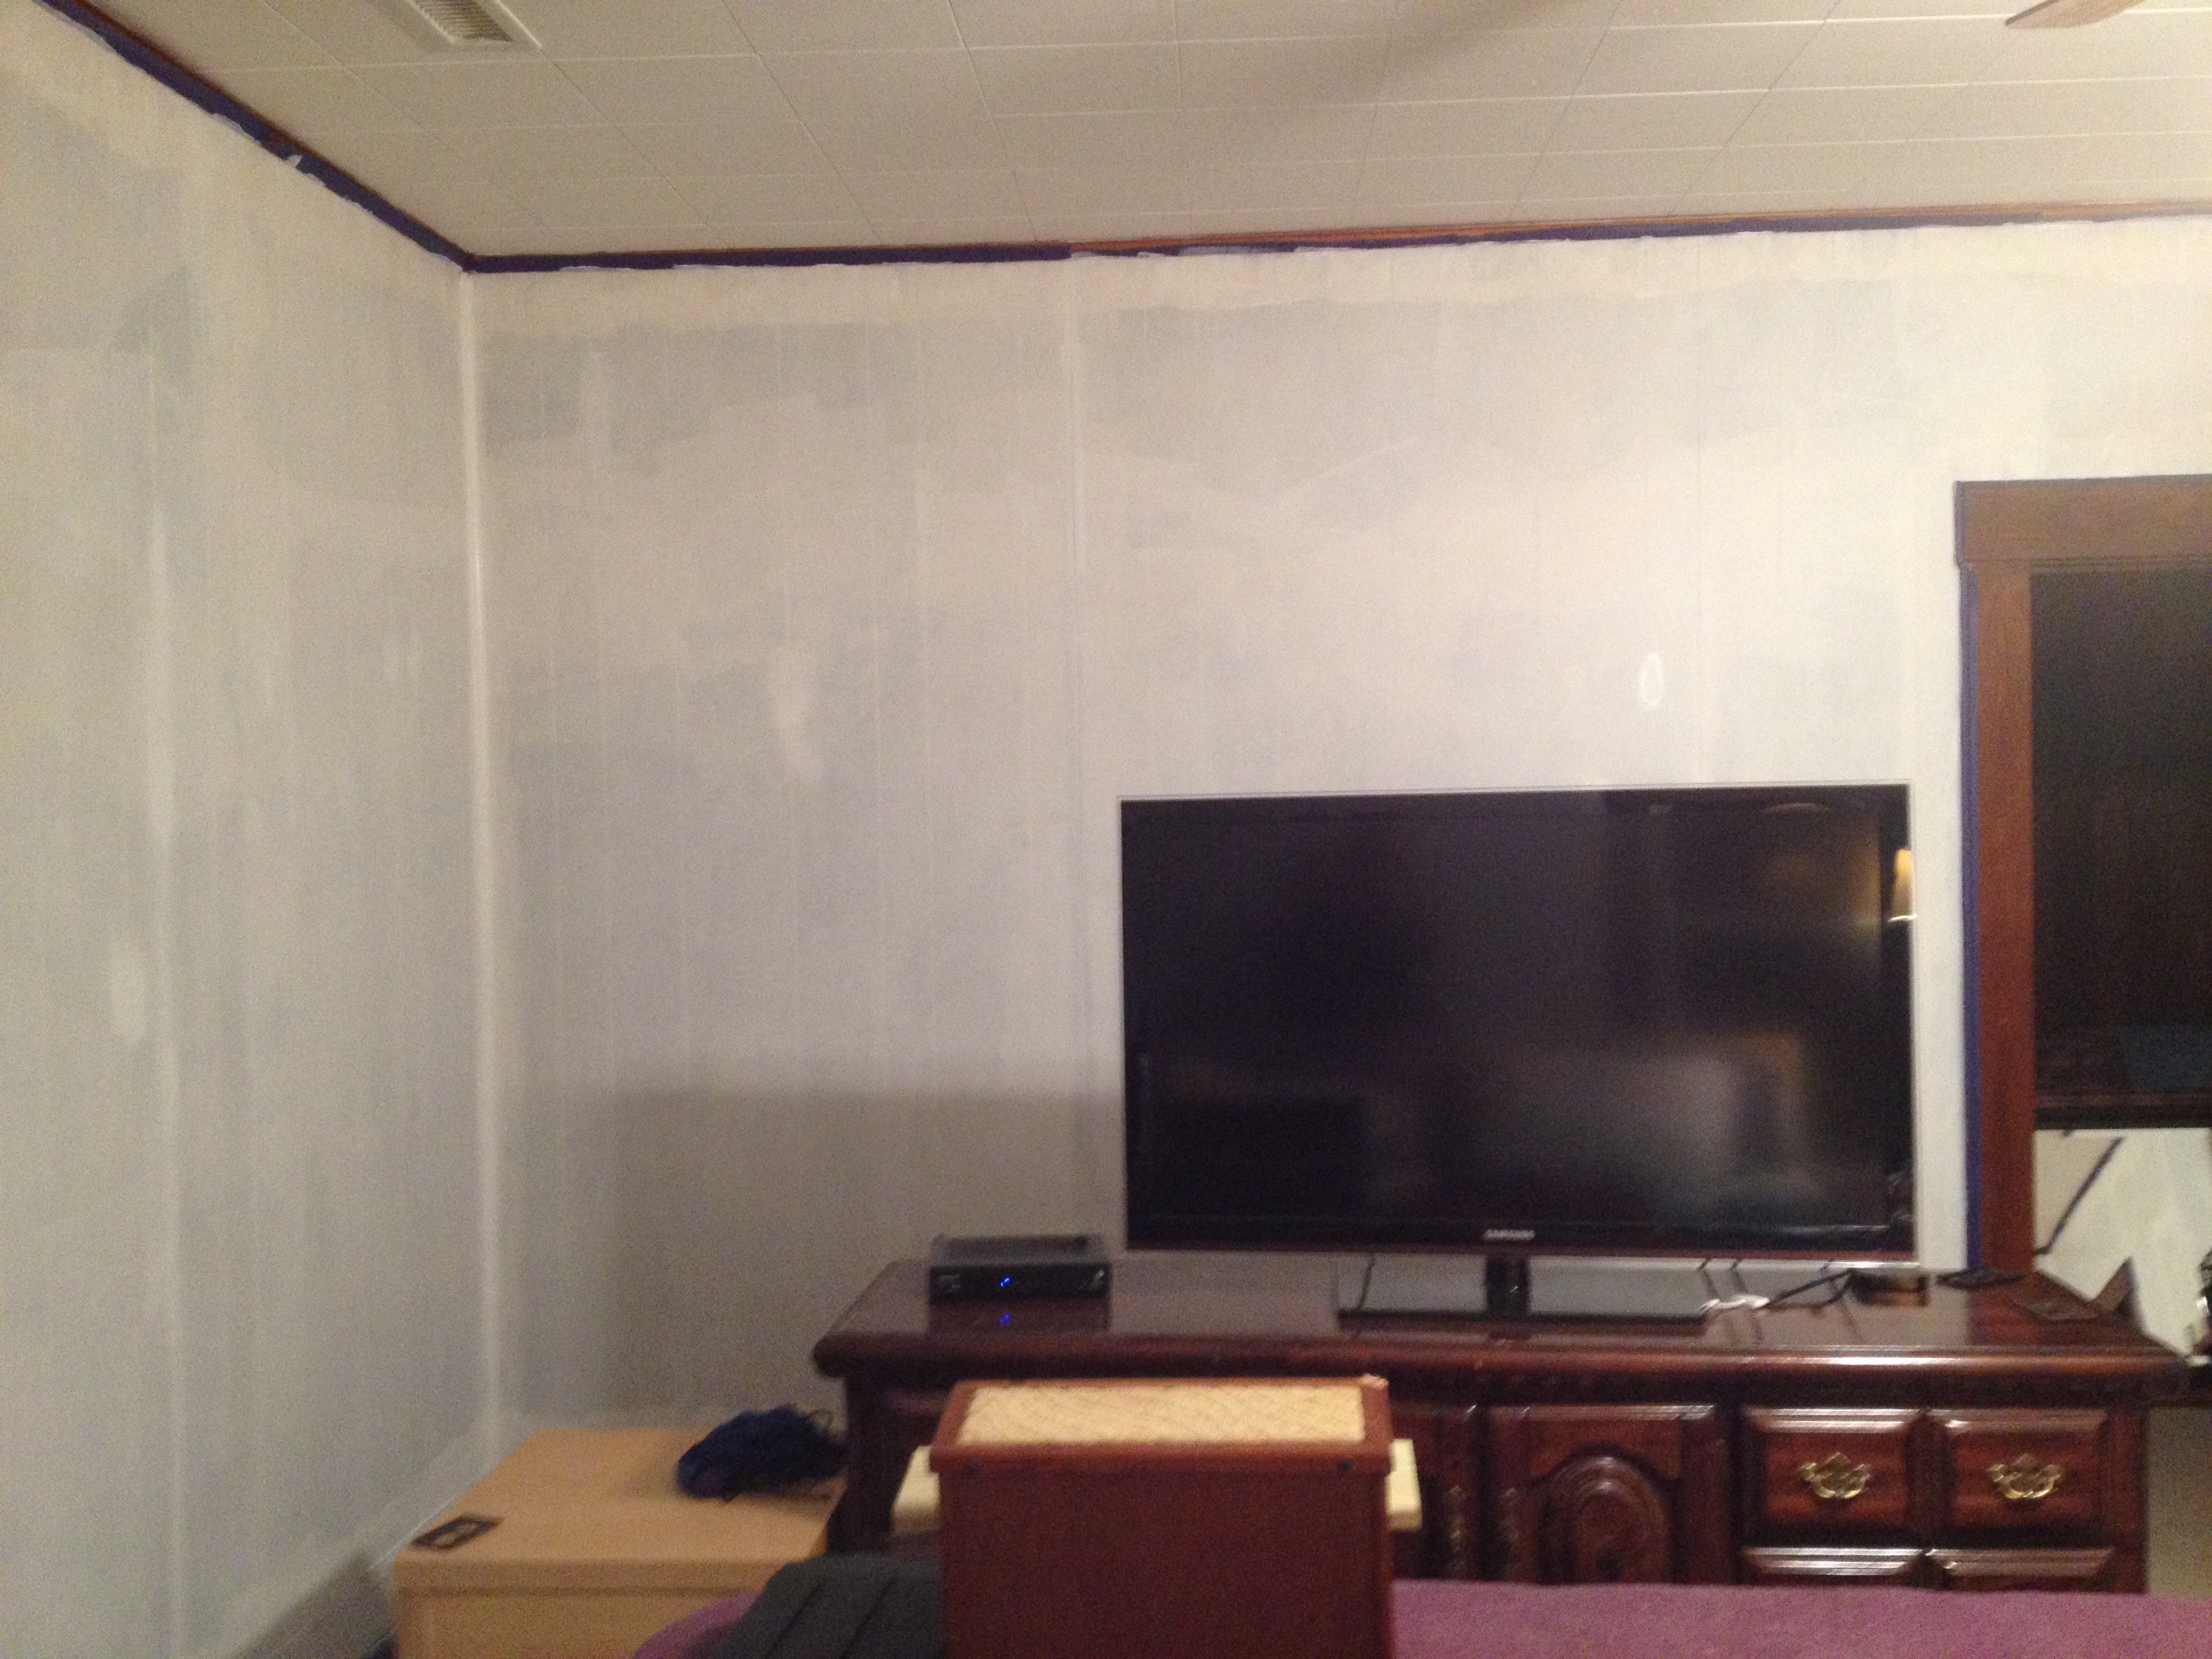
I call the next phase the panic stage. This is after I’ve rolled the primer, so any hope of the old paneling is gone, but I have no idea how the painting is going to turn out. Count in another hour or so to rinse and wash the tools.
Finally, Day Three. Keep in mind I’ve chosen my color because of its name, and how it looked on a little picture online. Here goes nothin…

Again, the cutting. All the edges, around the 2 windows and 3 doors, the ceiling and the baseboard. Then back to the roller for the really fun part. One section at a time, my room transformed. I had to keep working at a steady pace because, well, paint, but I couldn’t stop looking at the parts that were finished.


The final half-day started with assessing whether I needed another coat. I had used the gallon of paint I bought to the last drop, scraping the sides of the bucket with my brush and painting it onto the roller to get the last few inches. No, don’t need another coat, but now I have zero yellow for touch-ups, so I’ll probably still have to buy another quart.
Then came Tape Removal. I’m going to say it’s not so much Removal as it is Convincing the Tape It Wants to Come Off. I know nothing about physics (gotta C in Physics 101 in college, and I remember one thing – the Doppler Effect), but I do know that when you put tension on the tape, there is a point that the adhesive will release, and a point where the tape will tear, and that amount of tension is a magical mystery. And it’s measured in microstretches or something. Me, tweezers, and an exacto blade. Just sayin.
Anyhoo, after that most gratifying of experiences, I had a moment of indecision. There is a narrow piece of crown molding, that when the room was paneled was almost unnoticeable, but now that the walls are yellow, may need to be painted. If I keep it natural, it kind of ties together the door and window jambs, but kind of stands out. If I paint it white, it blends the white ceiling with the walls, but there is no other white in the room, so it may be too much. I decided to add the next few pics and ask you to help me out!

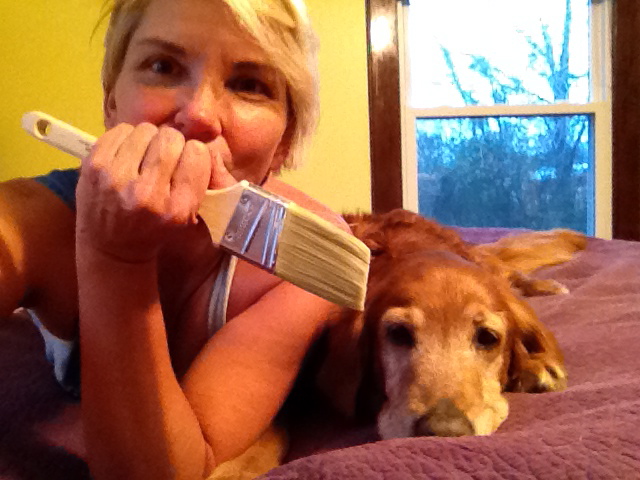
I could not be happier with how it turned out. 3.5 days, just over $100 (plus I have the equipment now for the other 2 rooms in my house that have paneling), and my DIY bedroom transformation is done!
I’m an expert now, so let me know if you have any questions.
Thanks for reading!

December 2, 2013 at 10:21 pm
Leave the molding up top and maybe paint the exposed bricks white. Something light to tie into the walls. (Don’t be afraid of painting the brick either. My mom painted an entire wall of brick in her living room this light gray color and it looks ah-maz-ing. If you want tips, you should Facebook her!)