Not that I’m restless until Bar results come out (less than a month now).
Today’s lesson is Making a Rain Barrel. First, get a barrel.
Summer in Tennessee means fresh squash, tomatoes, peppers – a bounty of vegetables that are on the vine in the morning, and on your plate for dinner. I’ve already blogged about my composting operation, which is easy when you’ve got goats, cows, and chickens “obliging” with their contributions. The soil is rich and healthy and produces produce by the bunches.
Now the next step is the watering. Water is cheap and abundant in my county, but rain water has awesome nutrients missing in regular tap water, plus Tennessee thunderstorms are often heavy and unexpected. I wanted to be able to capture this natural ambrosia, so, once again, Youtube comes to the rescue.
I found my barrel on Craig’s List:

Most of these barrels come from car washes, so the detergent residue must be rinsed out thoroughly. Mine cost $10, plus about a 7-mile drive to pick it up.
There are a variety of methods for creating one of these barrels. The concept is the same – capture roof runoff following a rainstorm, access at a later time to water plants. Simple: intake, outgo, overflow. Youtube has a variety of options, so after having watched several, off to Home Depot to get the parts.
About halfway through my shopping, I found this:

With about half the parts in my cart, I was up to about $15. This kit was $25, and has a very specialized piece that I really wanted to use, so I bailed on the individual components, and bought the bag.
This construction is so simple, pictures can almost tell the whole story, with a little additional commentary:


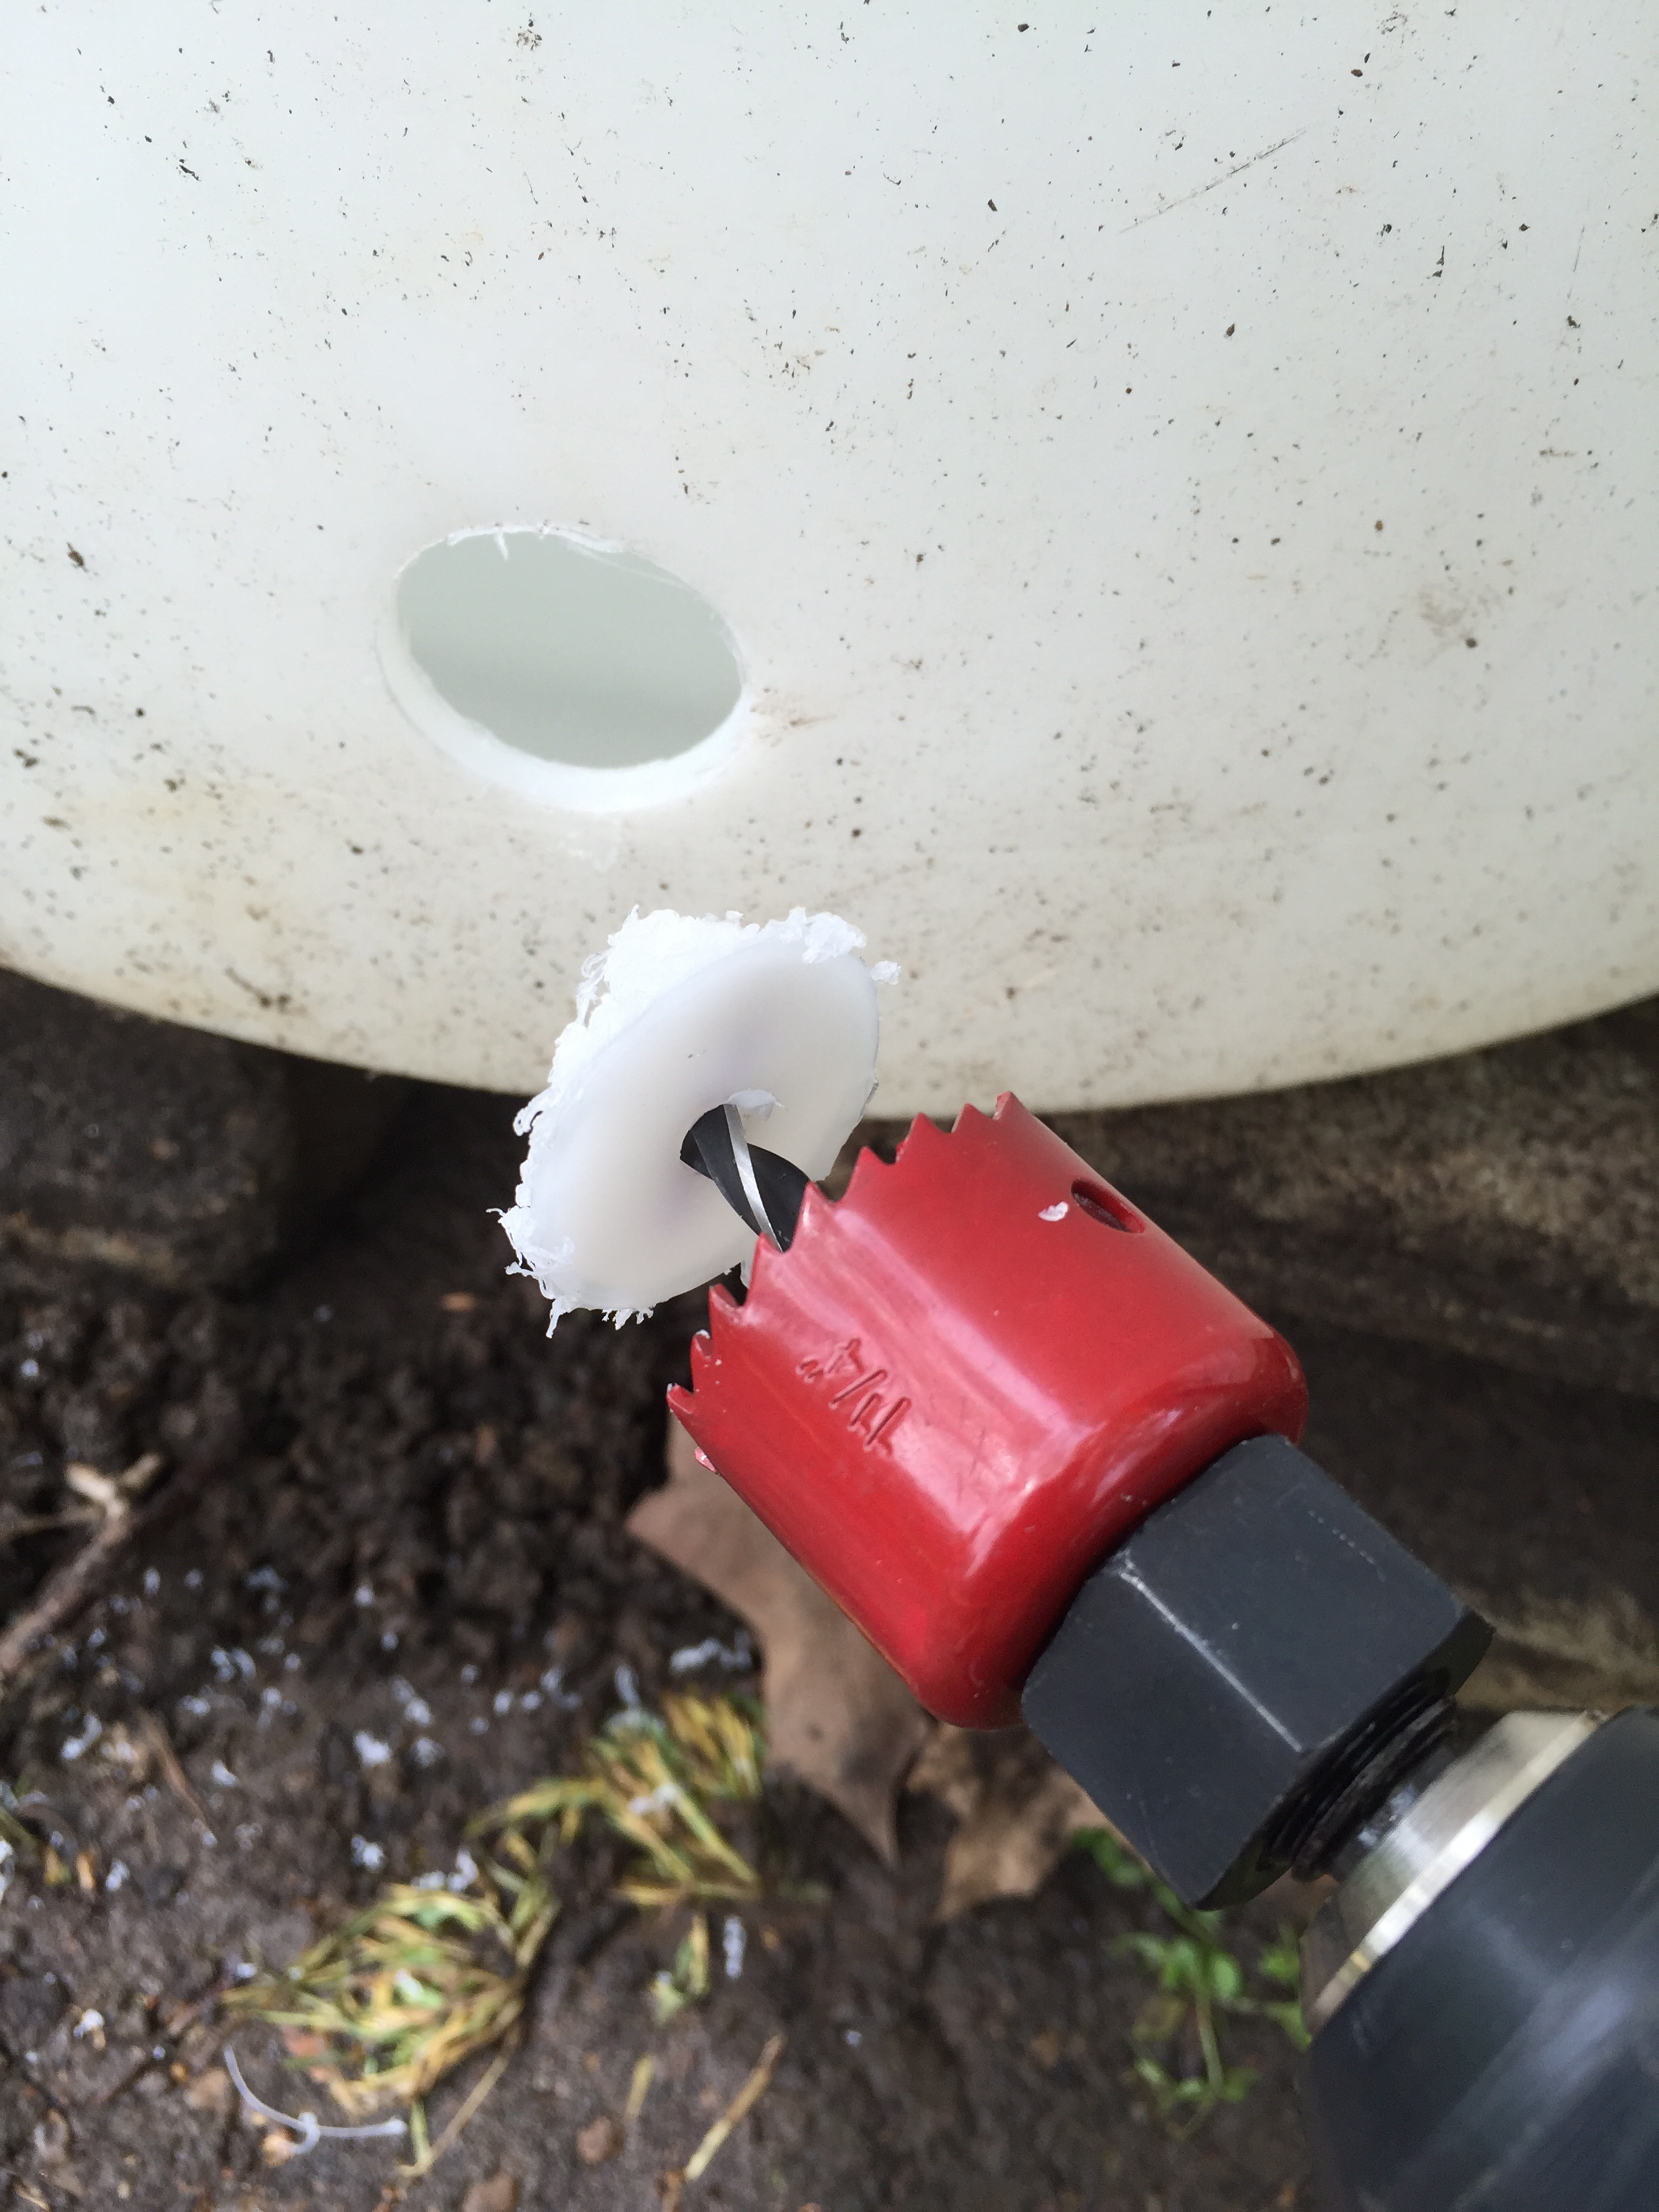
This kit came with 3 different size hole saws. I didn’t get that far in my shopping, but I think I came out ahead by buying the kit. Of course, you have to have your own drill.

The lower hole is for use with a garden hose/soaker hose. The upper hole is for use with a bucket or watering can.
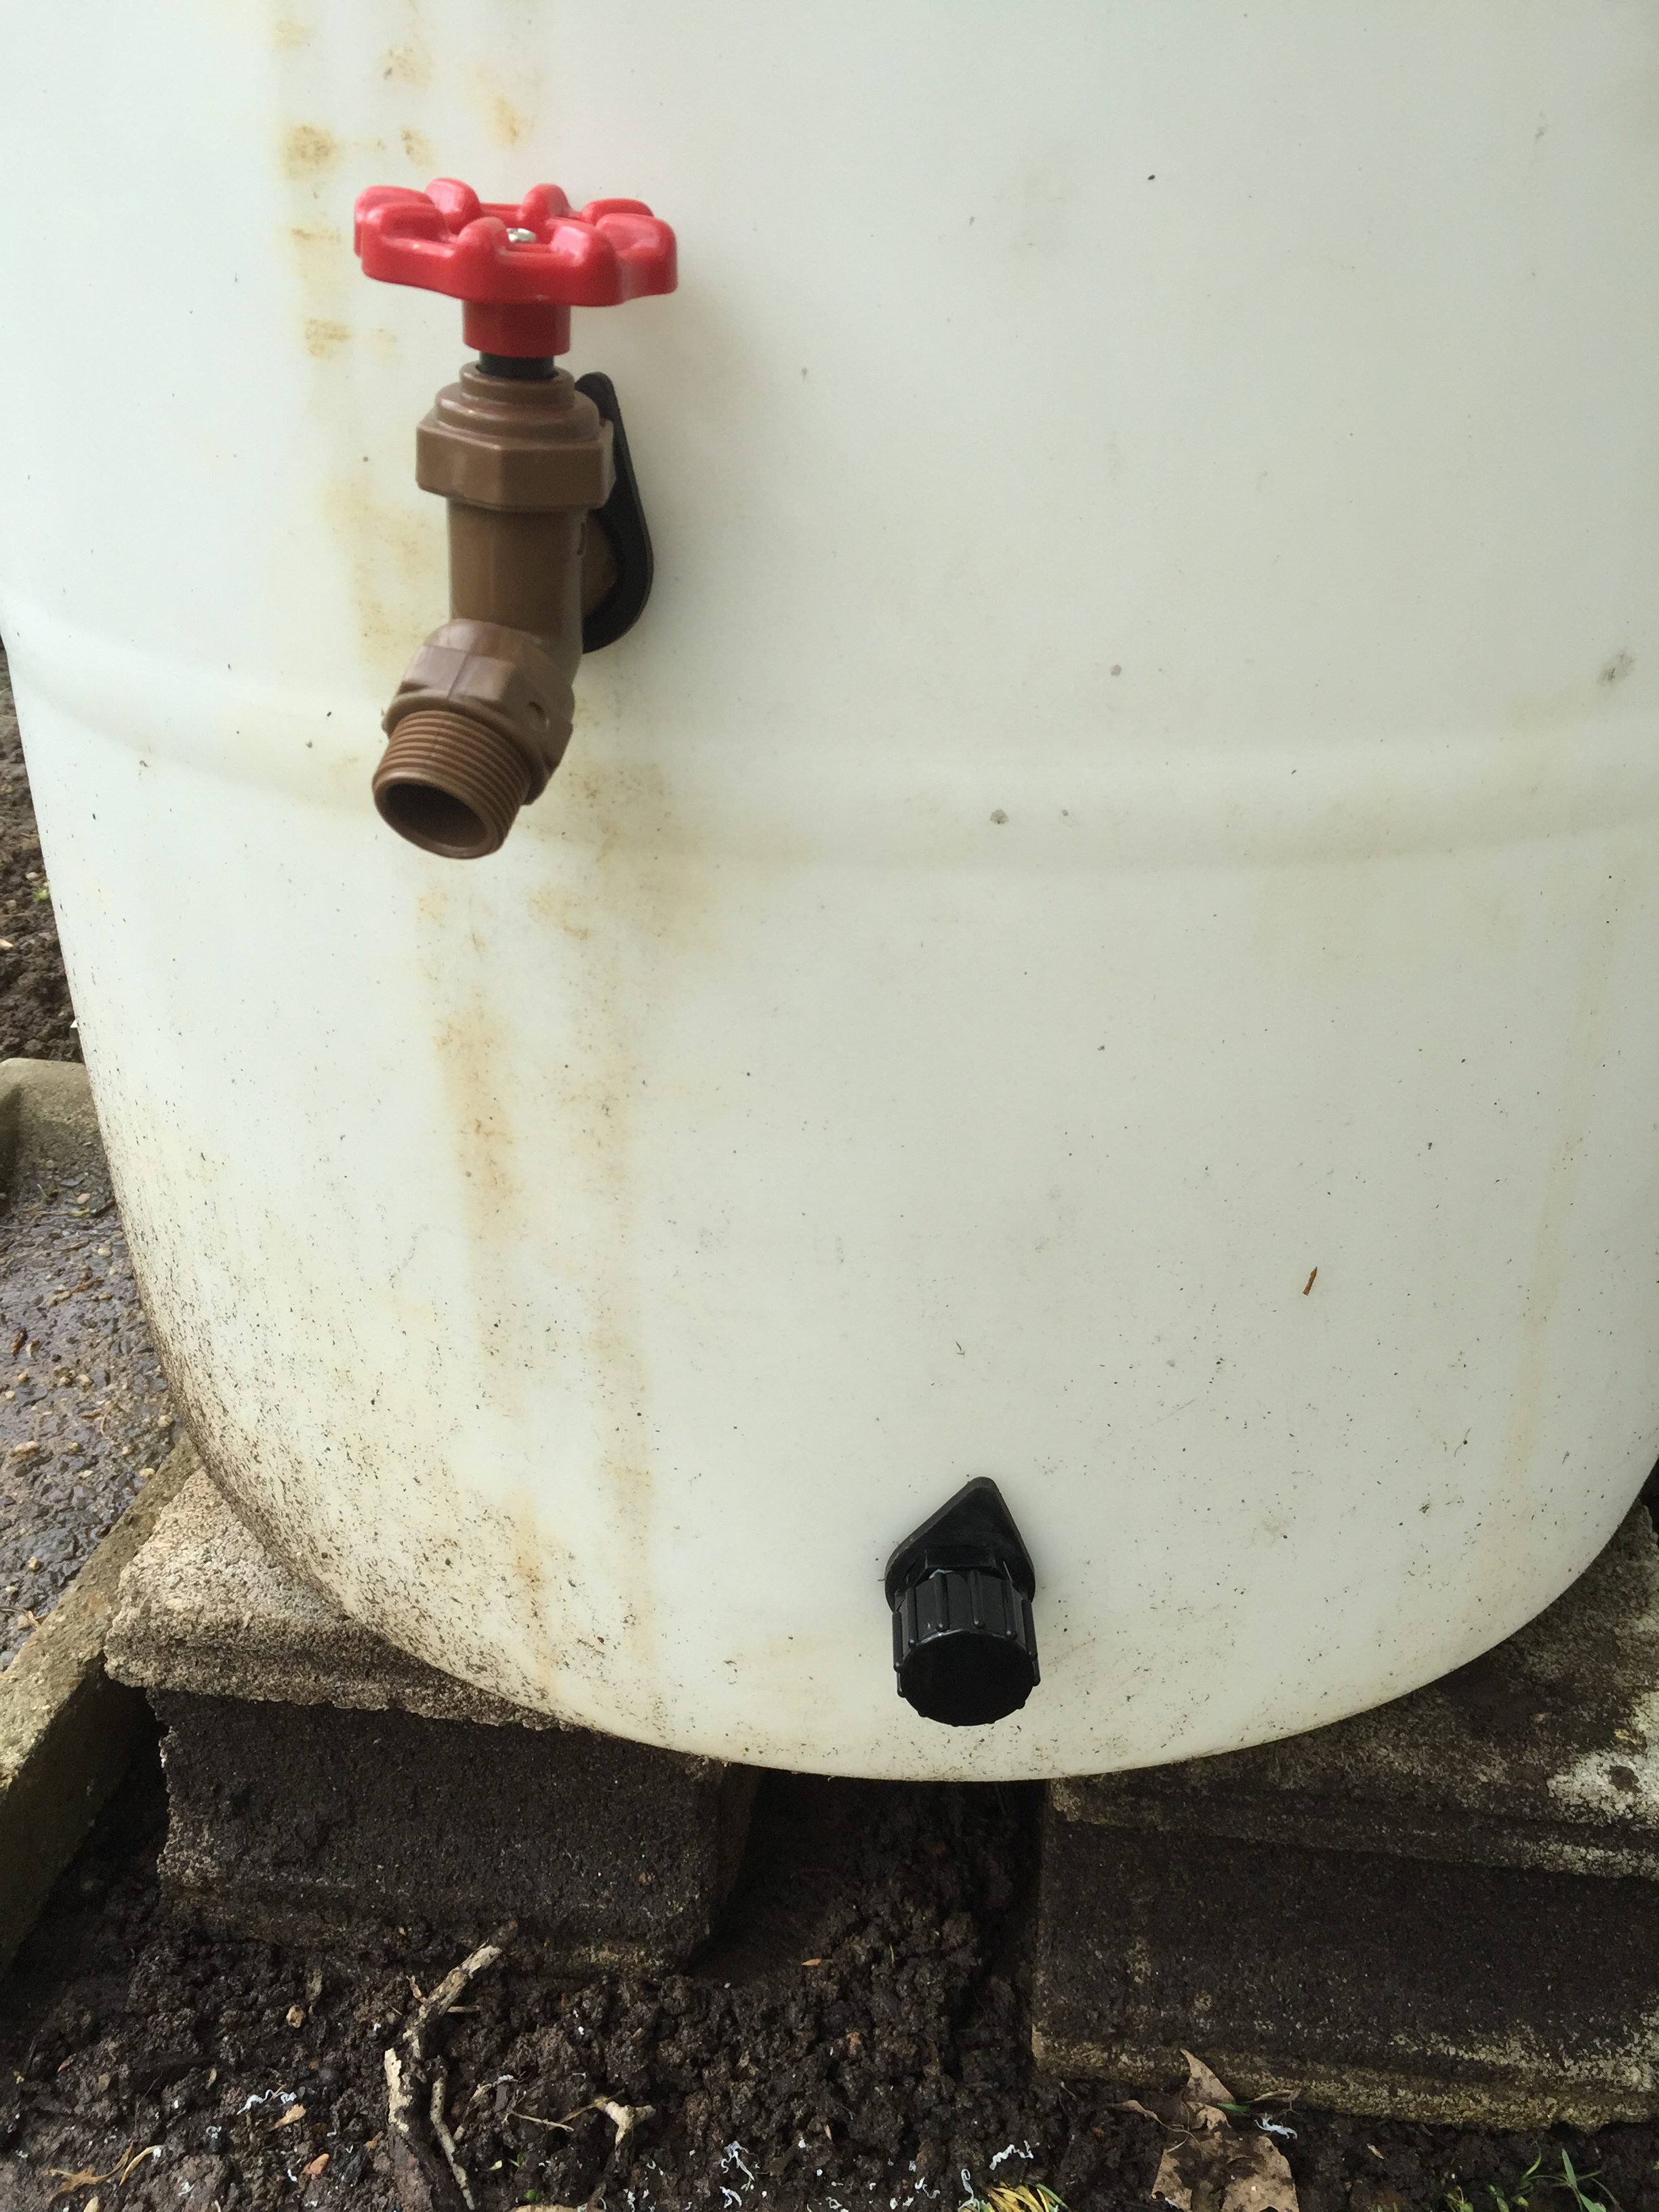
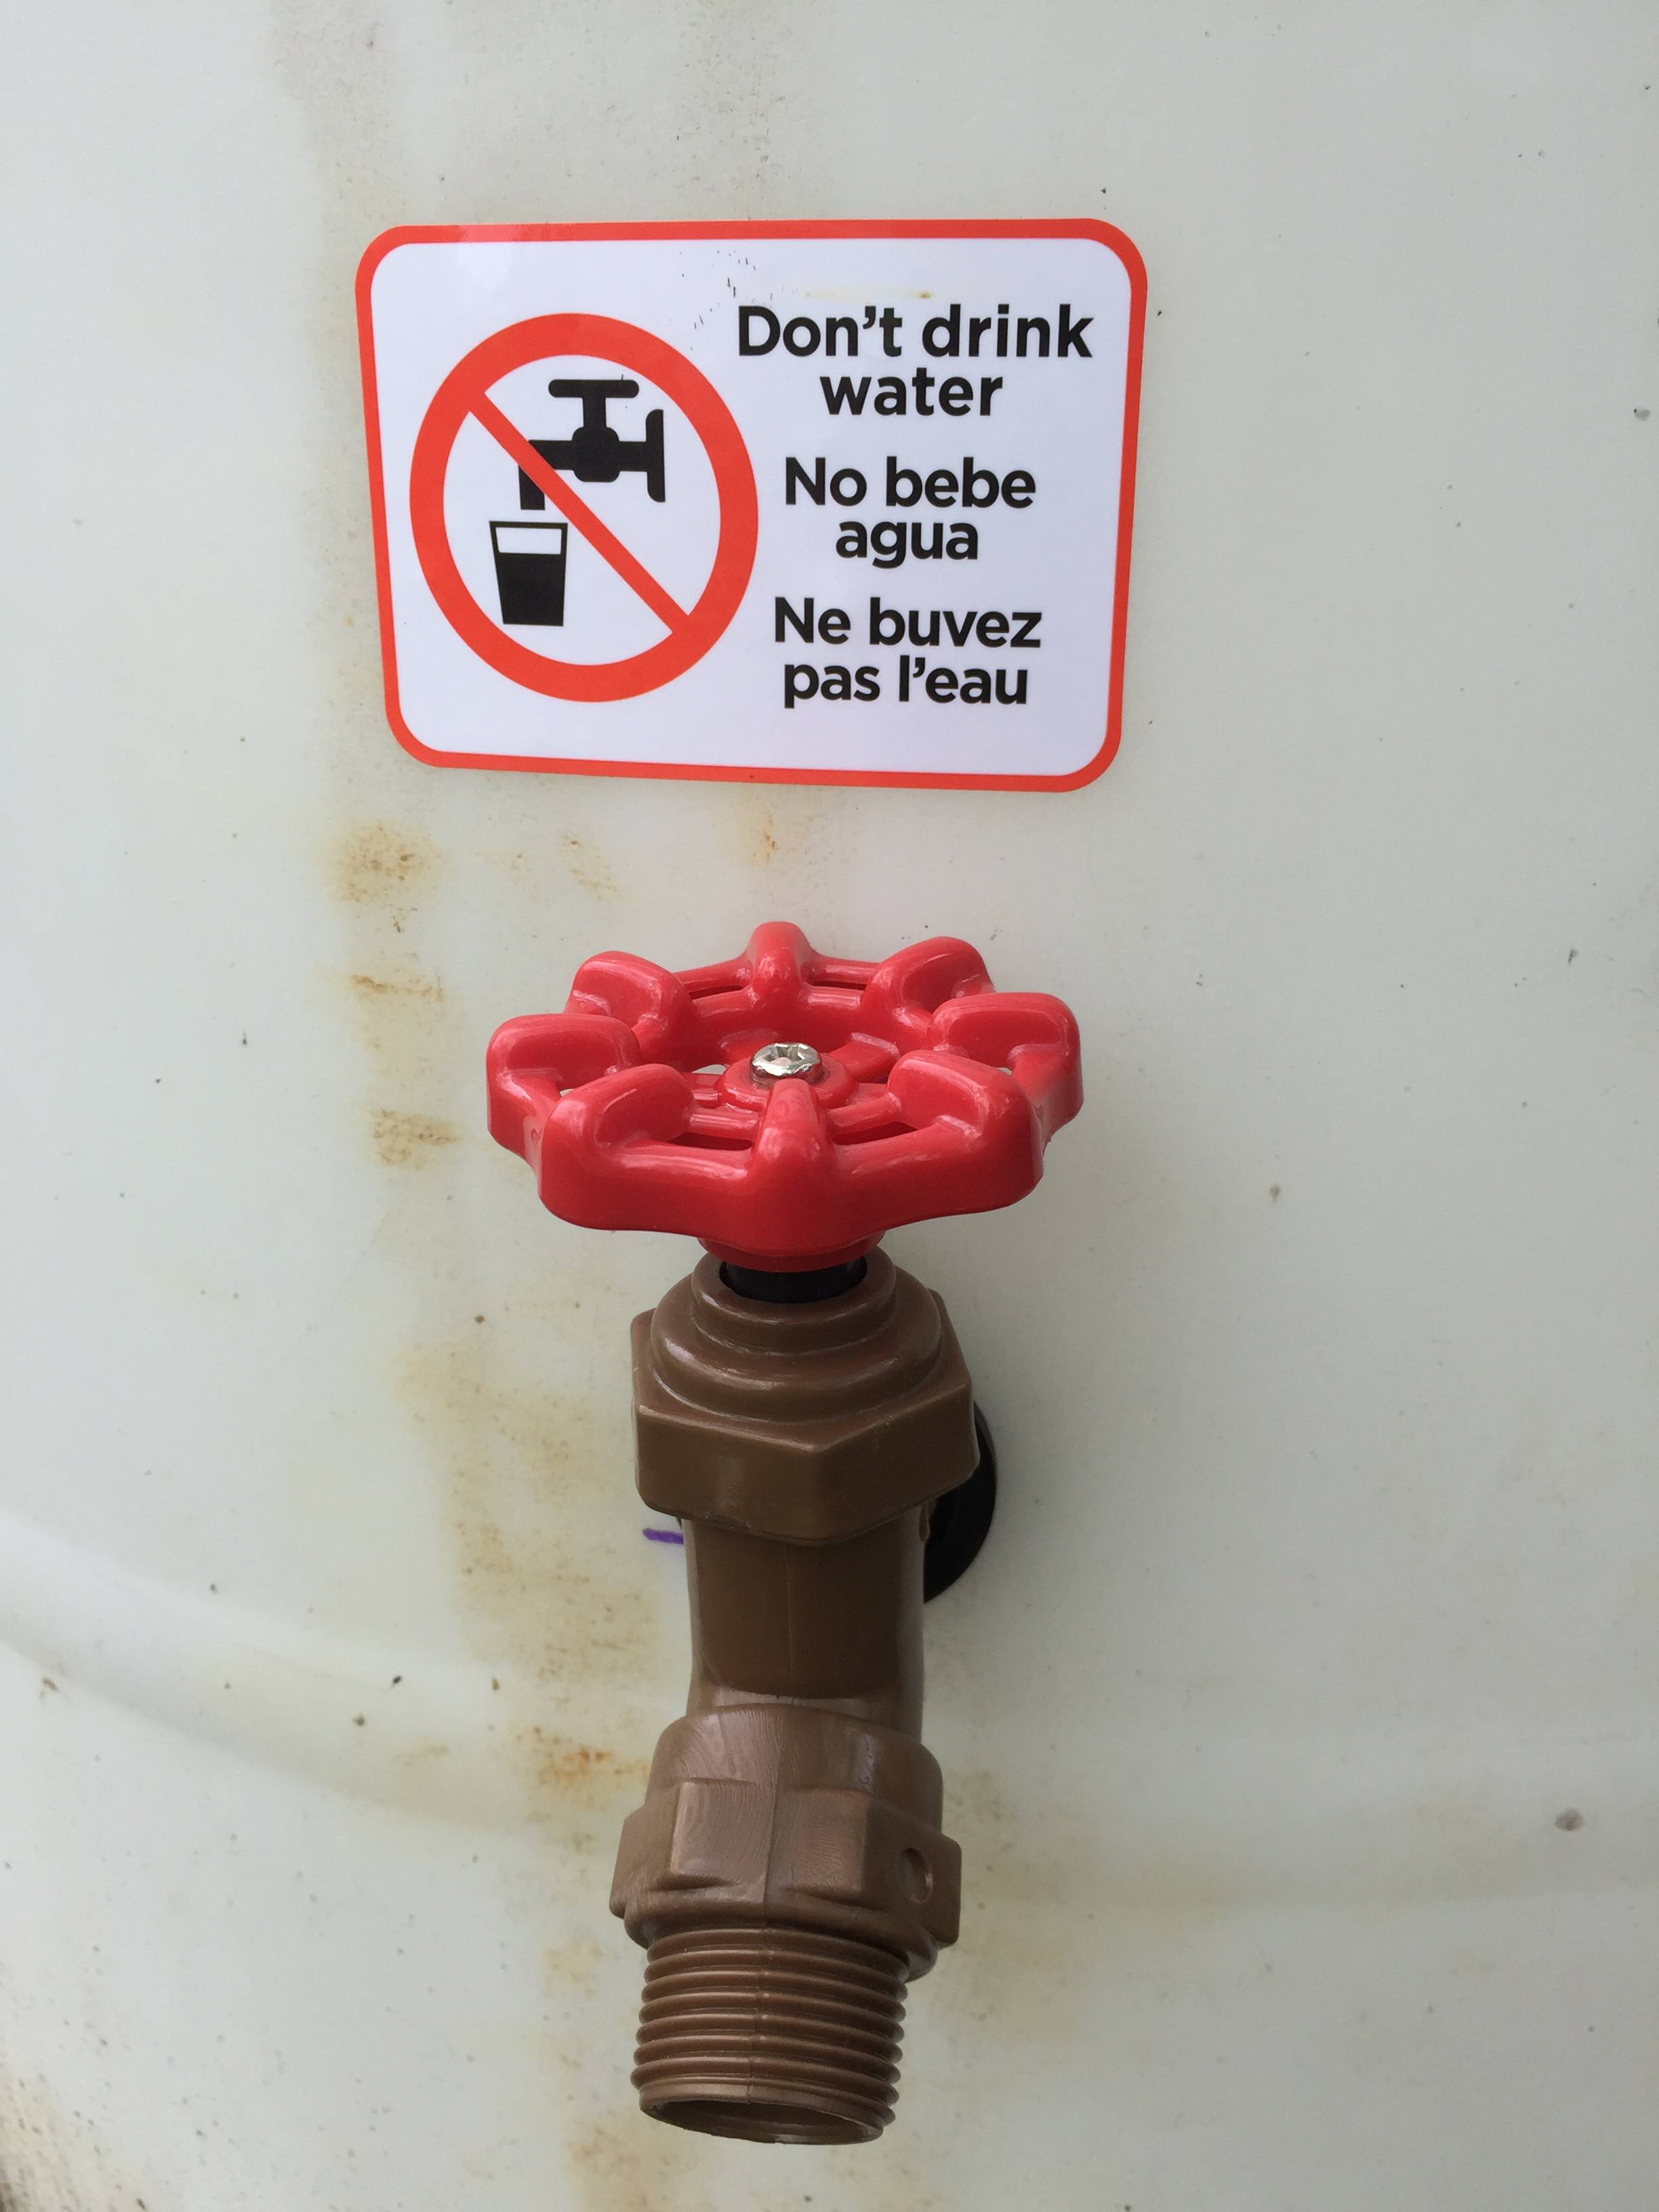
Spigot and drain plug. Offset to accommodate a bucket.
Now we need an intake.

And its gasket:

Then the scary part – cutting into a perfectly functioning gutter:
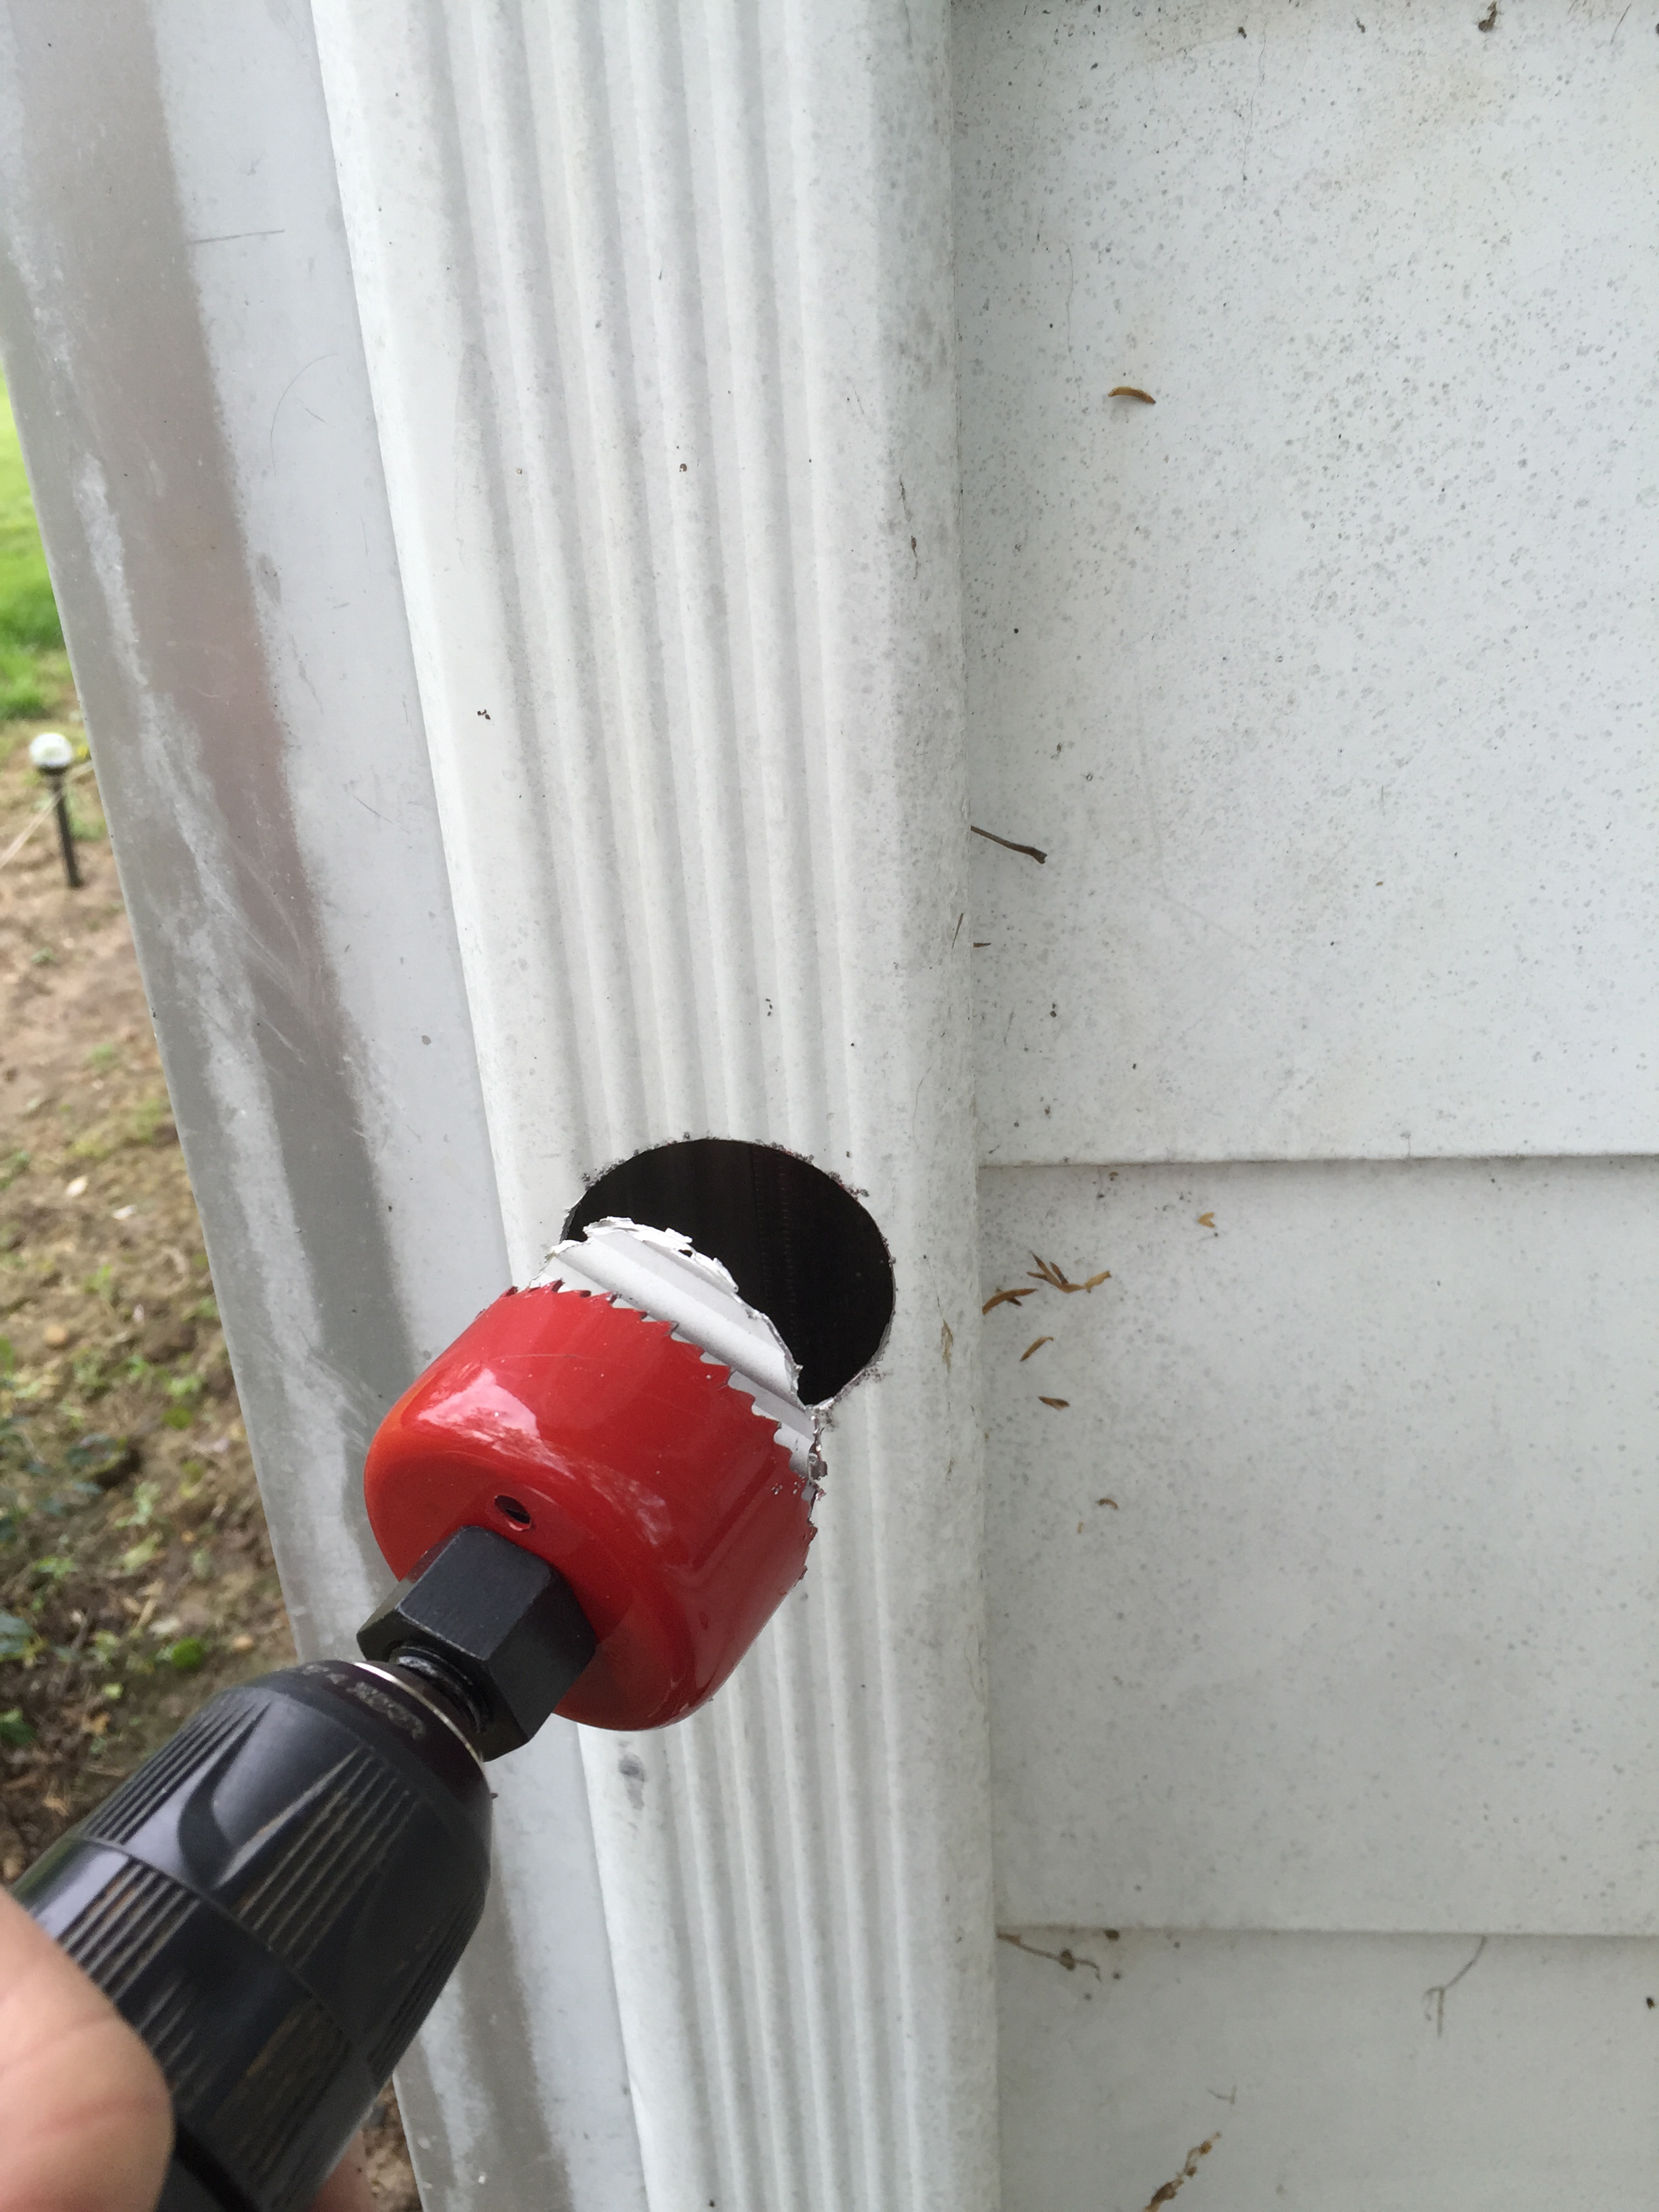
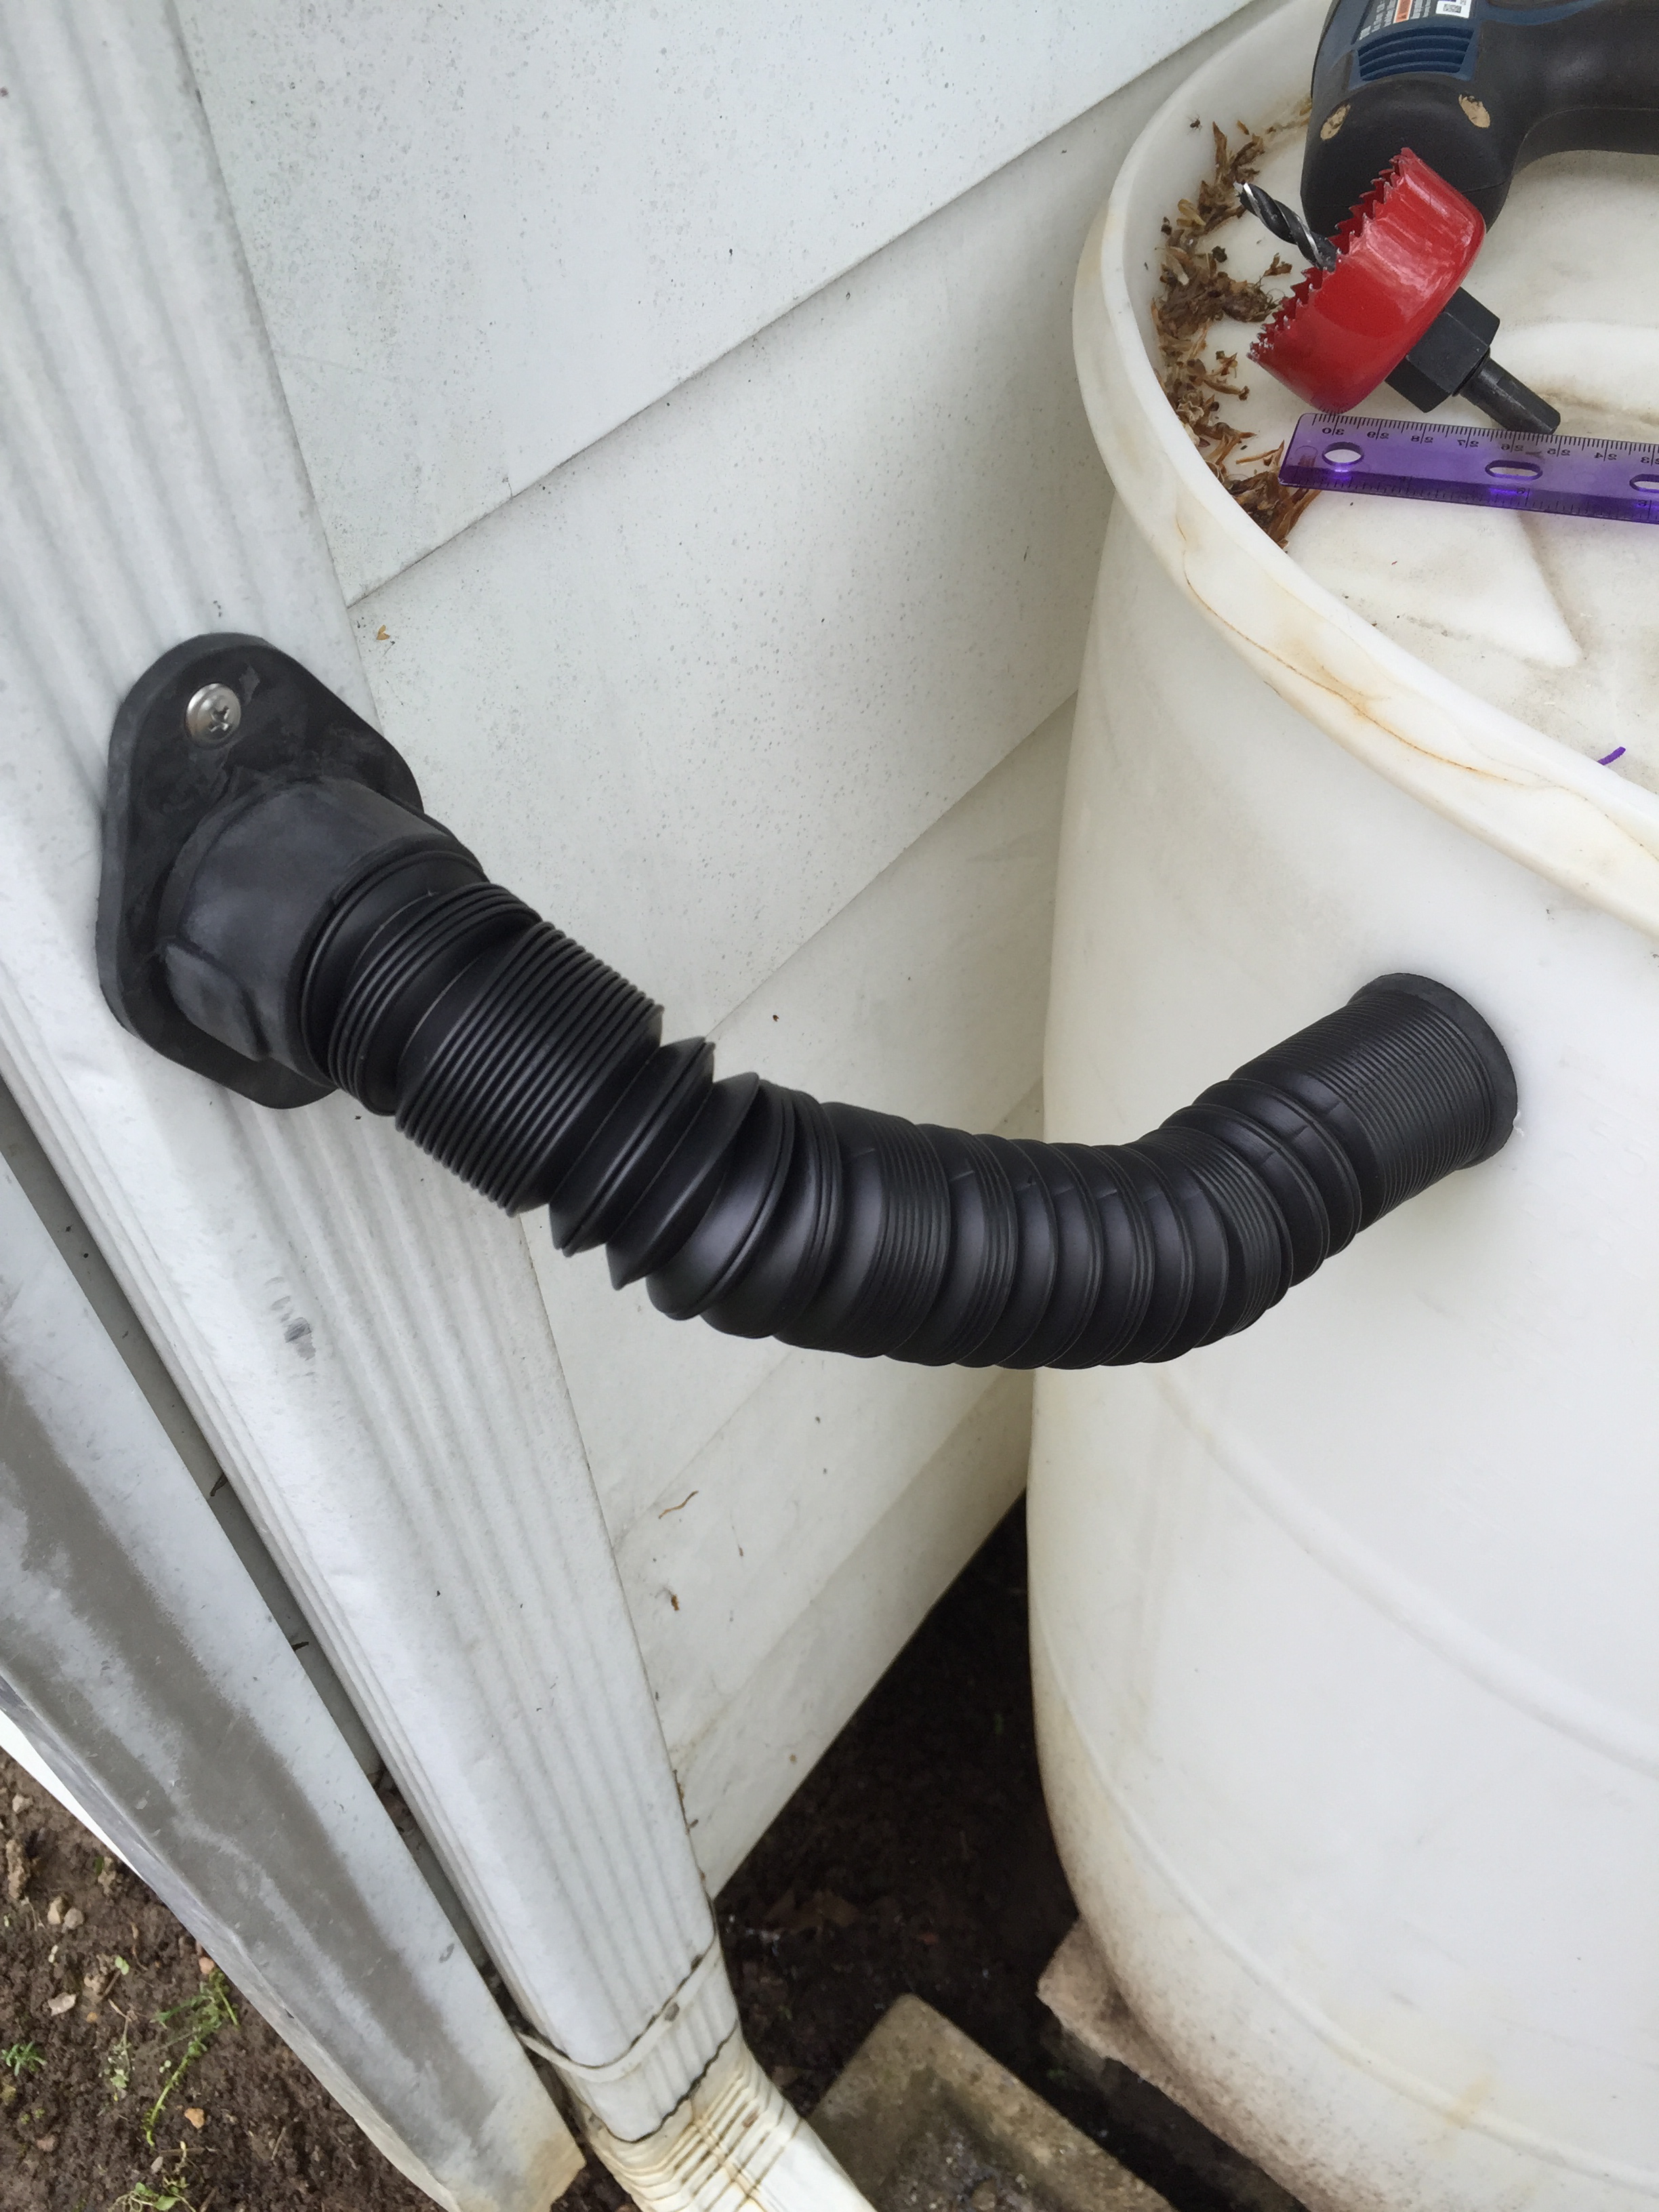
So here’s the magic of this kit:
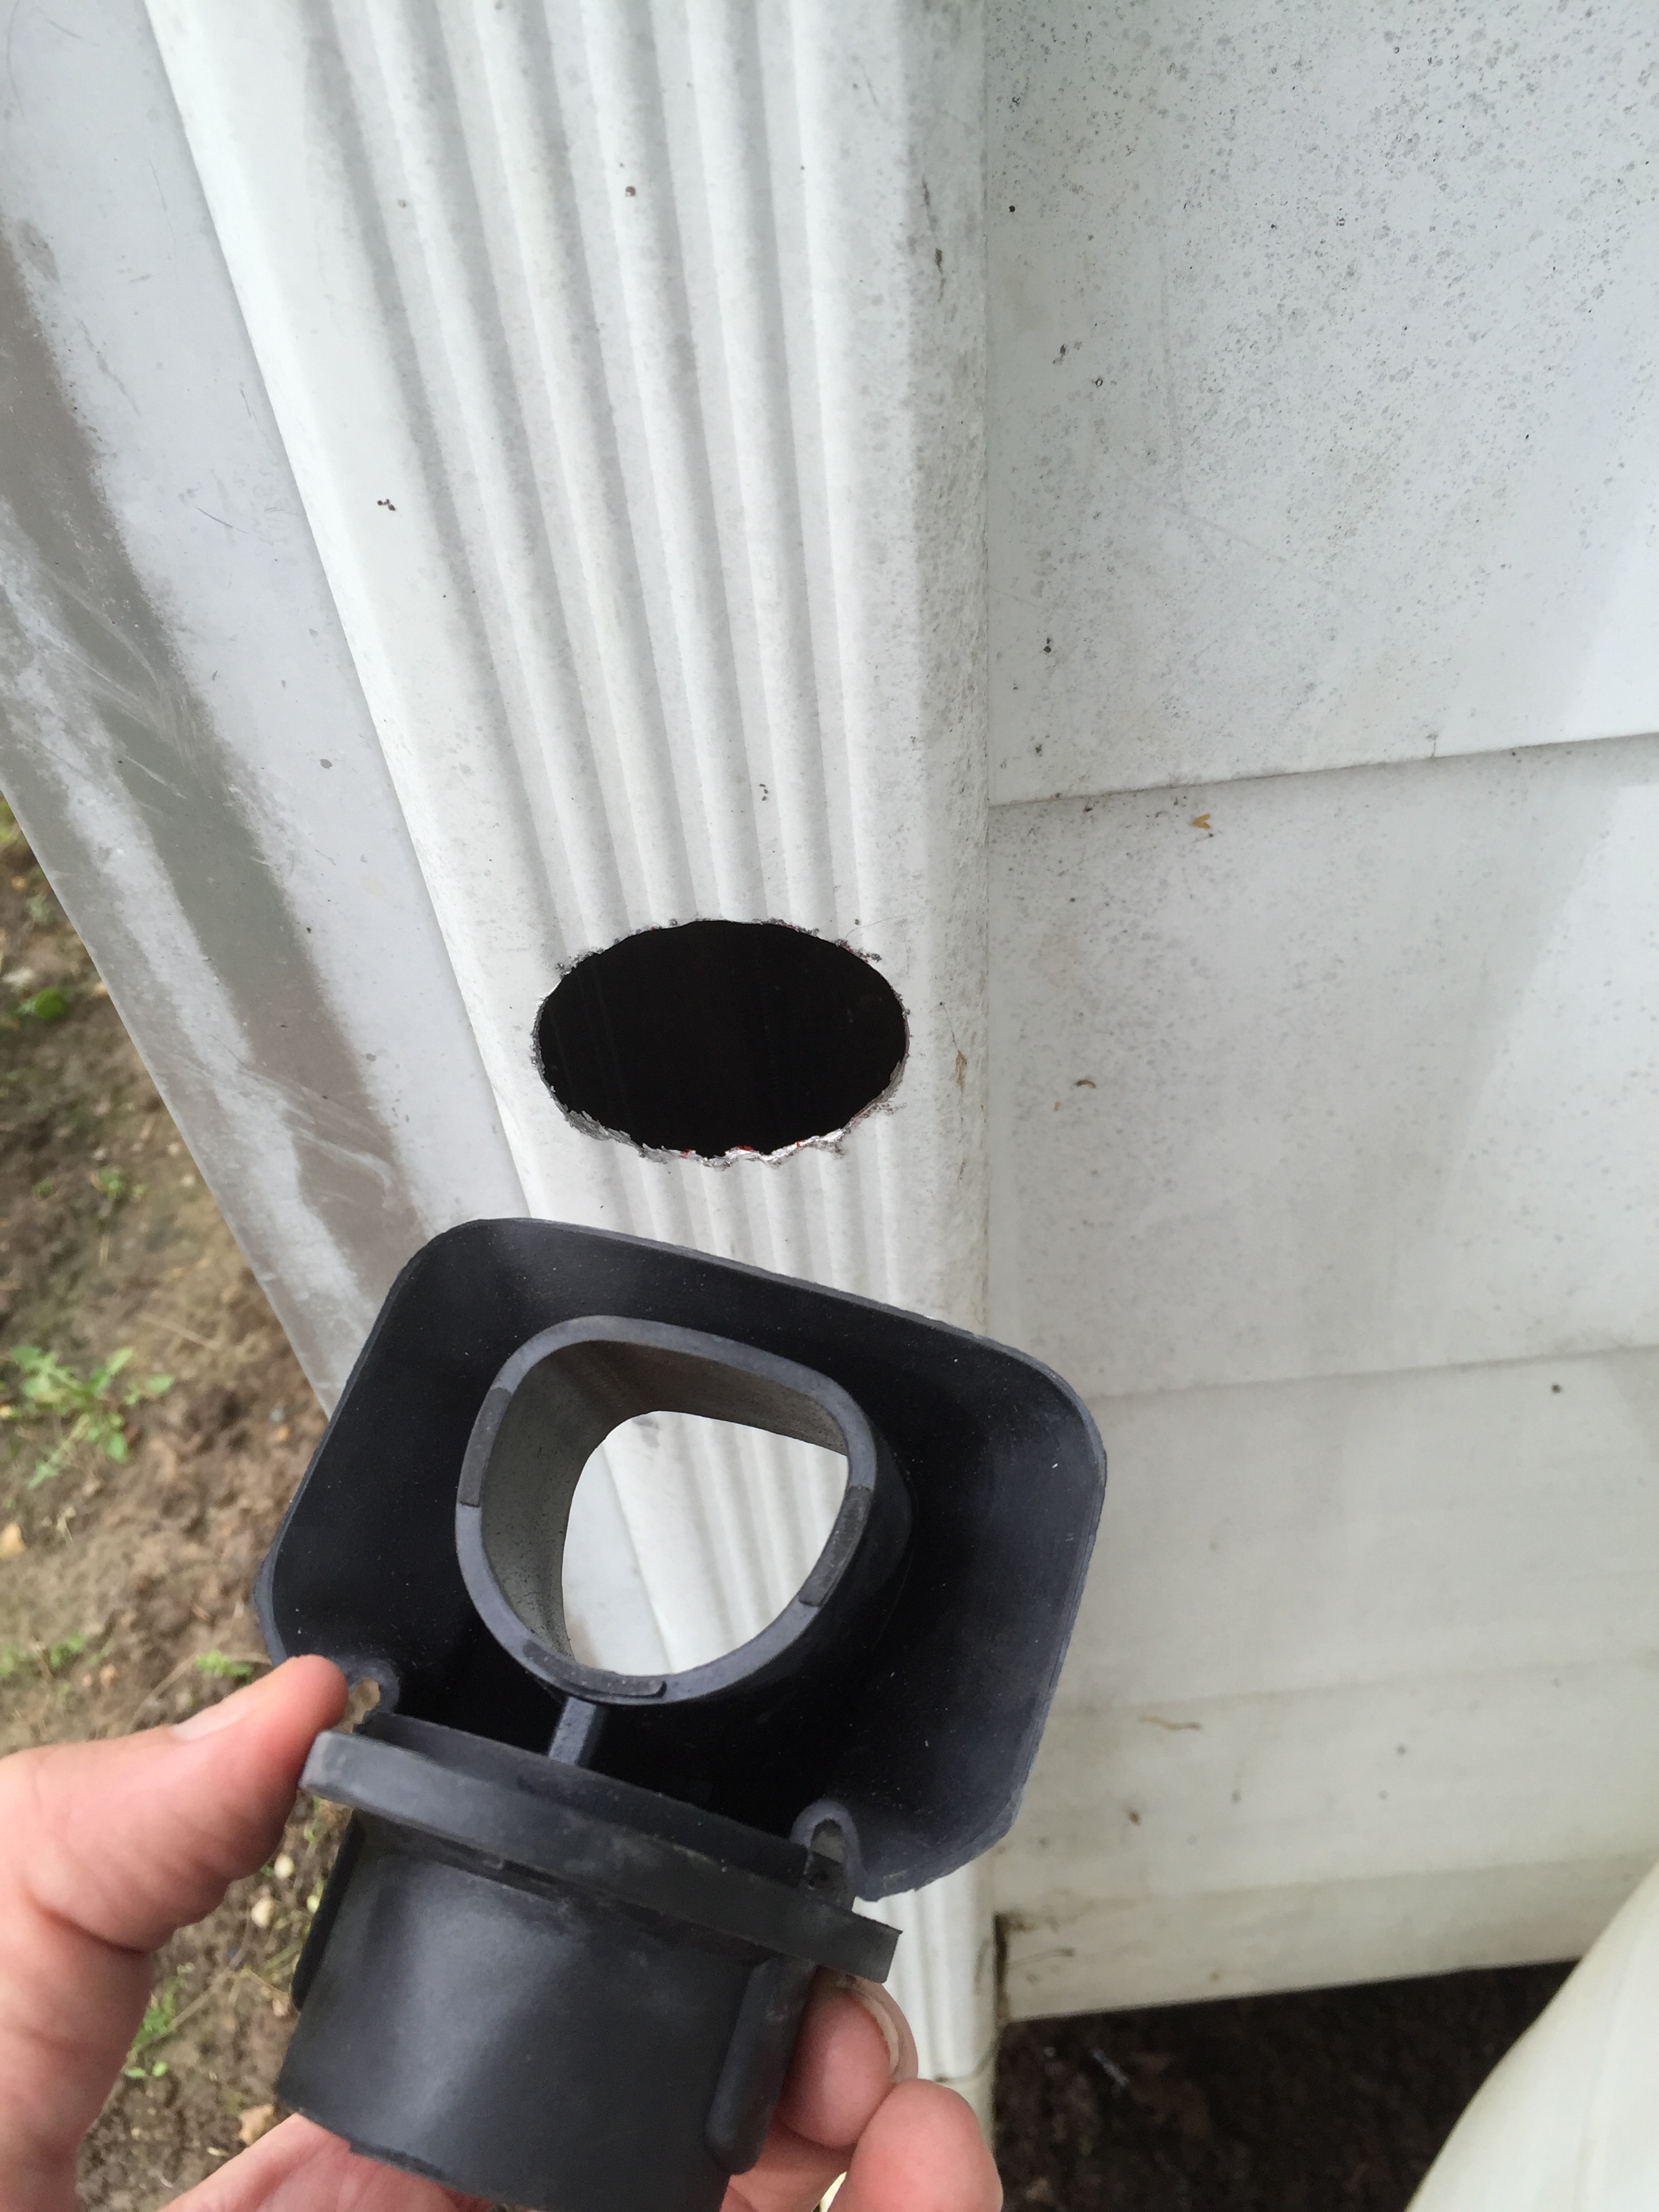
See how it works? Most of the rain is captured as it runs down the inside of the gutter. When the barrel is full, and cannot take more water, the overflow goes right down the gutter and out the splash as usual.


And don’t forget:
And in case you wondered, you do have to empty it in winter. In order to preserve the special flange from winter’s harsh freezes, here’s the winter gutter replacement cap:

$35 all in, and another cottage project done! Now just waiting for rain. And since Murfreesboro has decided it is now Seattle, that should be about 2am.

Stay tuned for post-rain report.
Thanks for reading!

April 19, 2015 at 11:24 pm
Gayle: You have just solved my problem!!! I have been thinking and researching this but you made it all easy. I need to find the barrel, then off to get the kit.Thanks for the info.
April 20, 2015 at 1:37 am
Oh my gosh! Bring your knowledge over here! It’s 1:30 and thundering–rain is probably going to hit around 2! You ARE the Smart-Ish for sure!
April 20, 2015 at 1:47 am
1:45. The rain came at 1:45. The weather warning awakened me at 1:15.