Before I blog about my latest cottage DIY, can I just restate that I am SO HAPPY IT IS CHRISTMAS 2015 and no longer CHRISTMAS 2014??
Last year at this time I was hip-deep in Bar Review, so much that I didn’t get out a single Christmas decoration, not a nutcracker, not an ornament, not a light. I had asked my sweet family for solitude for these months, and I was down to 1/2 day off per week to get away from studying. Everything festive has double the meaning this year since I missed the whole season last year.
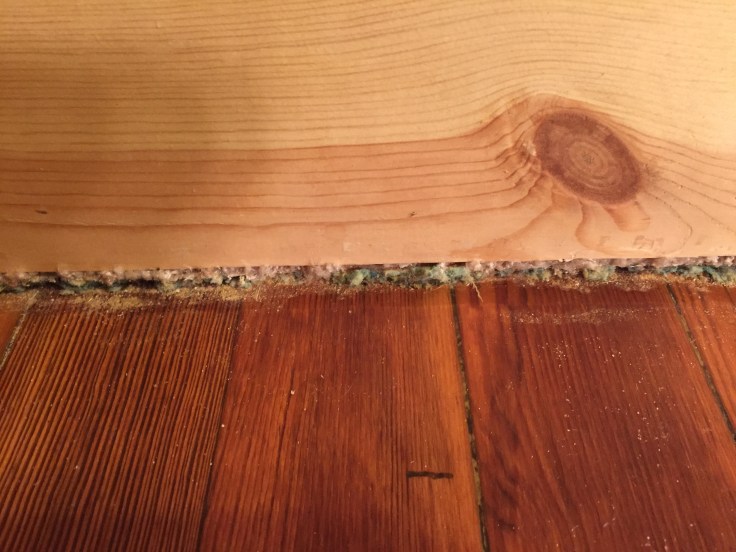
So on to the project. When I moved in to this cottage 4 years ago, one of the first things I added were shelves in the library. I had to move a big corner wall unit to do so, and when I did, I discovered a little secret under the carpet.

I realize it doesn’t look like much here, but I knew that someday I was going to pull up the carpet in that room to get to that floor. No better time than the busiest season of the year, amirite?!
The walls in the library are lined with shelves, which makes the room a large rectangle with a door in the middle of each of the 4 walls. I often keep a table in the middle of the room, and a chair in a couple of the corners.


That exposed corner there is where I originally found the hardwood, under both the current beige carpet, and the groovy 70’s-era green carpet under that.
First order of business was old carpet removal. This home is a home of pets, so you know both layers of carpet and the padding were….pungent.


Carpet and pad out. Now the real work begins. Eliott and I are complete amateurs, but we’ll Youtube the crap out of home projects to figure it out. I already had a belt sander, so our 1st trip to Home Depot was for sandpaper, and lots of it, kneepads, safety glasses and mask.
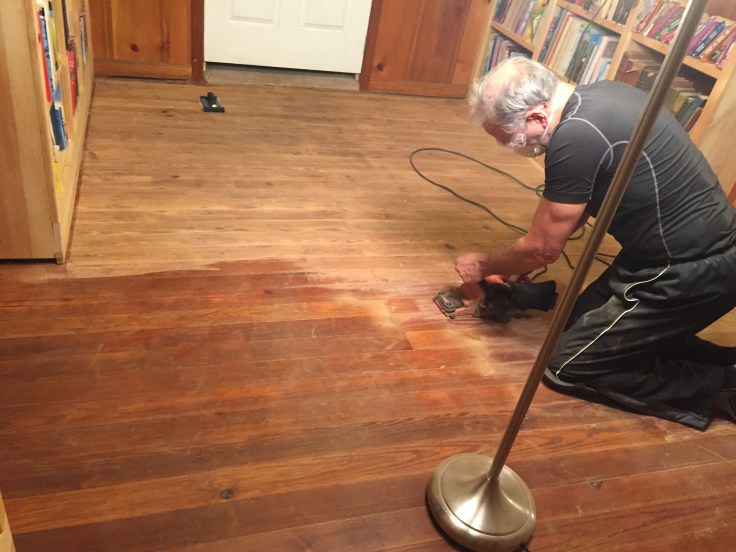

Now we have a room full of raw wood. This room is in the center of the house, with no windows of its own, so opted not to add any stain. We knew the polyurethane layers would darken the wood a bit. We think this wood is pine, and our resident wood expert coincidentally was home this week and agreed with us.

Second trip to Home Depot. This time it’s for polyurethane, brushes, and more sandpaper (very fine, to use between coats).
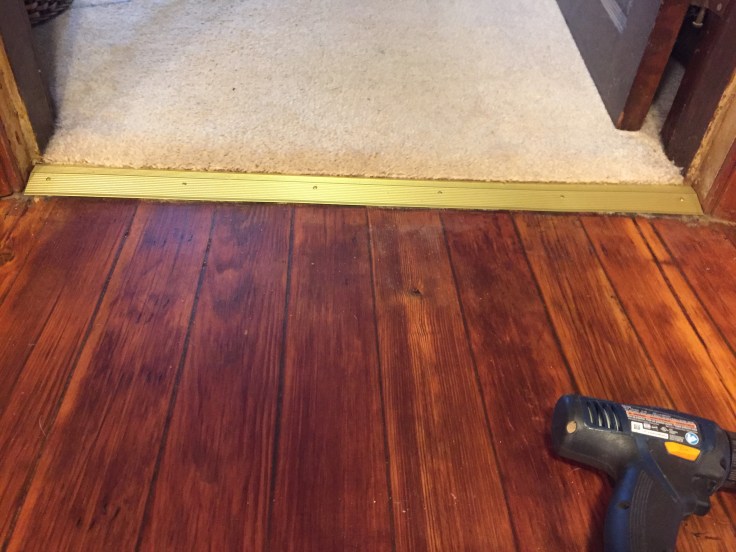
Now all that’s left is trim and thresholds. Since the shelves are unfinished, we chose to use an unfinished quarter-round for the base trim. Experienced remodelers already know we’re off for trip #3 to Home Depot for a mitre-box and saw, nails, and of course the thresholds.

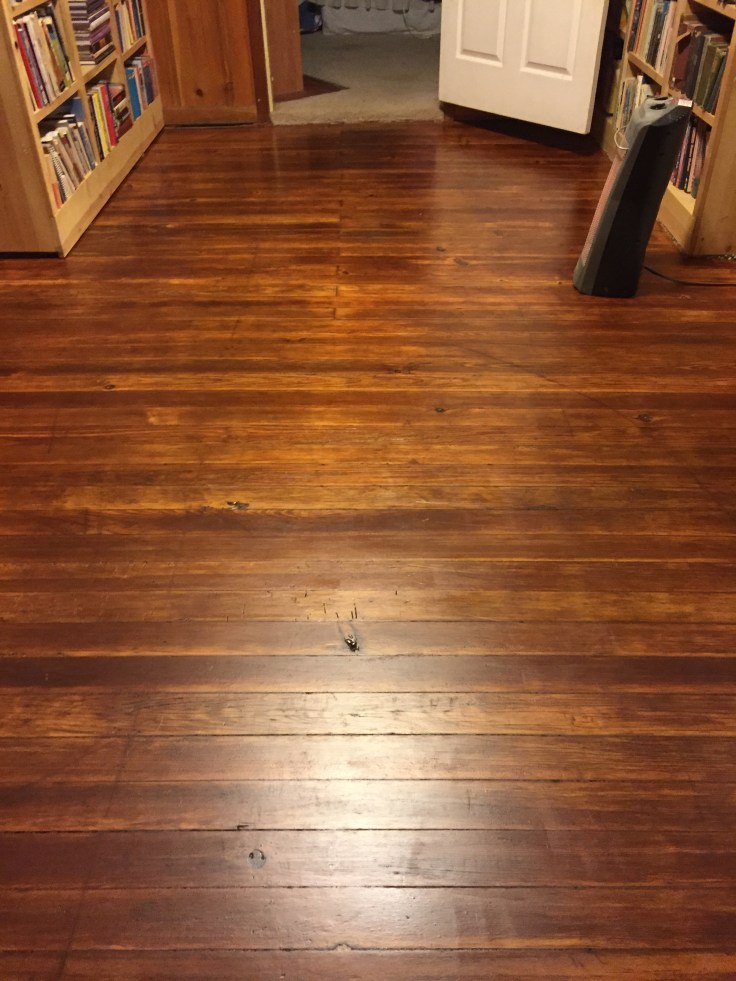
The finished look:

I am delighted with this adventure! Next up is the living room floor (and if I can talk Eliott into it, the living room ceiling…).
Happy Holidays and thanks for reading!

Leave a comment